You import a Master Addons template kit, open the page, and it doesn’t match the demo. Nine times out of ten it’s the same thing: Elementor’s Default Fonts and Default Colors are still on. Those two settings sit at the global level and push Elementor’s own typography and color values onto the kit, so your headings, body text, and brand colors get overridden.
Here’s how to disable Elementor default fonts and colors. It takes about a minute, and once it’s done every kit you import from Master Addons renders the way our demo does.
What Does Disabling Elementor’s Default Fonts and Colors Do? #
Disabling Elementor’s default fonts and colors is a pair of global settings in Elementor > Settings > General that stop Elementor from forcing its own built-in typography and color palette onto your pages. With both boxes checked, Elementor instead inherits fonts and colors from your active theme and any imported design, so a Master Addons template kit renders with the exact styling shown in its live demo.
Why This Matters Before Importing a Kit #
Because Elementor’s default fonts and colors live at the global level, they override a kit’s own typography and palette — so if you don’t disable them first, the imported design won’t match the demo.
Each Master Addons kit carries its own typography and color palette inside the design. Elementor ships with its own defaults too. When both are switched on, Elementor’s defaults take priority, and the kit never gets to fully apply its styles.
The fix tells Elementor to back off and inherit styles from the design instead. Check the two boxes below and the kit’s fonts and colors come through clean. Do it before you import the template, not after. Setting it first saves you from re-importing later.
Requirements #
- WordPress with Elementor (free or Pro) installed and active
- Master Addons for Elementor installed and active (installation guide)
- Administrator access to the WordPress dashboard
Step-by-Step: Disable Default Fonts and Colors #
Step 1: Open Elementor Settings #
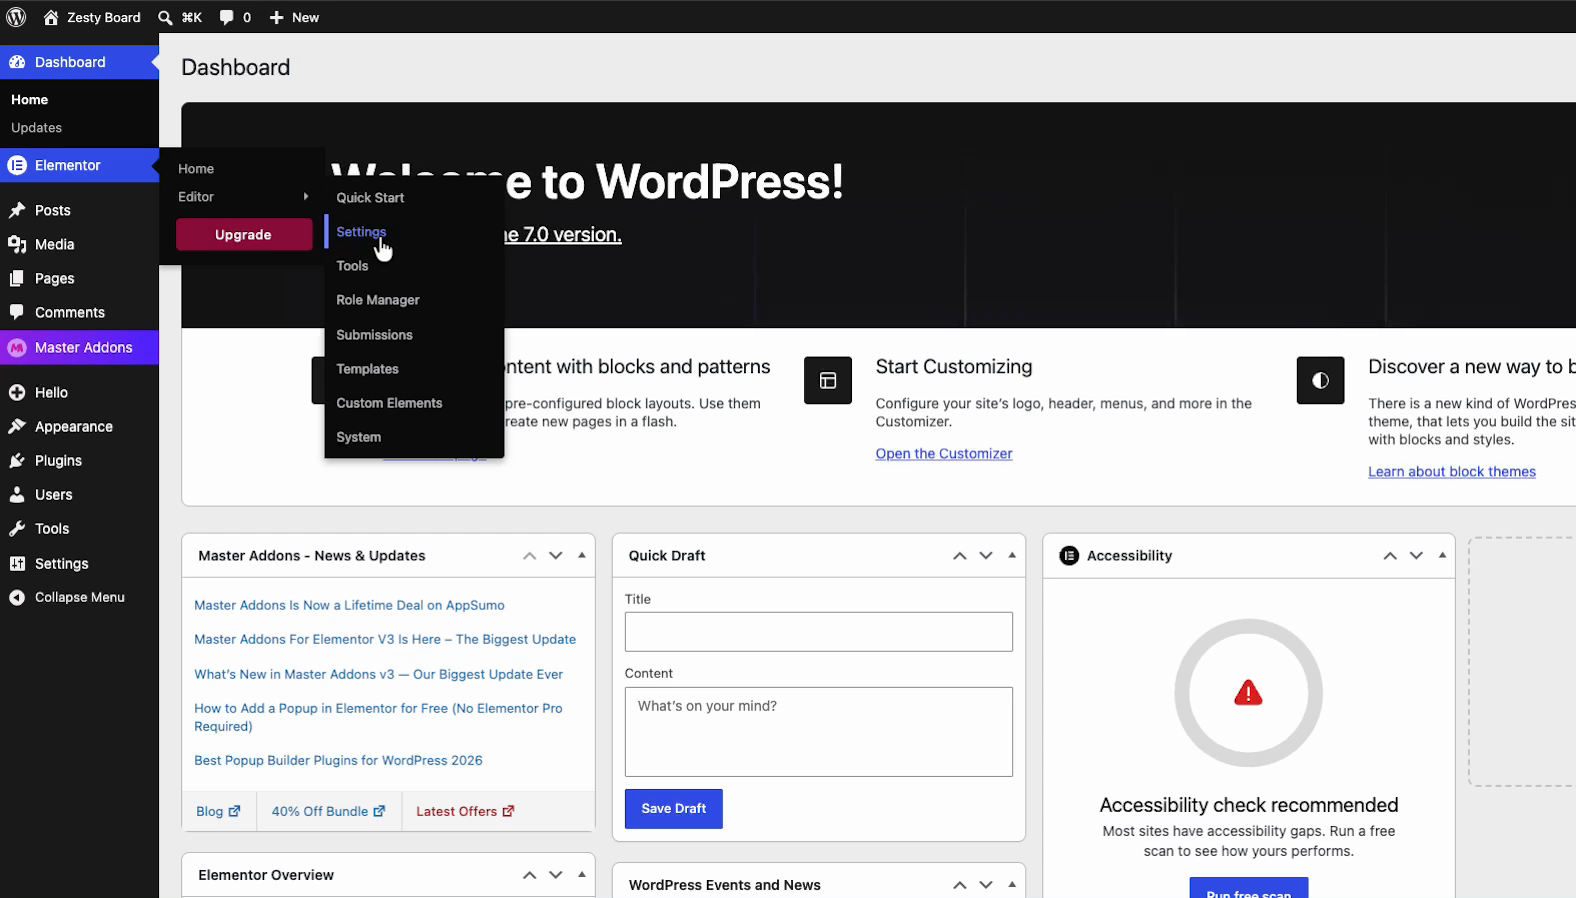
In your WordPress dashboard, hover over Elementor in the left admin menu, then click Settings.
Step 2: Find the Disable Default Colors and Fonts Options #
You’ll land on the General tab. Stay there. Scroll past the Post Types list and you’ll find two checkboxes right below it:
- Disable Default Colors: “Checking this box will disable Elementor’s Default Colors, and make Elementor inherit the colors from your theme.”
- Disable Default Fonts: “Checking this box will disable Elementor’s Default Fonts, and make Elementor inherit the fonts from your theme.”
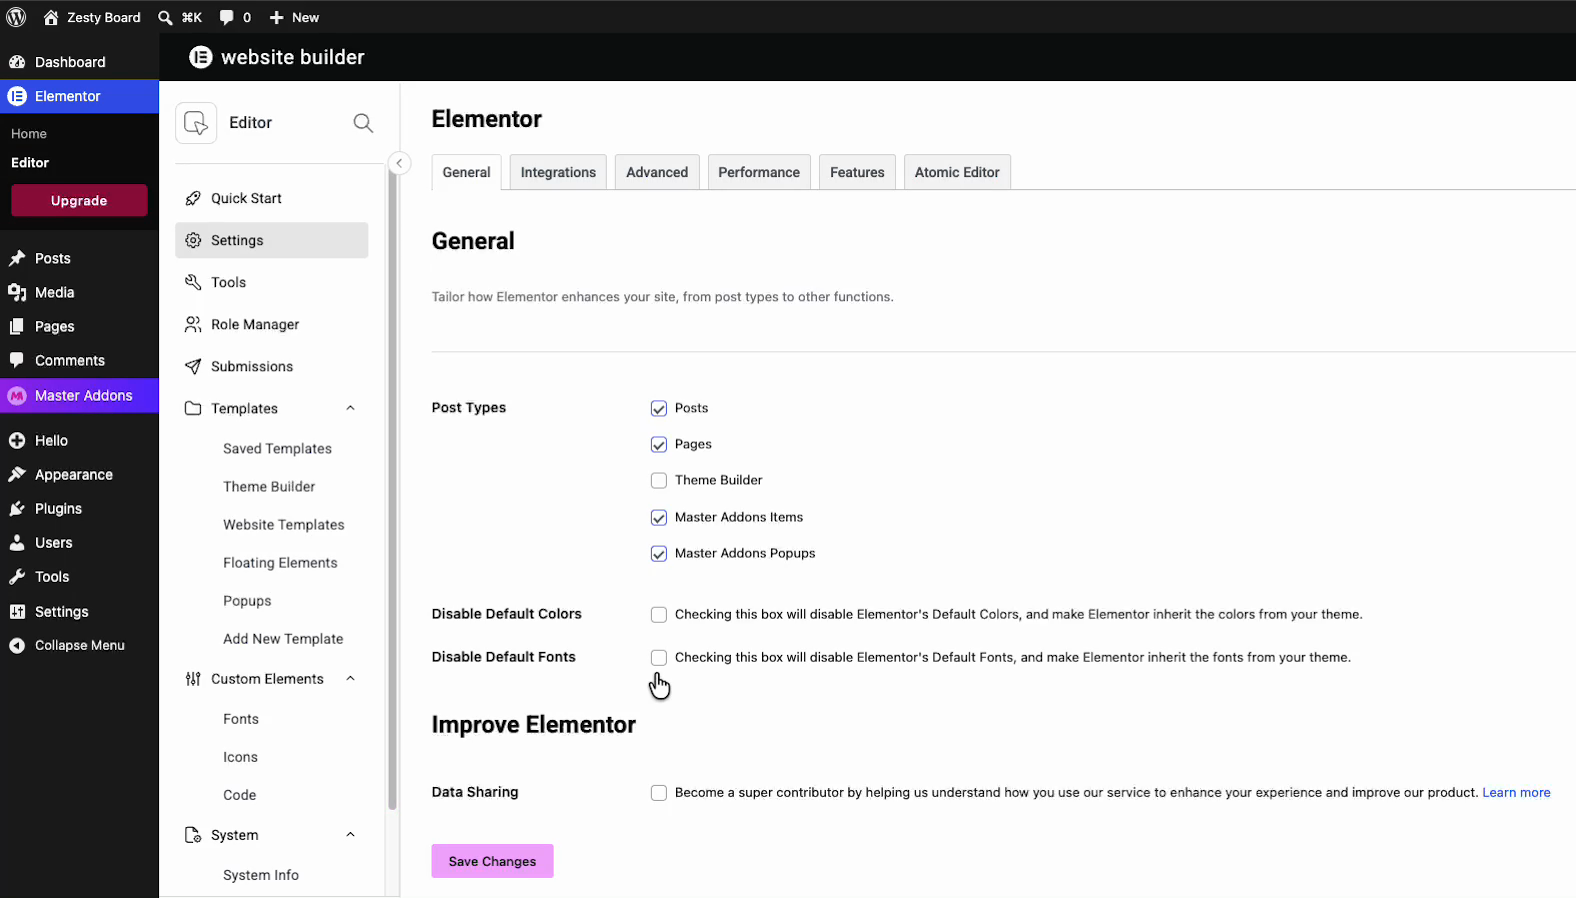
Step 3: Check Both Boxes #
Tick Disable Default Colors and Disable Default Fonts. Both should show a checkmark before you move on.

Step 4: Save Changes #
Scroll down and click Save Changes. Done. Elementor now inherits fonts and colors from your design instead of forcing its own.
What Each Setting Does #
| Setting | What happens when checked |
|---|---|
| Disable Default Colors | Elementor stops applying its built-in color palette. Colors come from your theme and the imported kit instead, so the demo palette shows up correctly. |
| Disable Default Fonts | Elementor stops applying its built-in typography. Fonts come from your theme and the imported kit, so headings and body text match the demo. |
Now Import Your Kit #
Both options off and saved? Go import any Master Addons template kit and the fonts and colors will line up with the live demo. Same rule applies if you’re building custom headers and footers with the Theme Builder.
Troubleshooting #
- Styles still look off after saving? Clear your site cache and Elementor’s cache, then reload in an incognito window. Browsers love to hold onto the old stylesheet.
- Don’t see the Master Addons menu in the editor? Check Can’t see Master Addons inside the Elementor editor.
- Already imported before flipping these on? Set both options first, then re-import the kit so it builds on clean defaults.
Frequently Asked Questions #
How do I disable Elementor’s default fonts and colors?
In your WordPress dashboard, hover over Elementor and click Settings to open the General tab. Scroll past the Post Types list and tick both the Disable Default Colors and Disable Default Fonts checkboxes, then scroll down and click Save Changes. Once saved, Elementor inherits fonts and colors from your theme and design instead of forcing its own.
Why does my imported kit not match the Master Addons demo?
Most often Elementor’s Default Fonts and Default Colors are still enabled, and they sit at the global level overriding the kit’s own typography and color palette. With both switched on, Elementor’s defaults take priority and the kit never fully applies its styles. Disabling both settings lets the kit’s design come through cleanly.
Where are the Disable Default Colors and Fonts options located?
They live in Elementor > Settings on the General tab, directly below the Post Types list. The two checkboxes are labeled Disable Default Colors and Disable Default Fonts. Each one’s description explains that checking it makes Elementor inherit the colors or fonts from your theme.
Should I disable these settings before or after importing a kit?
Do it before you import the template, not after. Setting both options first means the kit builds on clean defaults and renders like the demo right away. If you already imported with the defaults on, set both options and then re-import the kit.
What if the styles still look off after saving the settings?
Clear your site cache and Elementor’s cache, then reload the page in an incognito window. Browsers often hold onto the old stylesheet, which makes it look like nothing changed. A fresh load with caches cleared usually shows the corrected fonts and colors.


