Free Elementor Timeline Widget: Vertical and Horizontal Timelines
Timeline is a free Master Addons widget for Elementor that lays out dates and events along a connecting line. Build a Custom Timeline by hand, with a date or label, rich content, an image and a link for each item, and show it vertically or as a horizontal carousel. With Master Addons Pro you can also build a Post Timeline straight from your blog posts. It suits company histories, roadmaps, event schedules and news archives.

How to add a timeline in Elementor
These steps build a free Custom Timeline. The widget starts with three sample items, so you can see the layout before you change anything.
- In Elementor, search the widget panel for “Timeline” and drag the Master Addons widget onto the page.
- Keep Timeline Type on Custom Timeline and choose Vertical Timeline or Horizontal Timeline.
- Open each row under Items and set the date or a custom label, the content, an image and a link.
- Click Add Item for more milestones and drag the rows to reorder them.
- For a horizontal timeline, set the Navigation and Carousel Settings.
- Style the cards, dates, line and points in the Style tab, then publish.
Our timeline tutorial goes through each setting with screenshots, and the video at the top of this page shows the same steps.
Does Elementor or Elementor Pro have a timeline widget?
No. Neither Elementor nor Elementor Pro includes a timeline widget, so you need an addon or a hand-built layout made from containers, borders and custom CSS. The Master Addons Timeline widget works with Elementor on its own, and you do not need Elementor Pro for it. Here is what the widget covers.
| Timeline widget | |
|---|---|
| Layouts | Vertical, or a horizontal carousel |
| Card alignment | Left, Center, Overlay or Right |
| Content sources | Items you add by hand, or your blog posts (Post Timeline, Pro) |
| Each item | Date or custom label, rich content, an image and a link for the whole card |
| Point types | Dots, icons, images, numbers or letters |
| Horizontal navigation | Arrows, dots, fraction or progress bar, with an optional scrollbar |
| Style sections | 10, including Cards, Dates, Line and Points |
| Needs | Elementor and Master Addons |
Custom Timeline (free) or Post Timeline (Pro)
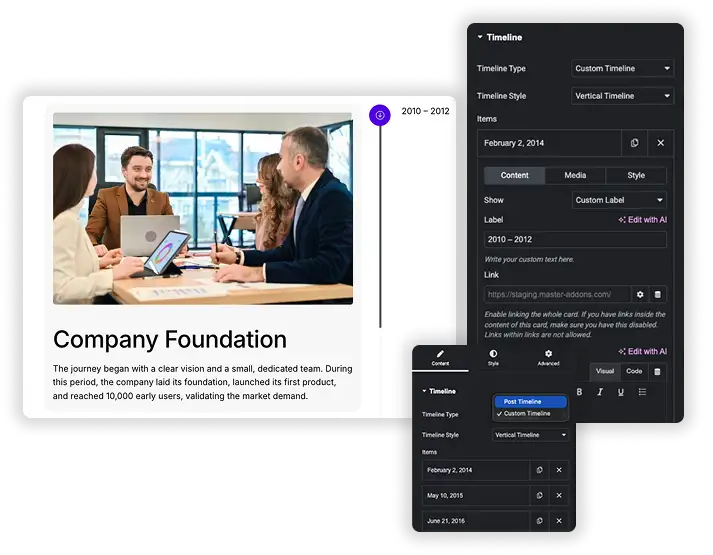
Custom Timeline is the free option. Each item gets a date, which you can swap for a custom label like “Phase 1”, a rich text content area, an image and an optional link for the whole card. Items can also have their own point and color settings. Post Timeline, part of Pro, builds the timeline from your posts: filter by category, tag or author, exclude specific posts, set the order and offset, and choose whether to show the title, featured image and excerpt.
- Custom Timeline: a date or custom label, content, image and link for each item.
- Per-item styling for the point, card and date colors.
- Post Timeline (Pro): category, tag and author filters, excluded posts, offset and order.
- Post cards can show the title, featured image, excerpt and a read more link.
Vertical timeline in Elementor
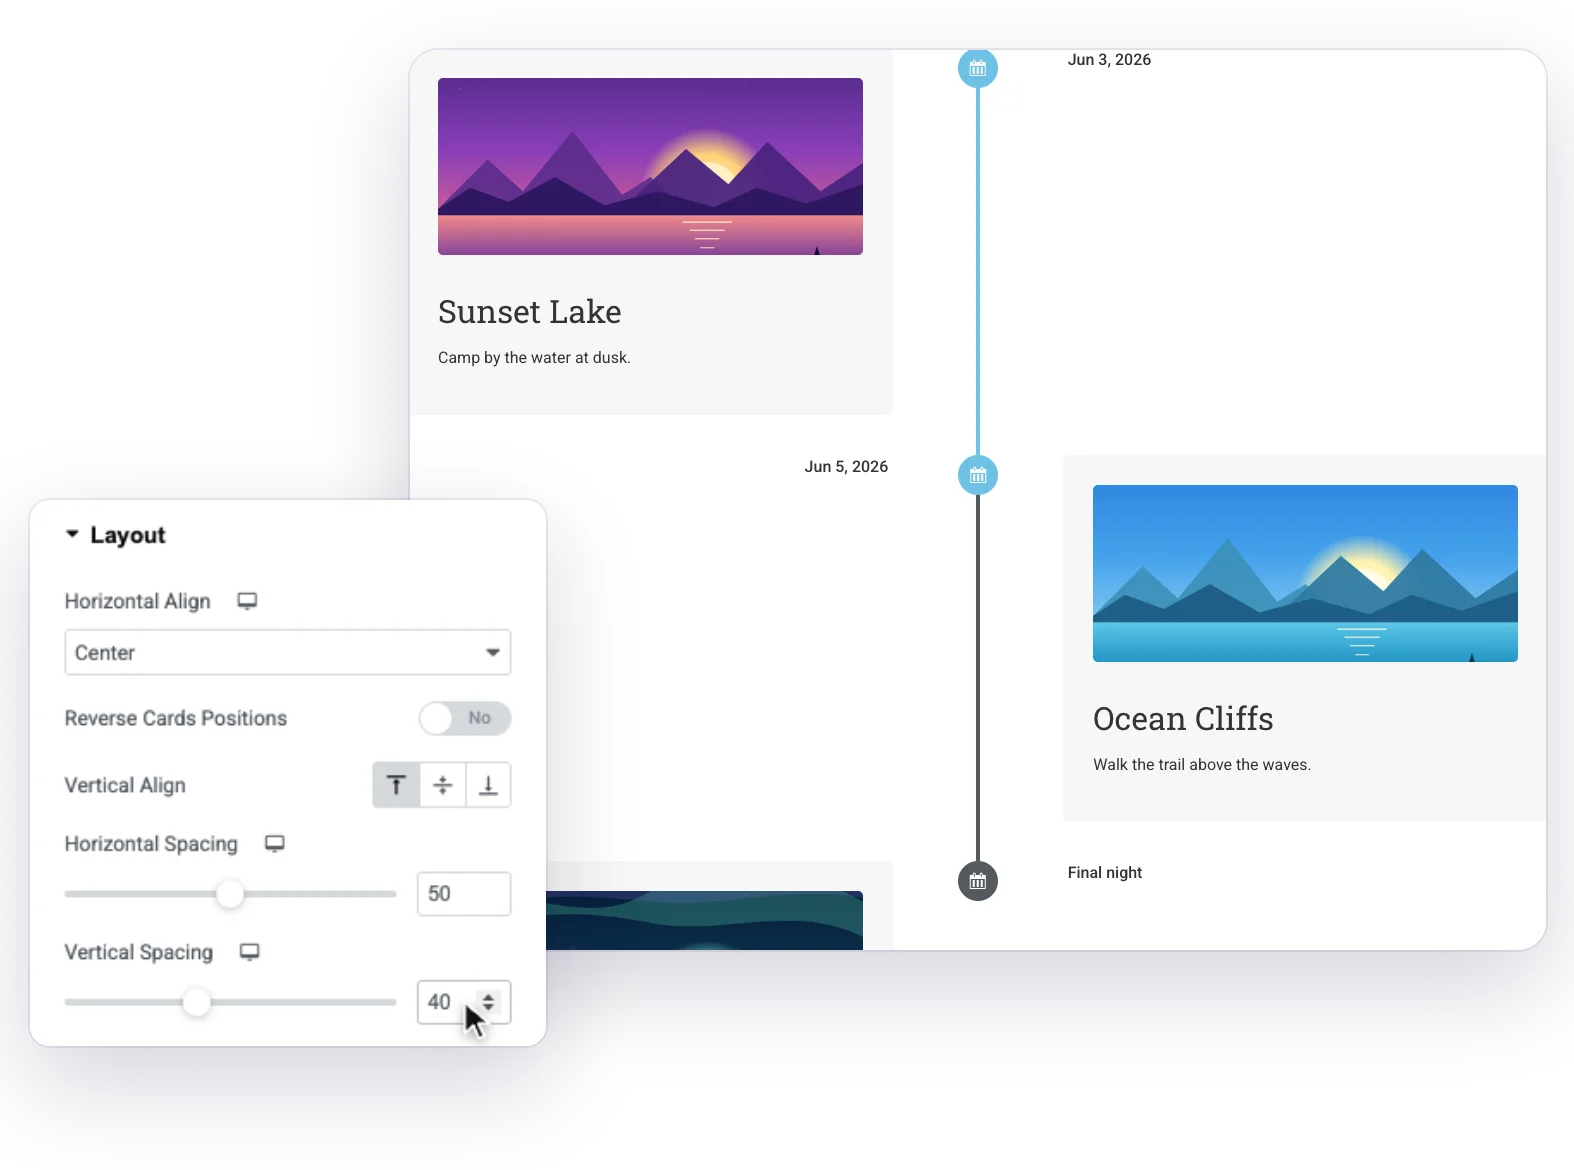
The Vertical Timeline stacks cards along a center line. Align them left, center, right or as an overlay, and reverse the card positions with one switch. Horizontal Spacing and Vertical Spacing set the gaps. On tablets and phones the cards move to one side of the line.
- Horizontal Align: Left, Center, Overlay or Right.
- Reverse Cards Positions flips which side comes first.
- Vertical Align and two spacing sliders for the cards.
- Cards move to one side on tablets and phones.
Horizontal timeline in Elementor (carousel)
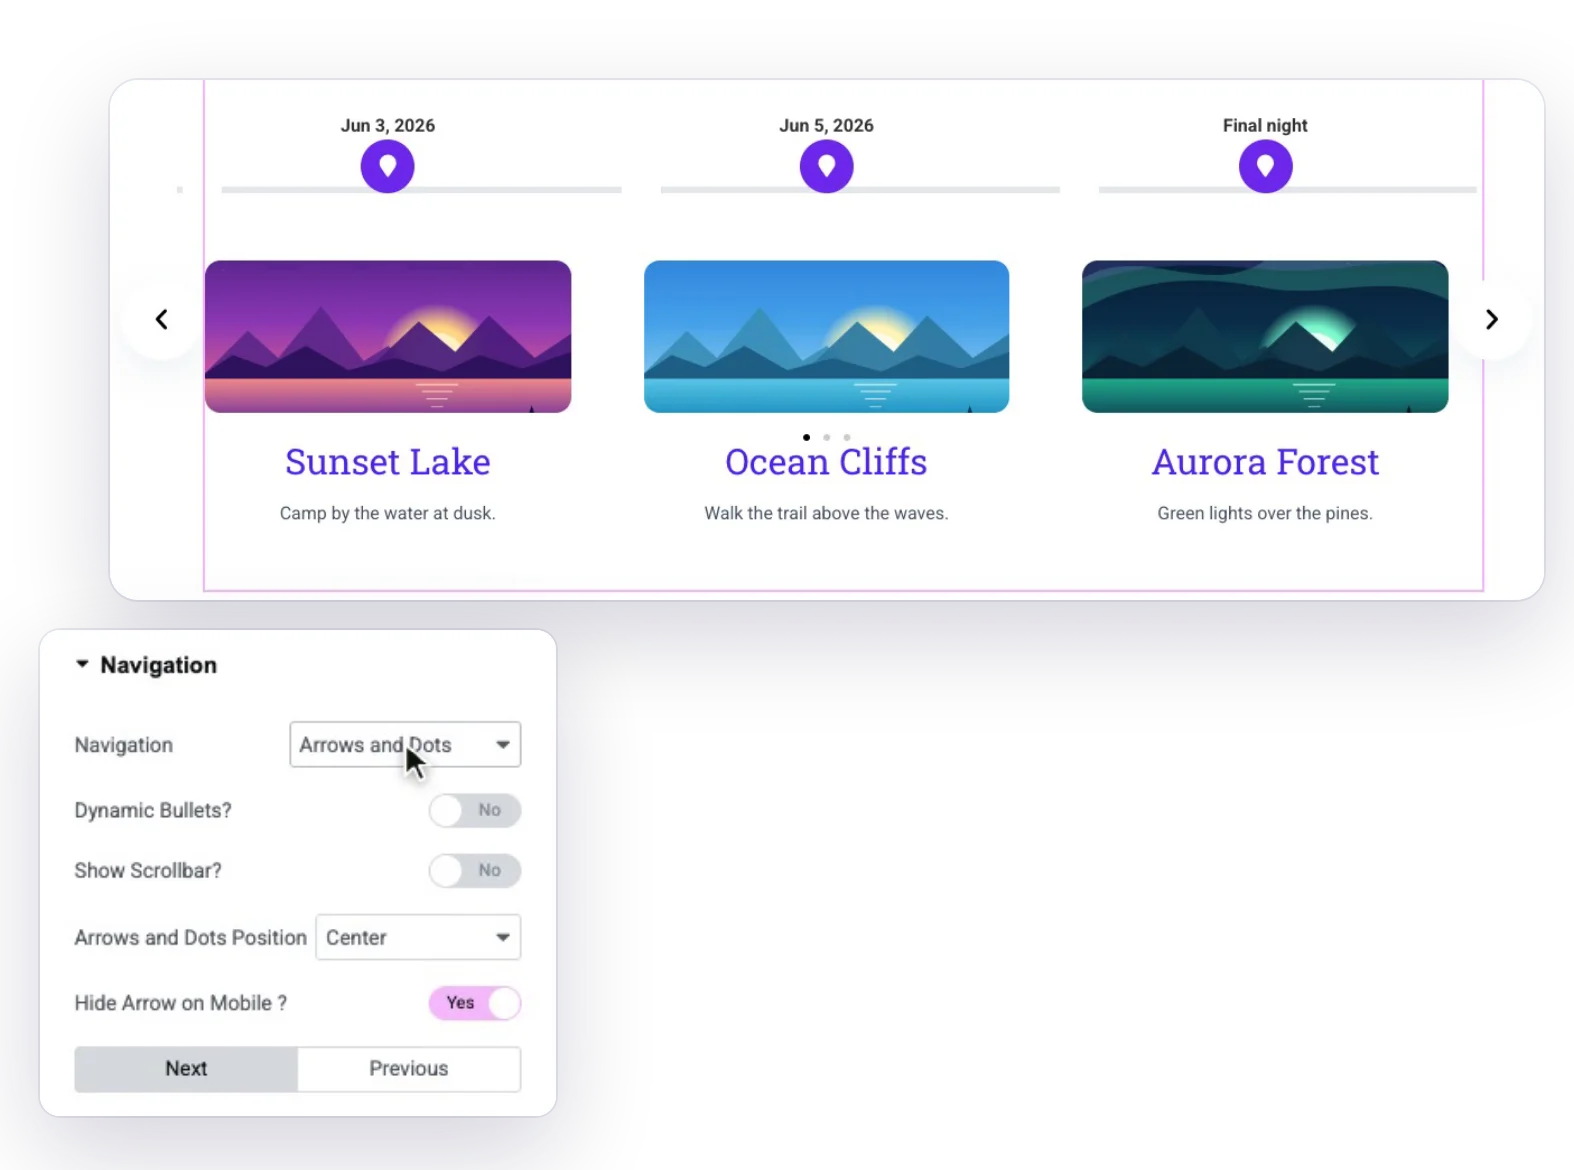
Set Timeline Style to Horizontal Timeline and a Custom Timeline becomes a carousel, with the points on a line above the cards. Under Navigation, choose Arrows and Dots, Arrows and Fraction, Arrows, Dots, Progress or None, and add a scrollbar if you want one. Carousel Settings has a standard or Coverflow layout, Autoplay with its own speed, Pause on Hover, Loop and Slides to Scroll.
- Six navigation options, plus an optional scrollbar.
- Carousel or Coverflow layout.
- Autoplay, Pause on Hover, Loop and Center Slide.
- Available for Custom Timelines.
See it live in the Horizontal Roadmap demo.
Post Timeline: build a timeline from your blog posts (Pro)
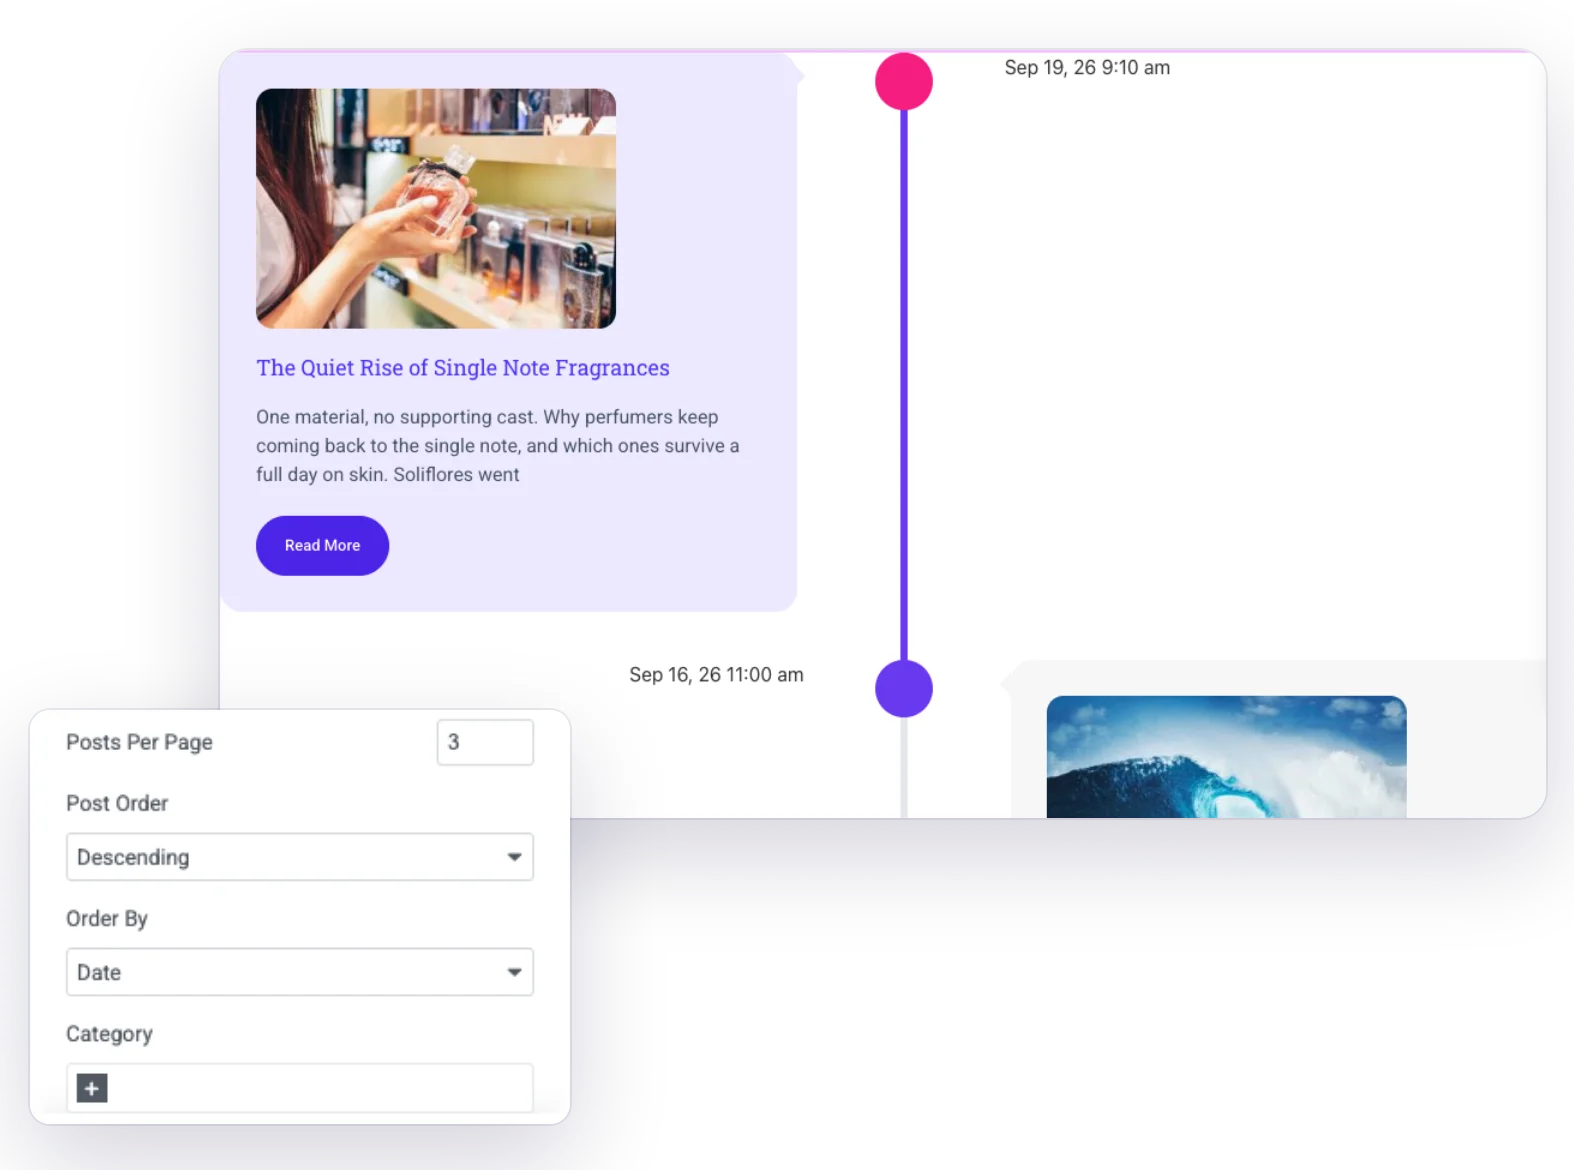
Post Timeline is part of Master Addons Pro. Switch Timeline Type to Post Timeline and the widget lists your published posts along the line, newest first by default, so the timeline grows each time you publish. Set Posts Per Page, Post Order and Order By, filter by Category, Tag or Author, skip posts with Posts to Exclude, and use Offset Post Count to start further down the list. Post Timelines are vertical.
- Query: Posts Per Page, Post Order, Order By and Offset Post Count.
- Filters: Category, Tag, Author and Posts to Exclude.
- Show or hide the title, image, excerpt and Read More button.
- Enable Links makes each card link to its post.
For a grid or list of posts, use the Blog widget.
Line and point styling
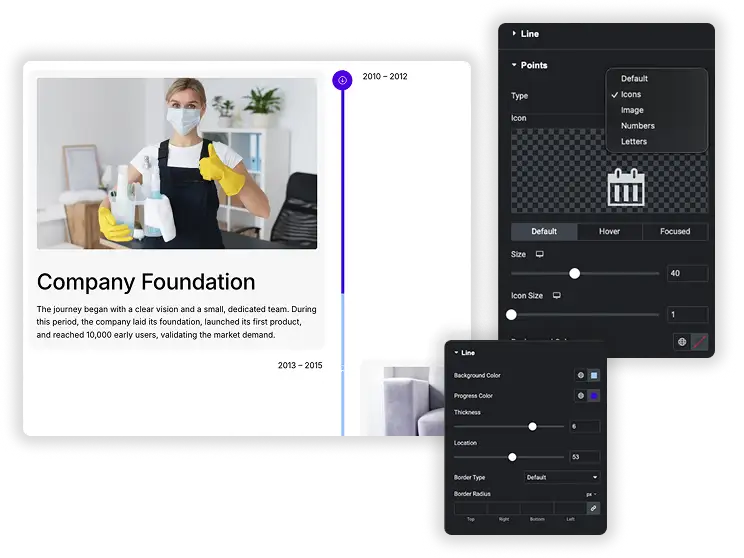
Style the line with a background color, a progress color, thickness and a border. Points can be plain dots, icons, images, numbers or letters, and each has Default, Hover and Focused styles for size, background color, point color and text shadow. That way the milestone a visitor is looking at stands out from the rest.
- Line background, progress color, thickness and border.
- Five point types: dots, icons, images, numbers or letters.
- Default, Hover and Focused states for every point.
Card and date styling with animations
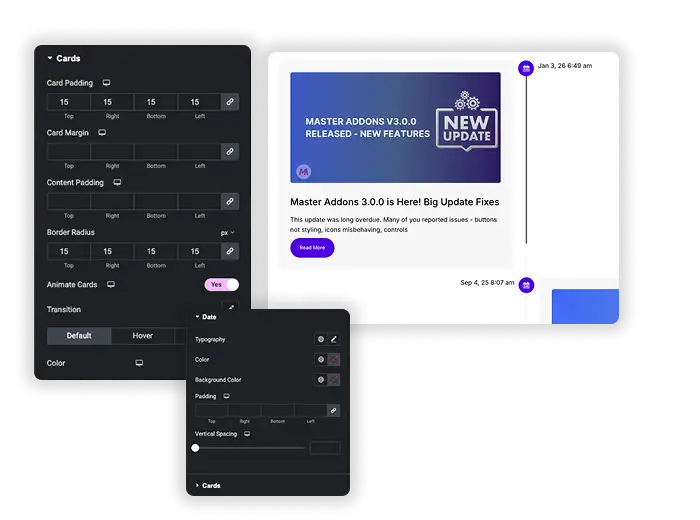
Cards get padding, margin, content padding, border radius and separate title and content typography. Their color, background, box shadow and text shadow can change across the Default, Hover and Focused states. Turn on Animate Cards to reveal each card as it scrolls into view. Dates have their own typography, padding, margin, text shadow and colors for all three states.
- Card spacing, radius and typography controls.
- Default, Hover and Focused styles for cards and dates.
- Animate Cards to reveal items as they scroll into view.
Custom Timeline vs Post Timeline
Here is how the two Timeline types compare.
| Custom Timeline | Post Timeline | |
|---|---|---|
| Price | Free | Master Addons Pro |
| Content | Items you add in the panel | Your published posts |
| Updates | When you edit the items | Each time you publish a post |
| Layouts | Vertical or horizontal carousel | Vertical |
| Each entry shows | Date or label, content, image, link | Title, featured image, date, excerpt, read more |
| Best for | Histories, roadmaps, schedules | News archives, release notes |
For a full post grid next to your timeline, use the free Blog widget. To show the numbers behind your milestones, add Counter Up.
Timeline examples
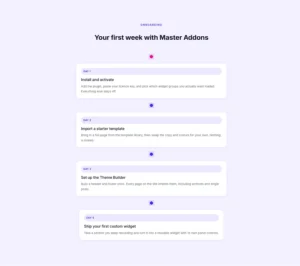
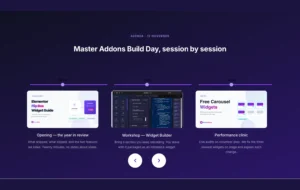
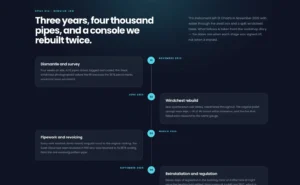
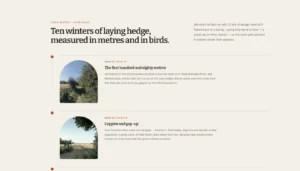
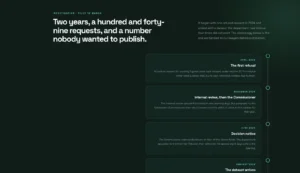
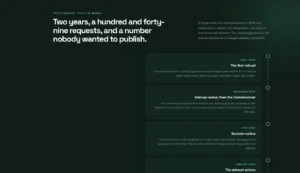
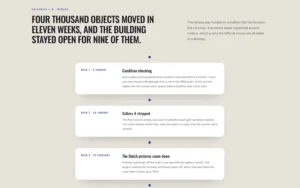
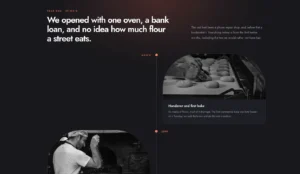
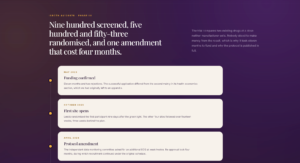
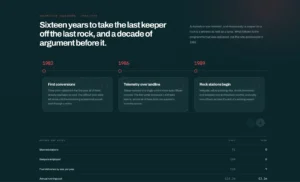
The viewer below has 16 ready designs. Open any of them to see it live.
- Milestones for a company history.
- Dark Changelog for release notes.
- Horizontal Roadmap for product phases.
- Post Timeline Blog for posts in date order.
- Case Study Images for project stages with photos.
- Overlay Steps for a process.
- Event Agenda for a schedule.
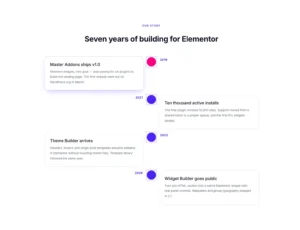
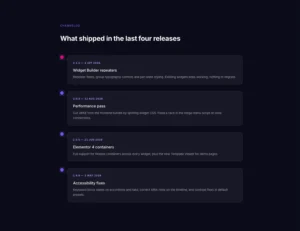
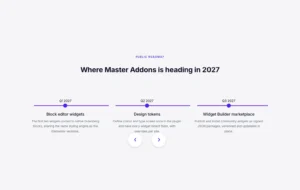
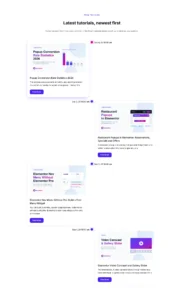

Frequently Asked Questions For Timeline
Should I use the Post Timeline or Custom Timeline?
Use Custom Timeline, which is free, when you want to control every date and entry, like an Our History page or a roadmap. Use Post Timeline, part of Master Addons Pro, when the timeline should update itself from your blog posts, like a news archive.
How does the "Focused" state work?
The Focused state styles the item that is currently active as visitors scroll through the timeline or move through the carousel. Give it a different card background, date color or a larger point so the current milestone stands out.
Can I build a timeline in Elementor without a plugin?
Yes, a simple one. Stack containers in a column, give each a left border for the line, and place an Icon widget on the border with Position set to Absolute for the dot. Alternating sides, a horizontal layout and scroll animation need custom CSS or a timeline widget.
How do I add a horizontal timeline in Elementor?
Add the Timeline widget, keep Timeline Type on Custom Timeline and set Timeline Style to Horizontal Timeline. Then pick the arrows or dots under Navigation, and set autoplay and loop under Carousel Settings.
Is the Elementor Timeline widget free?
Yes. Timeline is a free widget, including the Custom Timeline type and both vertical and horizontal layouts. The Post Timeline type, which builds entries from your blog posts, needs Master Addons Pro.
Can I link an entire timeline card to a page?
Yes. Each Custom Timeline item has a Link field that makes the whole card clickable. Post Timelines have an Enable Links switch that links each card to its post. Avoid other links inside a linked card, since links within links are not allowed.
Can the timeline pull blog posts automatically?
Yes, with the Post Timeline type in Master Addons Pro. It reads your published posts, and you control the order, the number of posts and the category, tag or author filters.
Why do the cards look blank until I scroll?
Animate Cards is on. Each card stays hidden until it scrolls into view, then it slides in. Turn Animate Cards off in the Cards section of the Style tab if you want every card visible from the start.
Trending Elementor Widgets & Extensions
Build sophisticated websites in less time.
Glassmorphism
Container Extras
Patterns
![Master Addons Post/Page Duplicator extension for Elementor: MA Duplicator row link in the WordPress Pages list creating a Landing Page - [Duplicated #128] draft](https://d1asvmc6qcowgk.cloudfront.net/wp-content/uploads/2026/09/15102930/post-page-duplicator-768x403.webp)
Post/Page Duplicator