

A countdown creates urgency, and urgency moves people to act. The free Countdown Timer widget in Master Addons for Elementor drops a timer on any page that ticks down to a date you set. It has two free style presets, eight more with Pro, and control over every label, unit and color from the Elementor panel.
It fits sales, launches, webinars, and back-in-stock notices, anywhere a deadline pushes a decision. You pick a target date, choose a preset like Card (or Circle with Pro), decide which time units to show, then style it to match your brand. Below is a run through every setting.
What the Countdown Timer widget does #
The widget counts down to a date and time you set, showing years, months, days, hours, minutes, and seconds. You decide which of those units appear, what each one is labeled, and how the whole thing looks through a set of style presets.
It has three tabs: Content for the date, units, and presets, Style for the colors and spacing, and Advanced for the usual Elementor options. Master Addons Pro also adds a repeat option that restarts the timer on a fixed cycle.
Before you start #
- WordPress with Elementor installed and active.
- Master Addons for Elementor installed and active. New to the plugin? See the installation guide.
- The target date and time you are counting down to.
How to add the Countdown Timer widget #
In the Elementor editor, open the Elements panel and search for Countdown Timer, or scroll to the Master Addons section. Drag it onto your page. It loads with a working timer so you can see the units right away.
Set the date and repeat option #
Open the Content tab. The Timer section holds the basics.
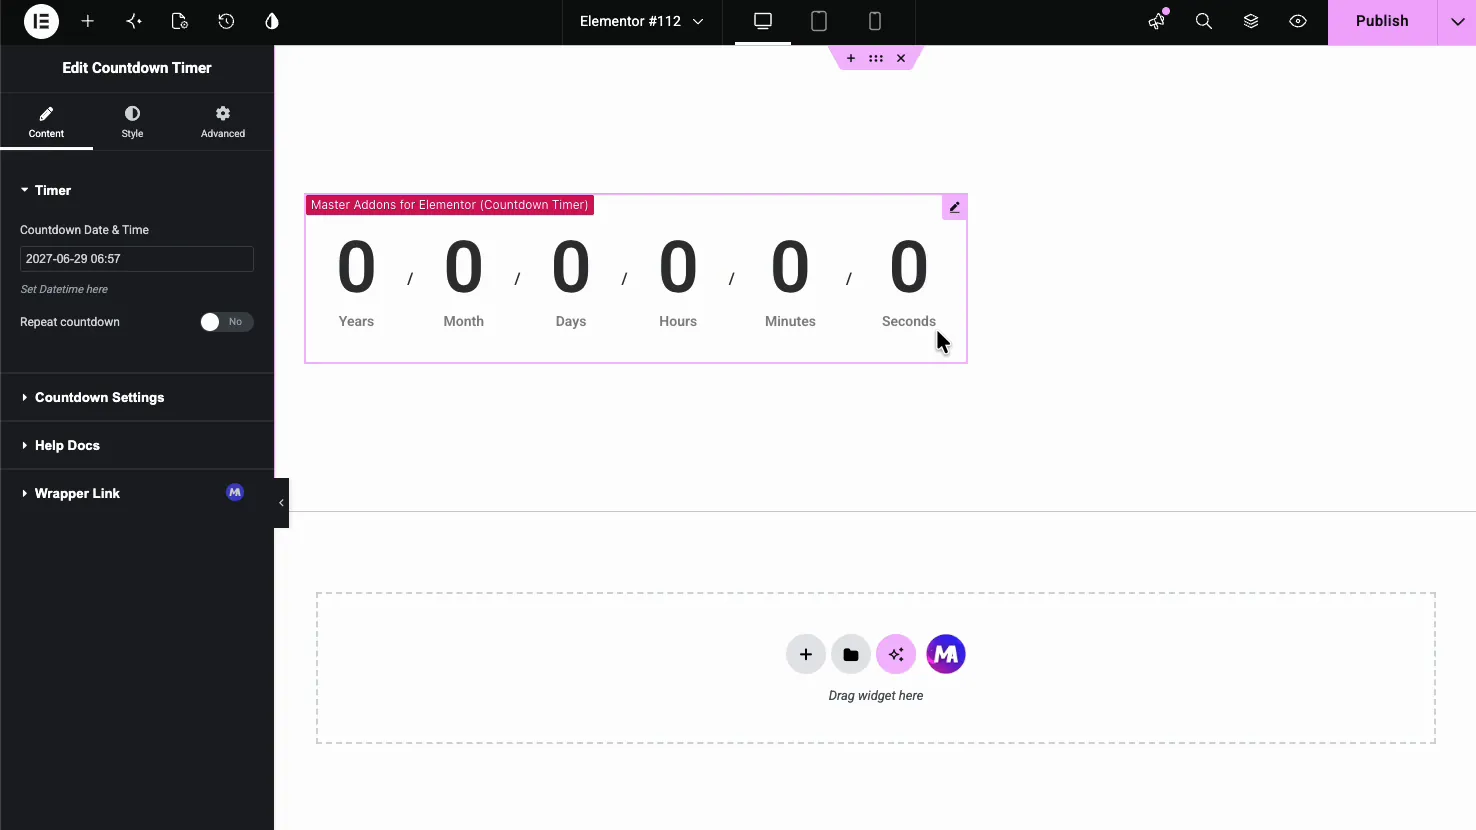
- Countdown Date & Time: the moment the timer counts down to. Pick it from the date picker.
- Repeat countdown (Pro): set a cycle length in years, months, days, hours, minutes and seconds. The timer restarts after each cycle until the main end date, and every visitor sees the same cycle.
Countdown settings: layout, units, and labels #
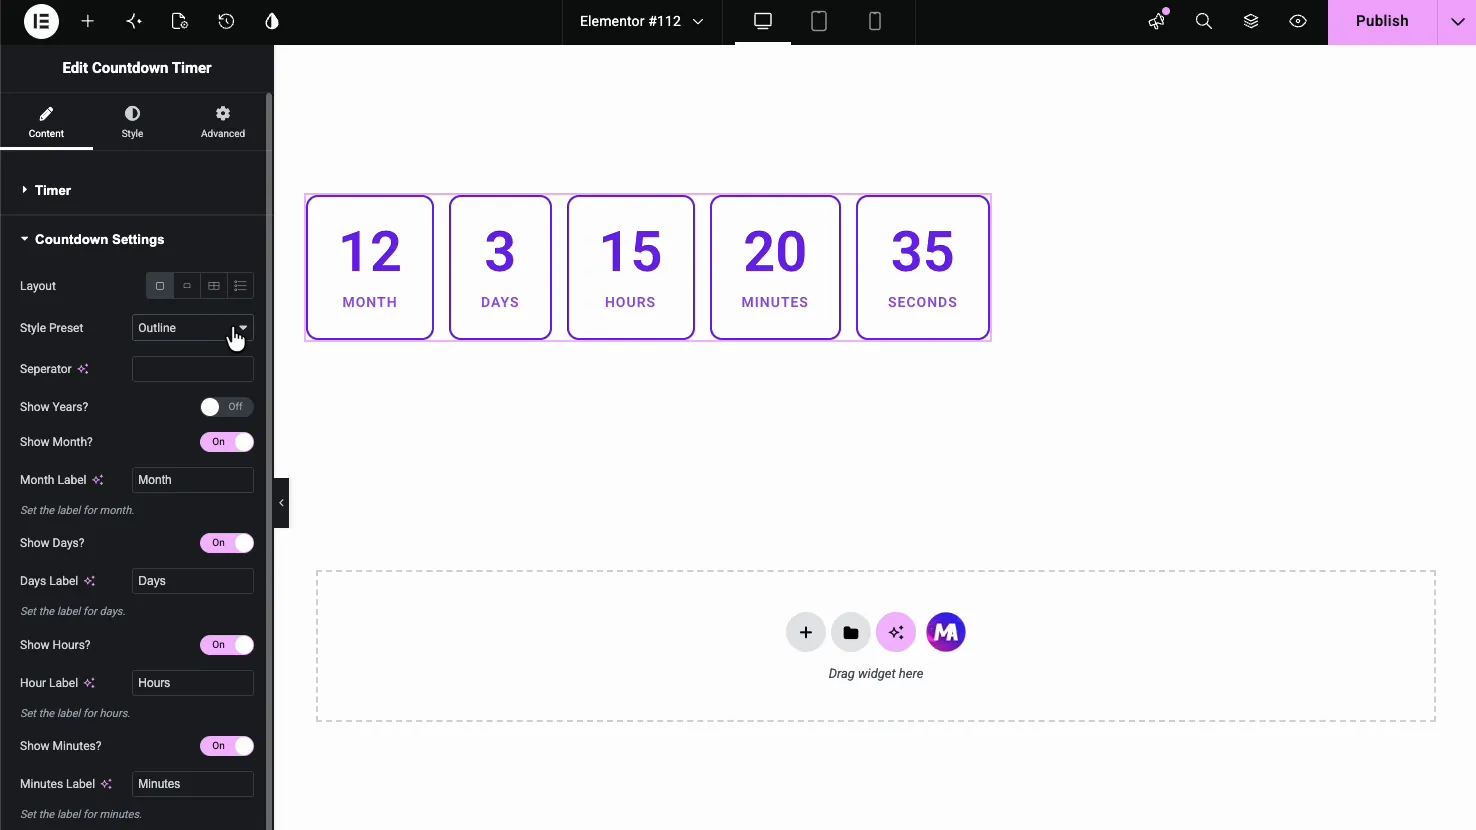
The Countdown Settings section controls what the timer shows. A Layout switcher sets the arrangement (Block, Inline, Block Table or Inline Table), and the Style Preset dropdown changes the whole look in one click.
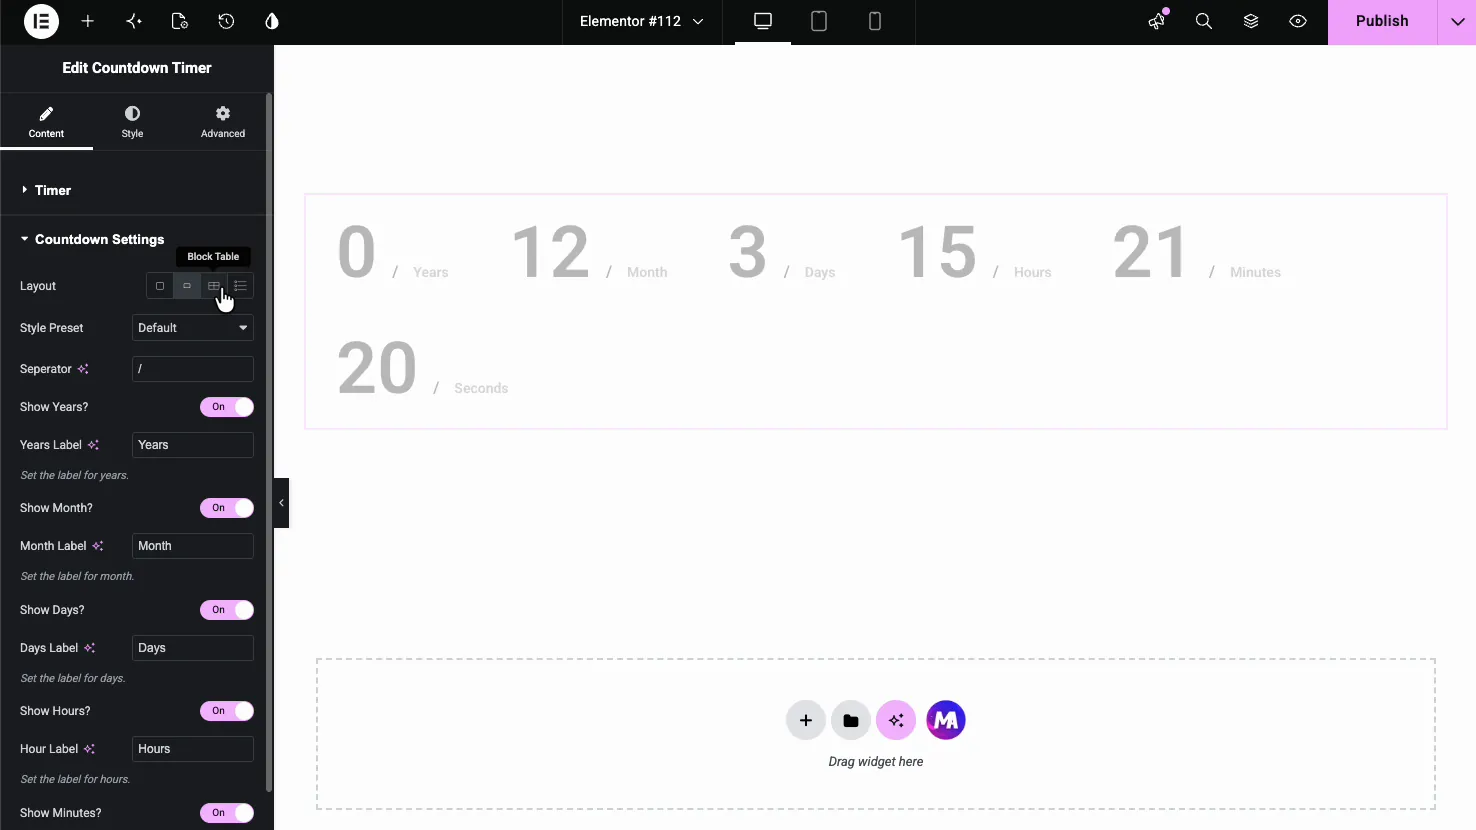
- Separator: the character shown between units, like a slash or colon. Leave it empty for none.
- Show Years, Month, Days, Hours, Minutes, Seconds: a toggle for each unit, so you can show only the ones that matter.
- Unit Labels: rename each unit (Years, Days, and so on), which helps when you are working in another language.
Choose a style preset #
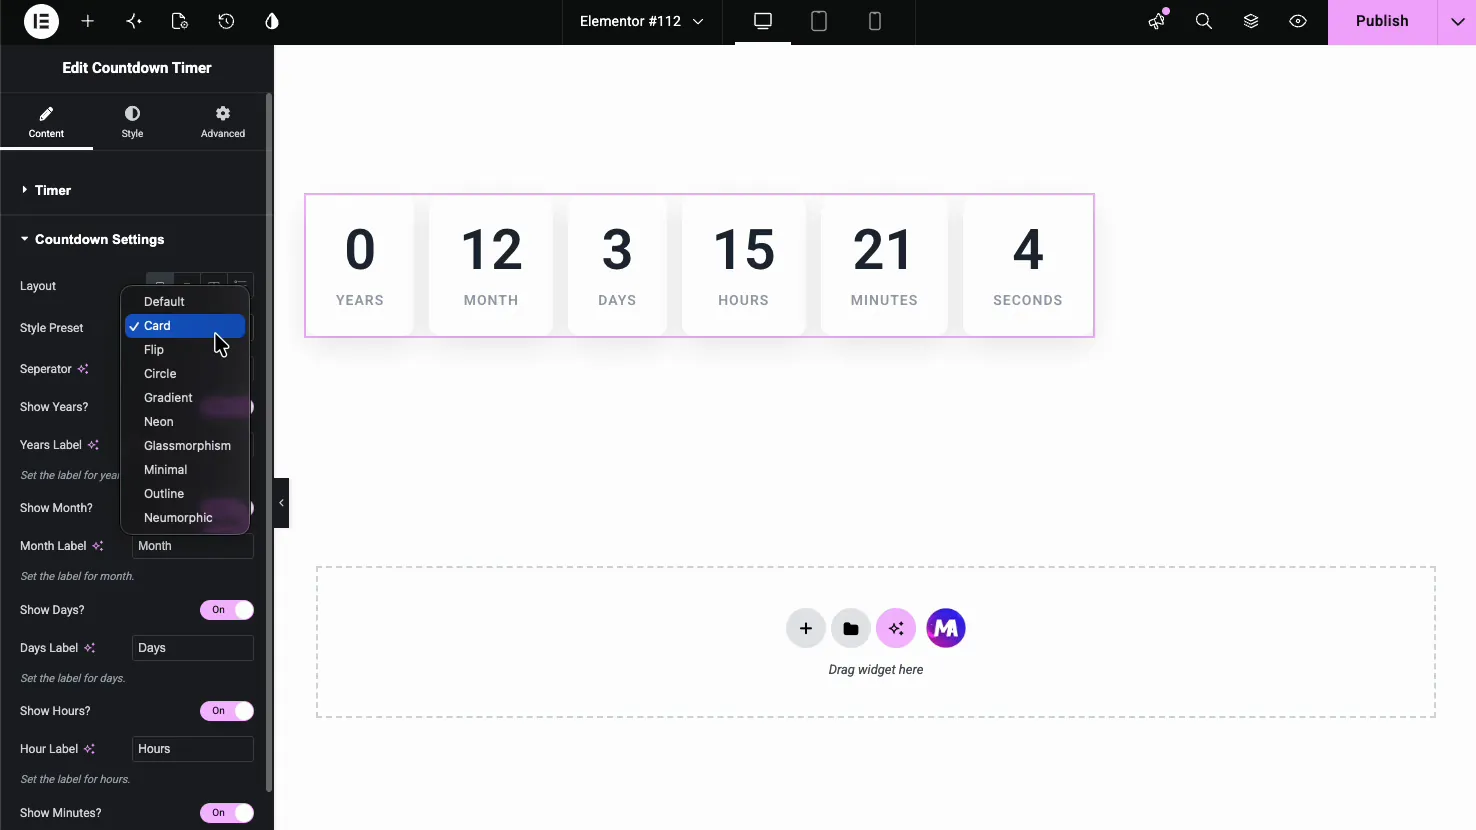
The Style Preset dropdown is where the widget stands out. It has ten looks. Default and Card are free, and Master Addons Pro adds Flip, Circle, Gradient, Neon, Glassmorphism, Minimal, Outline and Neumorphic. Each one restyles the timer without touching your content.
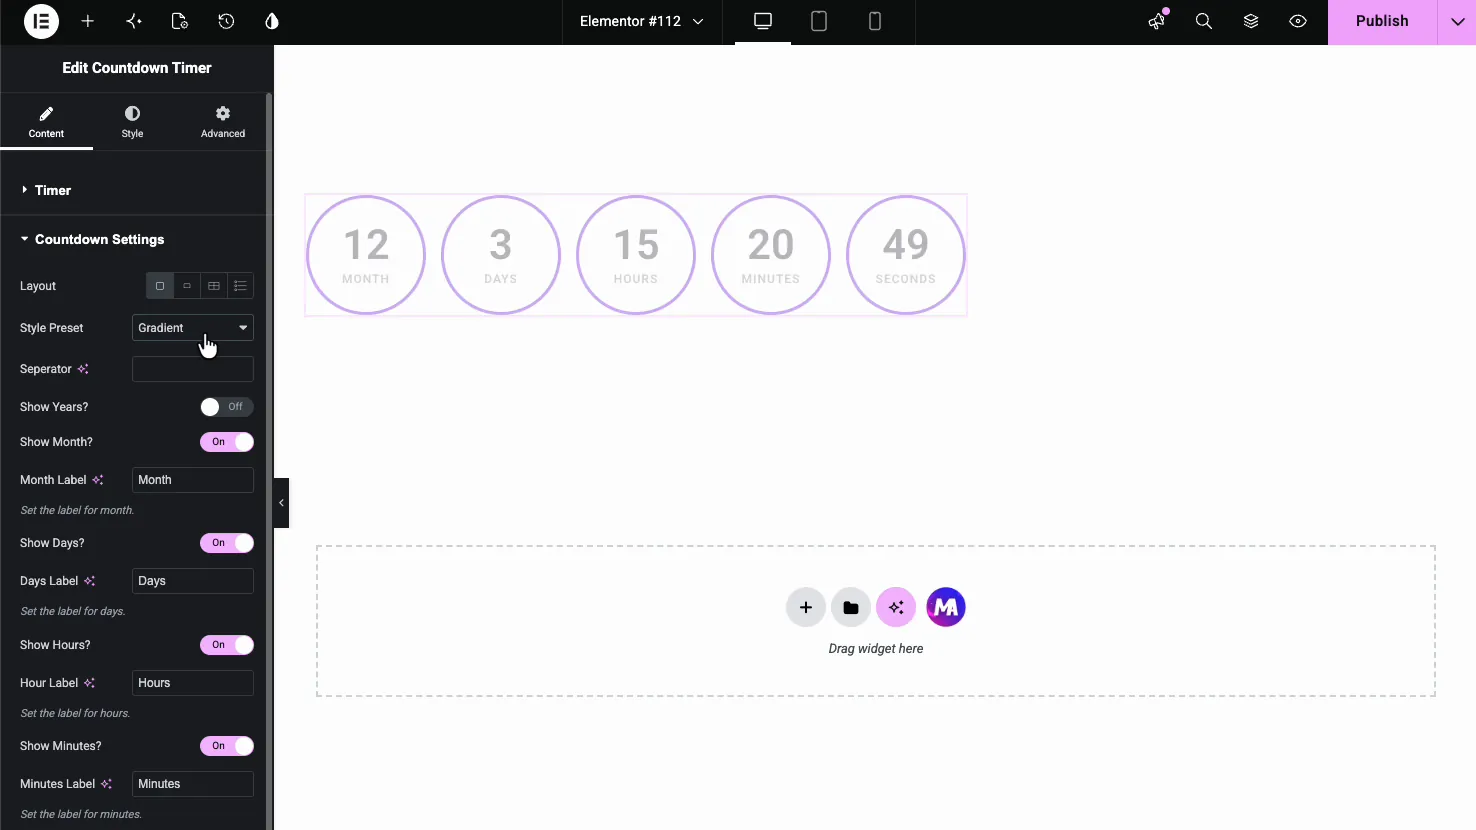
The Circle preset (Pro) wraps each unit in a ring, and pairing it with the Gradient option gives the numbers a colored fade.
The Outline preset (Pro) keeps it light, with each unit in a bordered box and no fill.
Style the timer #
The Style tab is split into Common Style, Counter Style, Seperator, and Label, plus Patterns (a Pro option). The Common Style section sets the size and frame of each unit box.
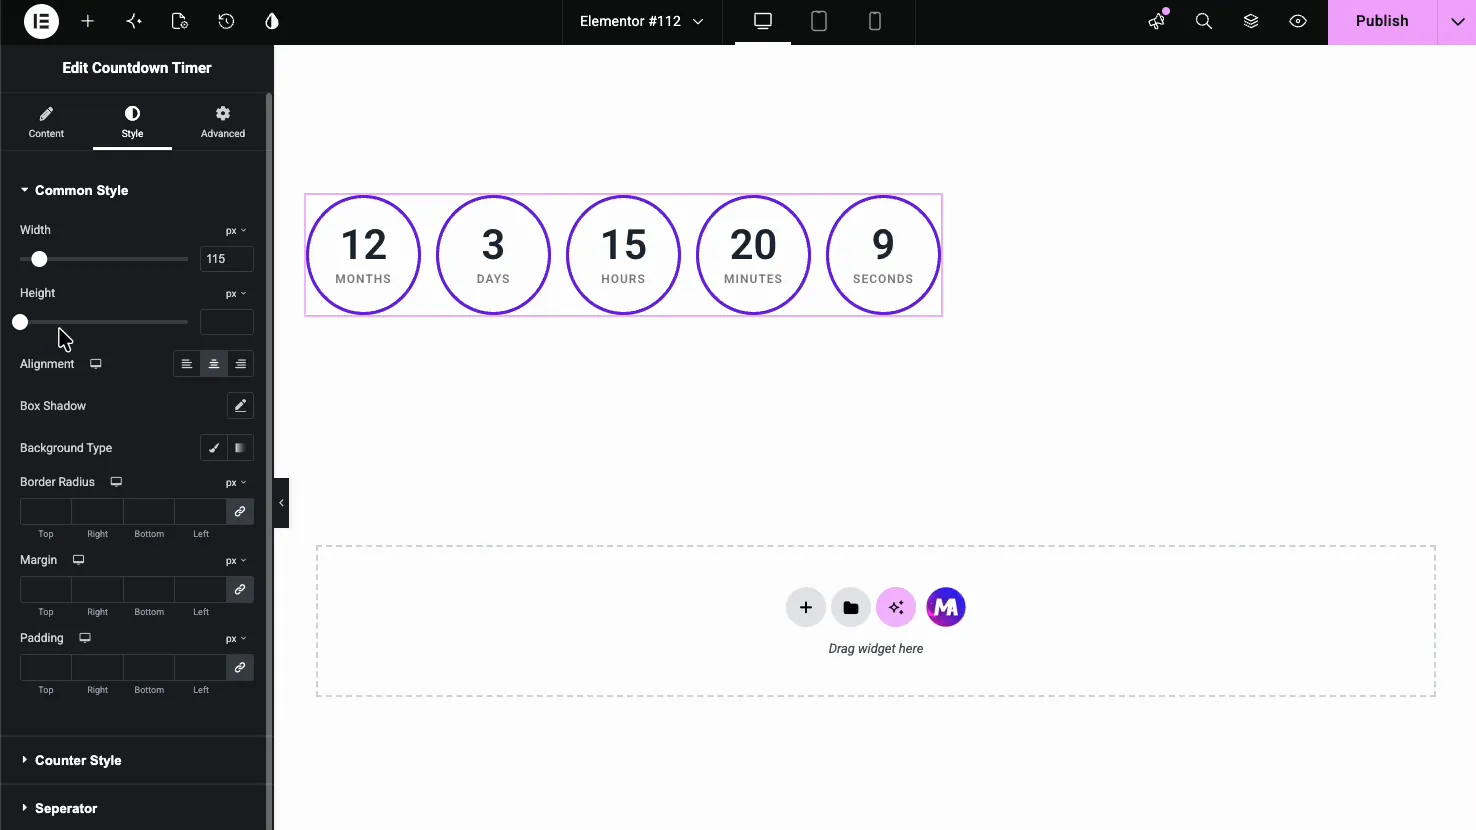
- Width and Height: the size of each unit box.
- Alignment: left, center, or right within the column.
- Box Shadow, Background Type, and Border Radius: the look of the boxes.
- Margin and Padding: spacing around and inside each box.
Counter, separator, and label styling #
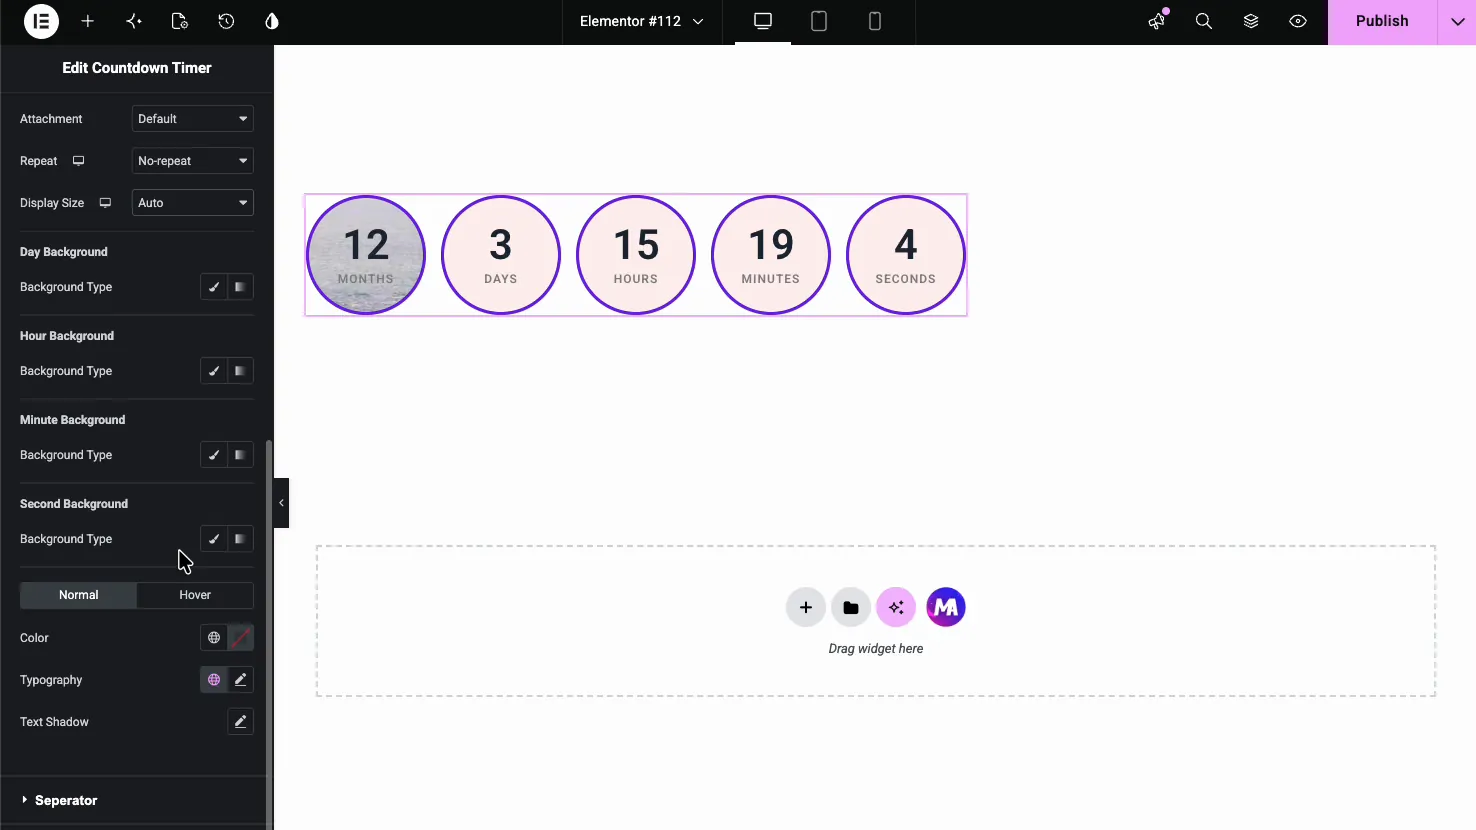
The Counter Style section goes deeper, with a separate background for each unit (Years, Month, Day, Hour, Minute, Second) plus the number’s color, typography, and hover state. The Seperator and Label sections then style the divider and the unit text.
The result on the page #
Publish or preview and the timer ticks down live in the preset and colors you picked. Here is the Card preset, a clean set of unit boxes with the number above each label.

Common use cases #
- Sales and promotions counting down to the end of a discount.
- Product launches building anticipation for a release date.
- Webinars and events showing time left until the start.
- Coming soon pages with a timer to launch day.
- Recurring offers using the Pro repeat option, for example a daily deal.
Tips for working with the Countdown Timer widget #
- Show only the units you need. A timer for a one-day flash sale does not need years and months.
- Match the preset to the page. Card fits most pages. With Pro, Neon and Gradient suit bold landing pages, and Minimal and Outline fit clean layouts.
- Use the repeat option for recurring deals (Pro). It restarts the timer on a fixed cycle, the same for every visitor.
- Rename labels for your audience. The label fields make translating the units quick.
- Pair it with a button. A timer next to a clear call to action turns urgency into clicks.
Frequently Asked Questions #
What is the Countdown Timer widget in Master Addons?
It is an Elementor widget that counts down to a date and time you set, showing years, months, days, hours, minutes, and seconds. It comes with two free style presets, eight more with Pro, and full control over labels, units, layout, and colors, all set from the Elementor panel.
How many style presets does the Countdown Timer have?
Ten. Default and Card are free; Flip, Circle, Gradient, Neon, Glassmorphism, Minimal, Outline and Neumorphic need Master Addons Pro. You switch between them from the Style Preset dropdown, and each one restyles the whole timer without changing your date or unit settings.
Can I make the countdown repeat?
Yes, with Master Addons Pro. Turn on Repeat countdown in the Timer section and set the cycle length. The timer restarts after each cycle until the main end date, and every visitor sees the same cycle.
Can I hide some of the time units?
Yes. The Countdown Settings section has a separate Show toggle for years, months, days, hours, minutes, and seconds. Turn off the ones you do not need, so a short sale can show just days, hours, minutes, and seconds.
Can I change the unit labels?
Yes. Each unit has its own label field in Countdown Settings, so you can rename Years, Days, Hours, and the rest. This makes it easy to translate the timer into another language or shorten the labels to fit a tight layout.
Wrapping up #
The Countdown Timer widget turns a deadline into a live, styled timer that pushes visitors to act. Set your date, pick a preset, choose which units to show, then style the boxes, numbers, and labels to match your page. For more time-based tools, see the Business Hours widget, browse the full Master Addons widgets and extensions, and see the Countdown Timer widget page for a comparison with Elementor Pro’s Countdown. The extra presets and repeat option need Pro, so check the pricing page for plans.


