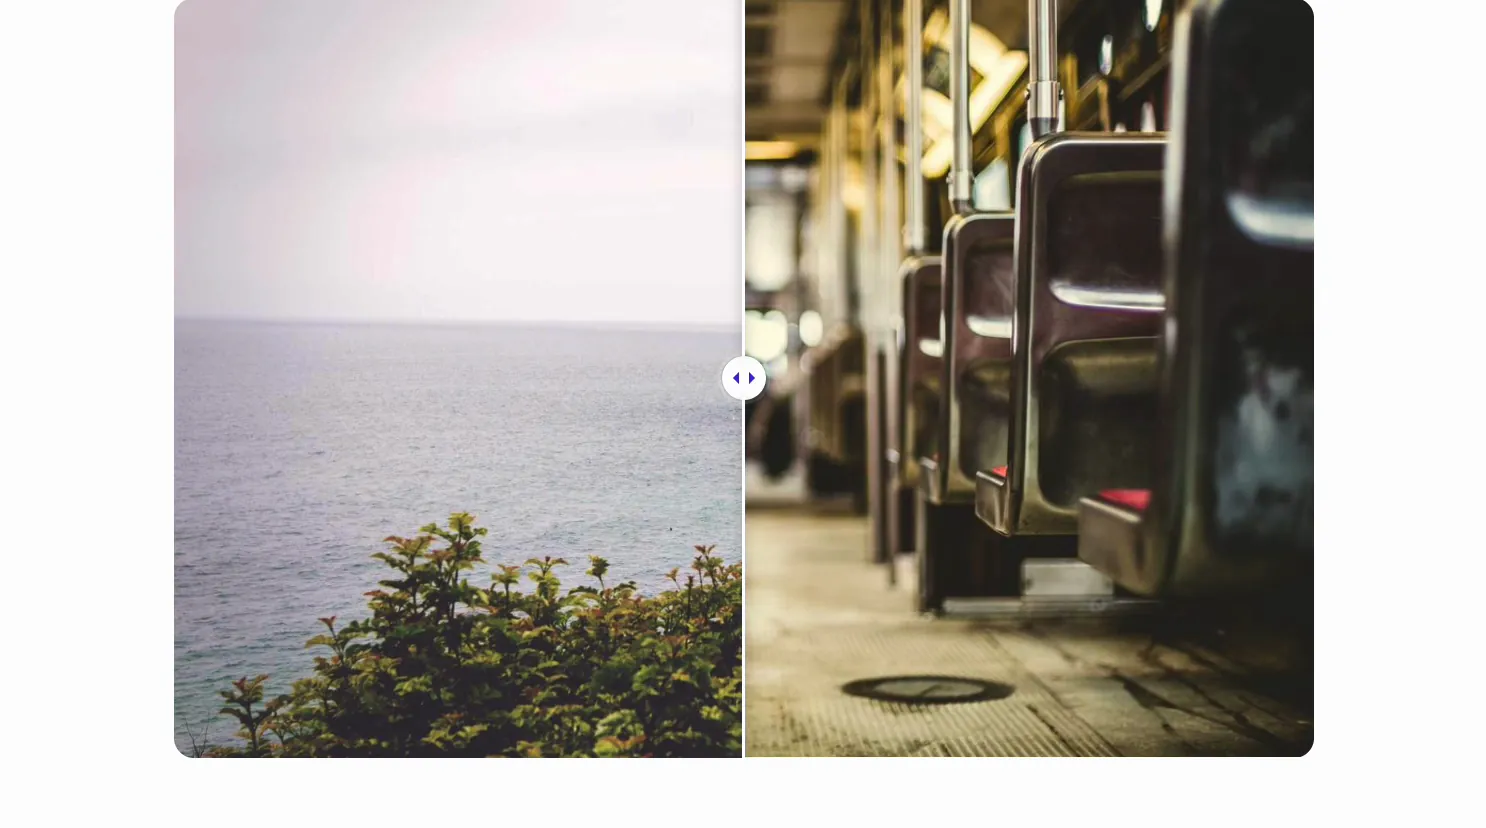
Some things are easier to show than tell: a retouched photo, a room after a remodel, a design before and after a cleanup. The Image Comparison widget in Master Addons for Elementor stacks two images and drops a draggable handle between them, so visitors slide to reveal the difference themselves.
You load a before image and an after image, add labels, pick a vertical or horizontal split, then style the handle and labels to match your site. This guide covers every setting in the widget.
What the Image Comparison widget does #
The widget shows two images in the same frame, one on top of the other, with a slider handle down the middle. Drag the handle and it wipes between the before and after image. You can label each side, flip the split from left-right to top-bottom, and decide whether the handle follows a drag, a click, or a hover.
There are two tabs to work with. Content holds the two images, the labels, and the slider behavior. Style controls the layout, the overlay labels, and the handle. The usual Elementor Advanced options sit alongside them.
Before you start #
- WordPress with Elementor installed and active.
- Master Addons for Elementor installed and active. New to the plugin? See the installation guide.
- Two images that line up, same size and framing, so the slide reads as one scene.
How to add the Image Comparison widget #
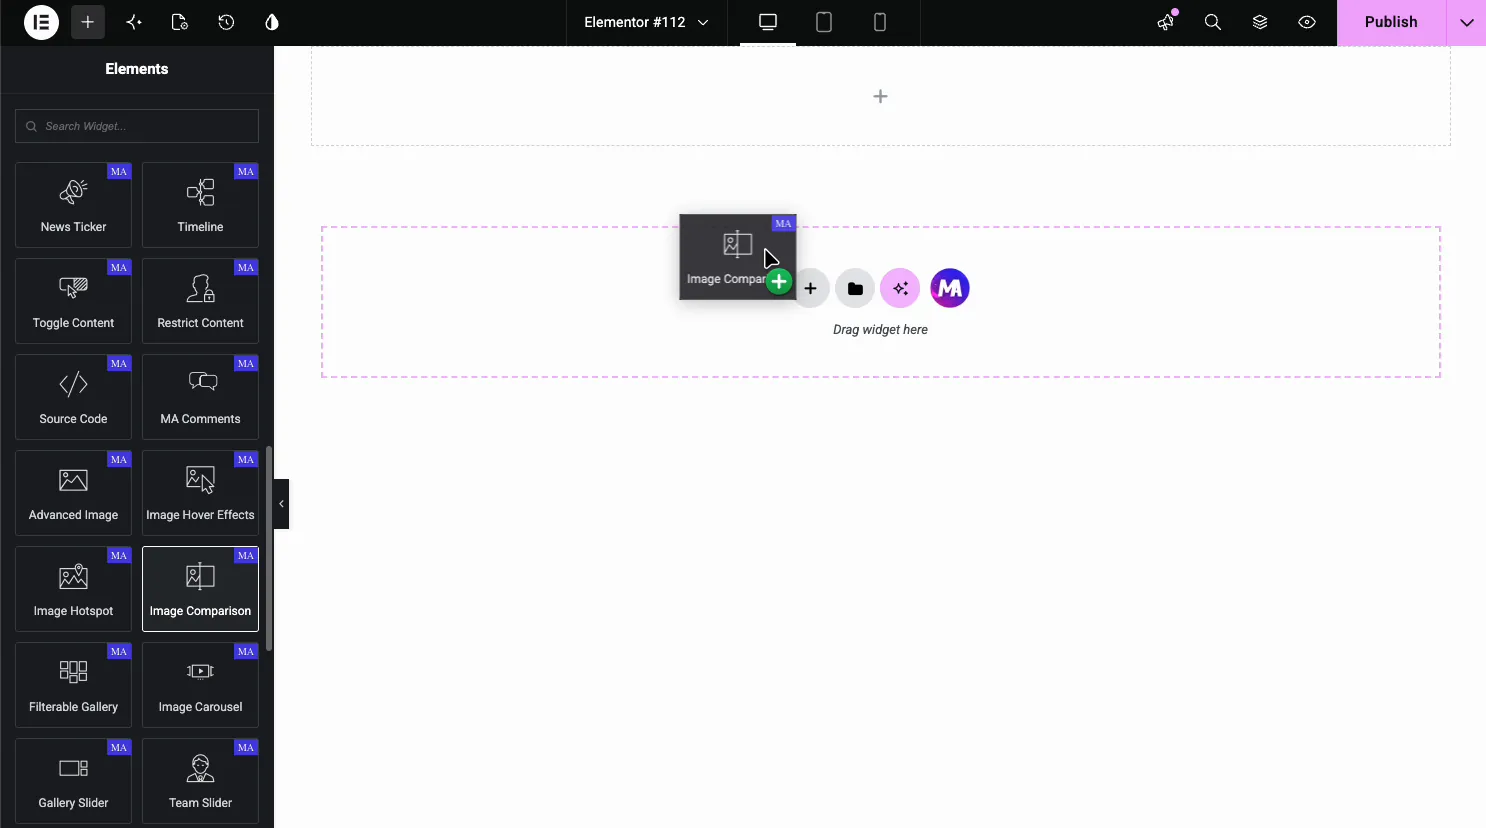
In the Elementor editor, open the Elements panel and search for Image Comparison, or scroll to the Master Addons section (the widgets carry a purple MA badge). Drag it onto your page and it loads with two sample images and a slider you can start editing right away.
Load the two images #
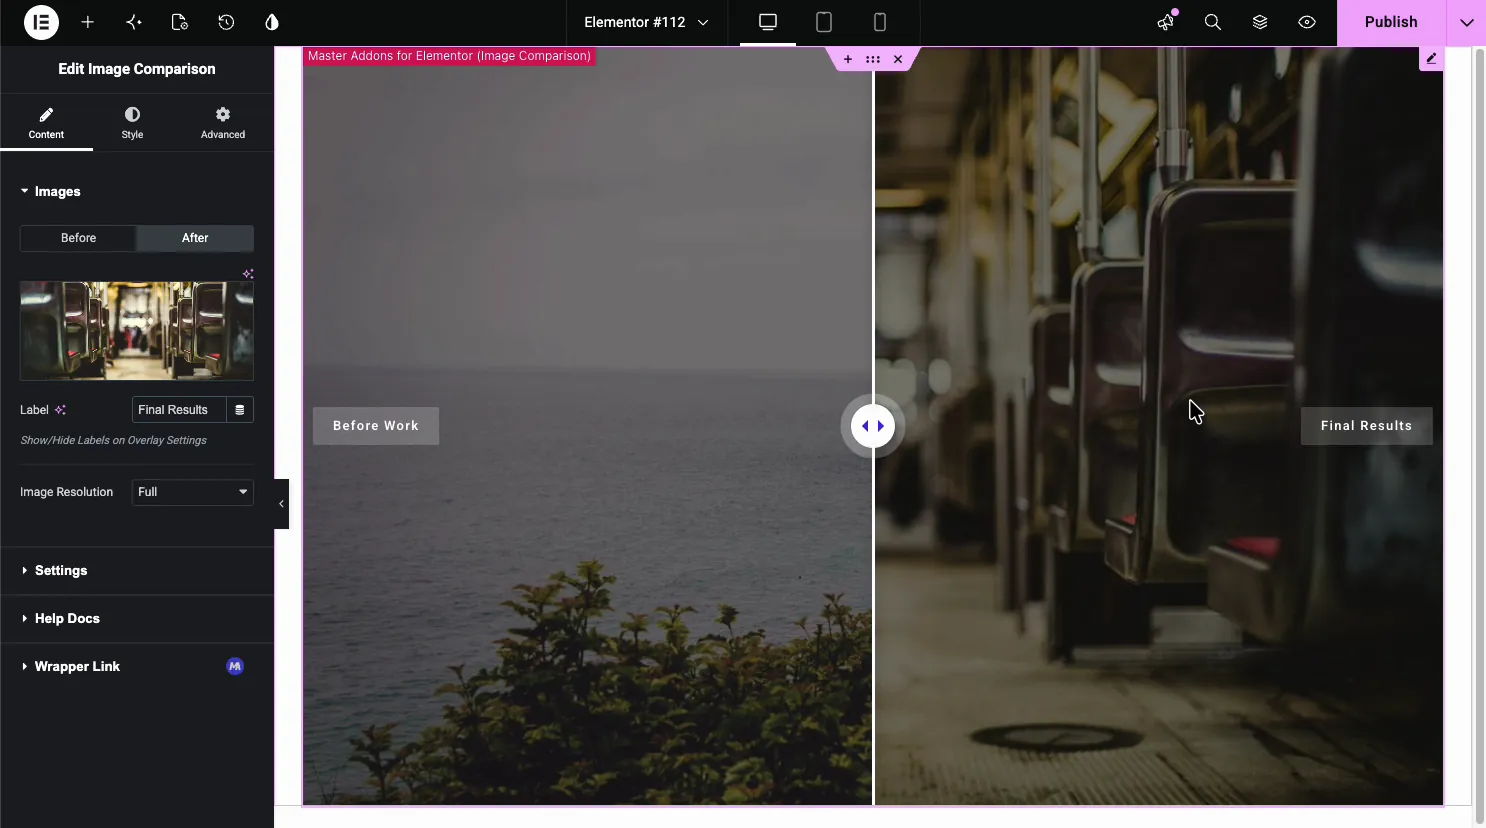
Open the Content tab. The Images section has a Before and an After tab, and each one sets its own image, label, and resolution.
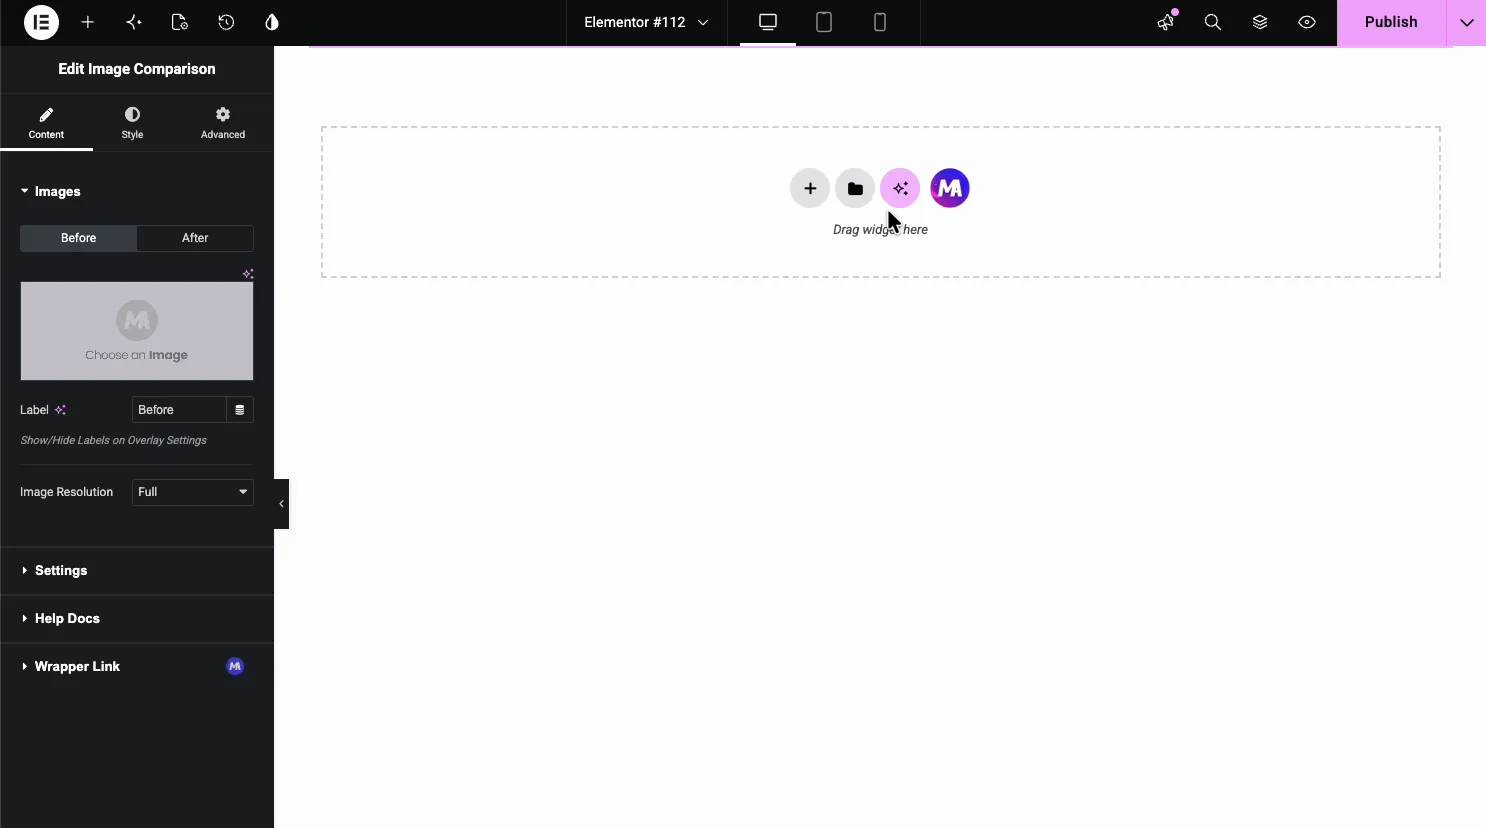
- Before / After tabs: switch between the two sides to set each image.
- Choose an Image: pick the picture for that side from the media library.
- Label: a short caption for the side, like Before Work or Final Results.
- Image Resolution: the size served, like Full or Large.
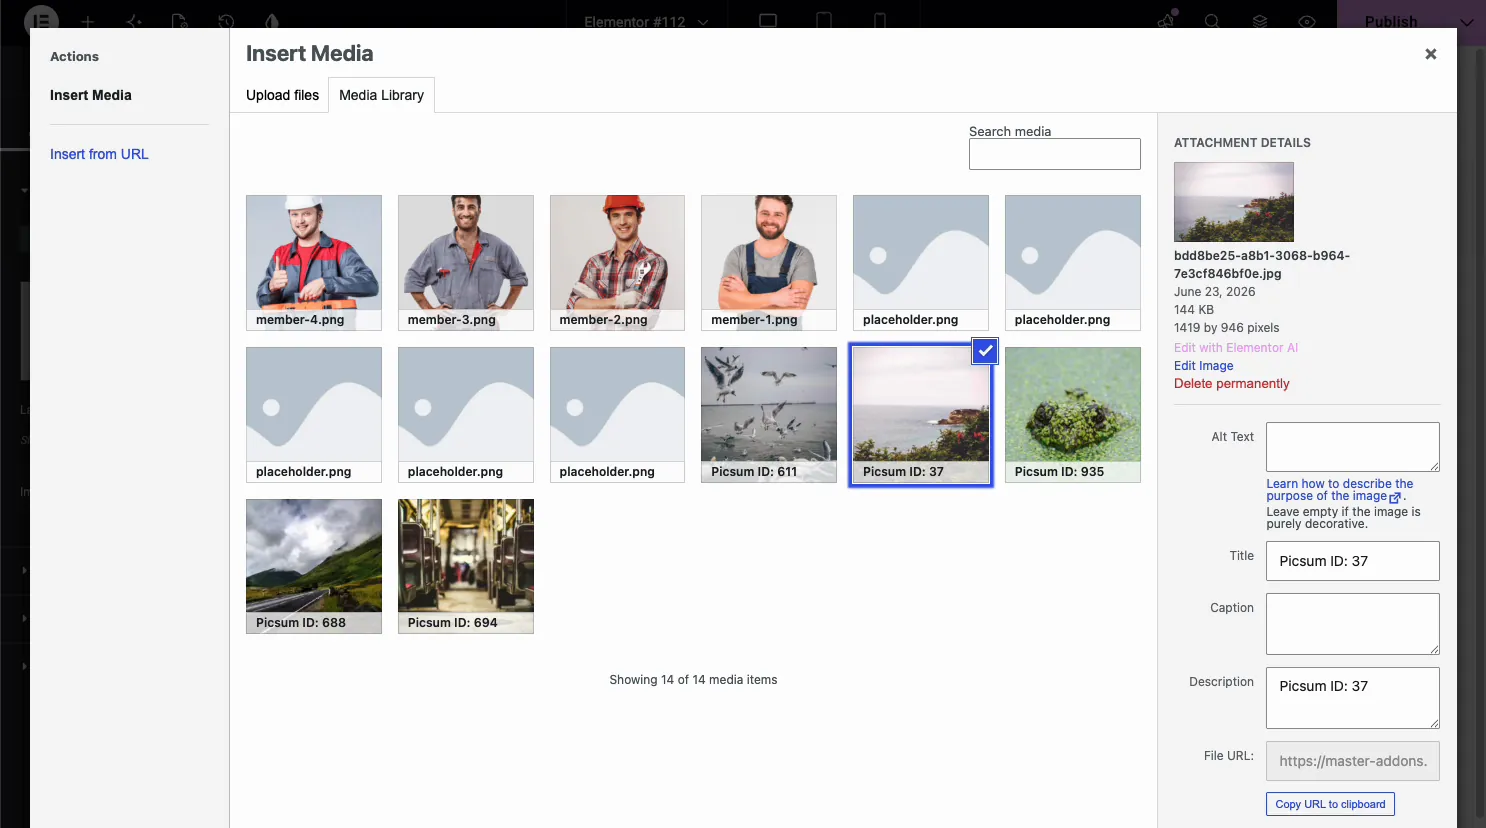
Pick each image from the library #
Click Choose an Image and the WordPress media library opens. Set the before image on the Before tab, then switch to the After tab and pick the second one. Easy thing to forget: the tab you are on decides which side you are changing, so check it before you hit select.
Set the labels #
Type a Label on each tab and the widget prints it as an overlay on that side of the image. The before label sits on one side, the after label on the other, so visitors know which is which without you spelling it out.
Adjust the slider settings #
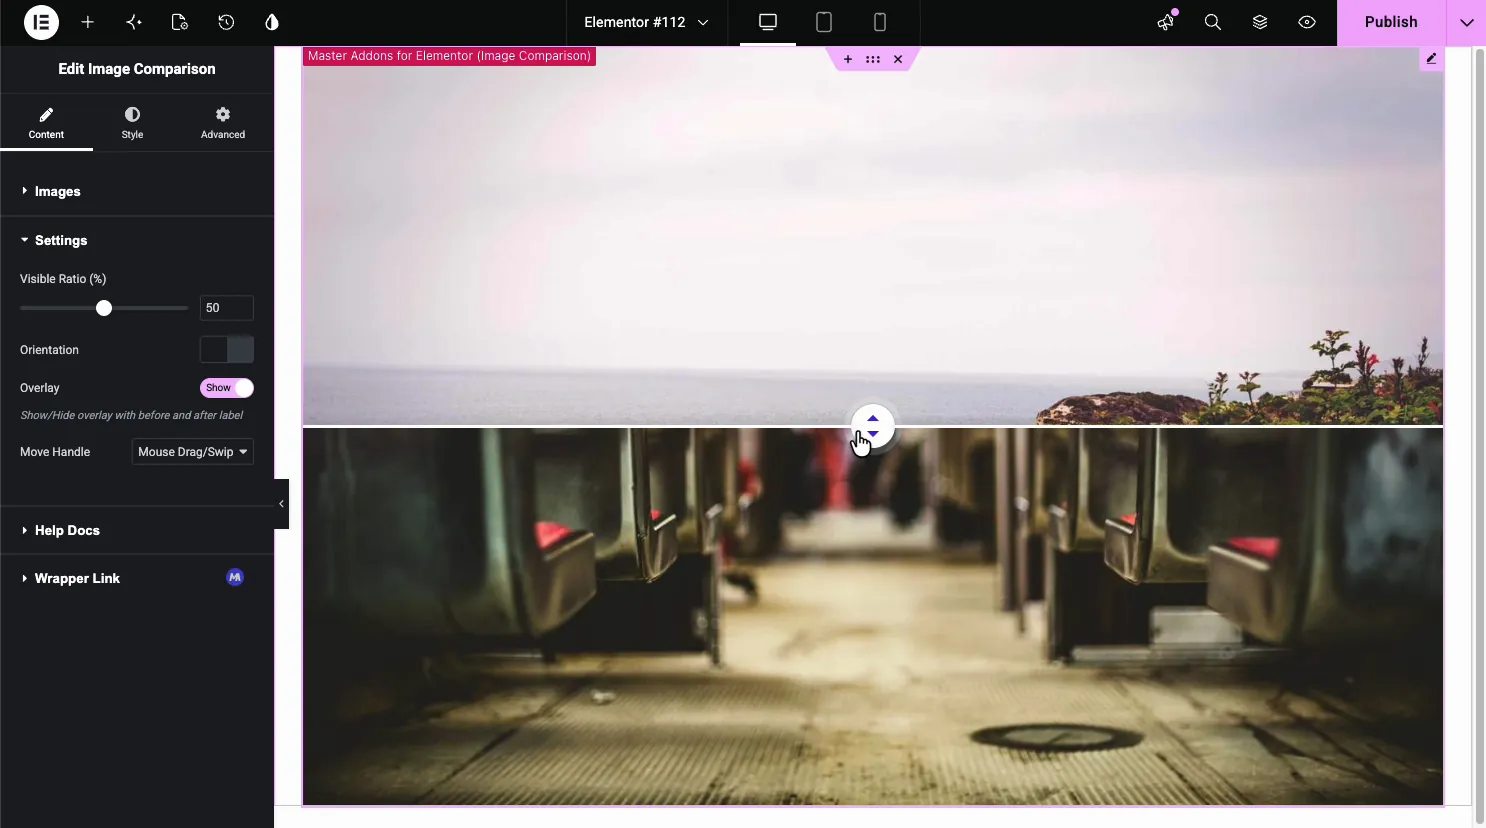
Open the Settings section for how the slider behaves. This is where you set the starting position, the direction of the split, and what moves the handle.

- Visible Ratio (%): where the handle starts, so you can open on the before or after side.
- Overlay: show or hide the before and after labels.
- Move Handle: drag or swipe, click, or hover to move the slider.
Switch the orientation #
The Orientation toggle flips the split from vertical to horizontal. Vertical gives a left-right wipe. Horizontal stacks the before image on top and the after below, with an up-down handle, which usually reads better for tall photos.
Style the layout, handle, and labels #
Open the Style tab. There are sections for Layout Style, Overlay, Handle, and Label, so the slider matches your design instead of the default look.
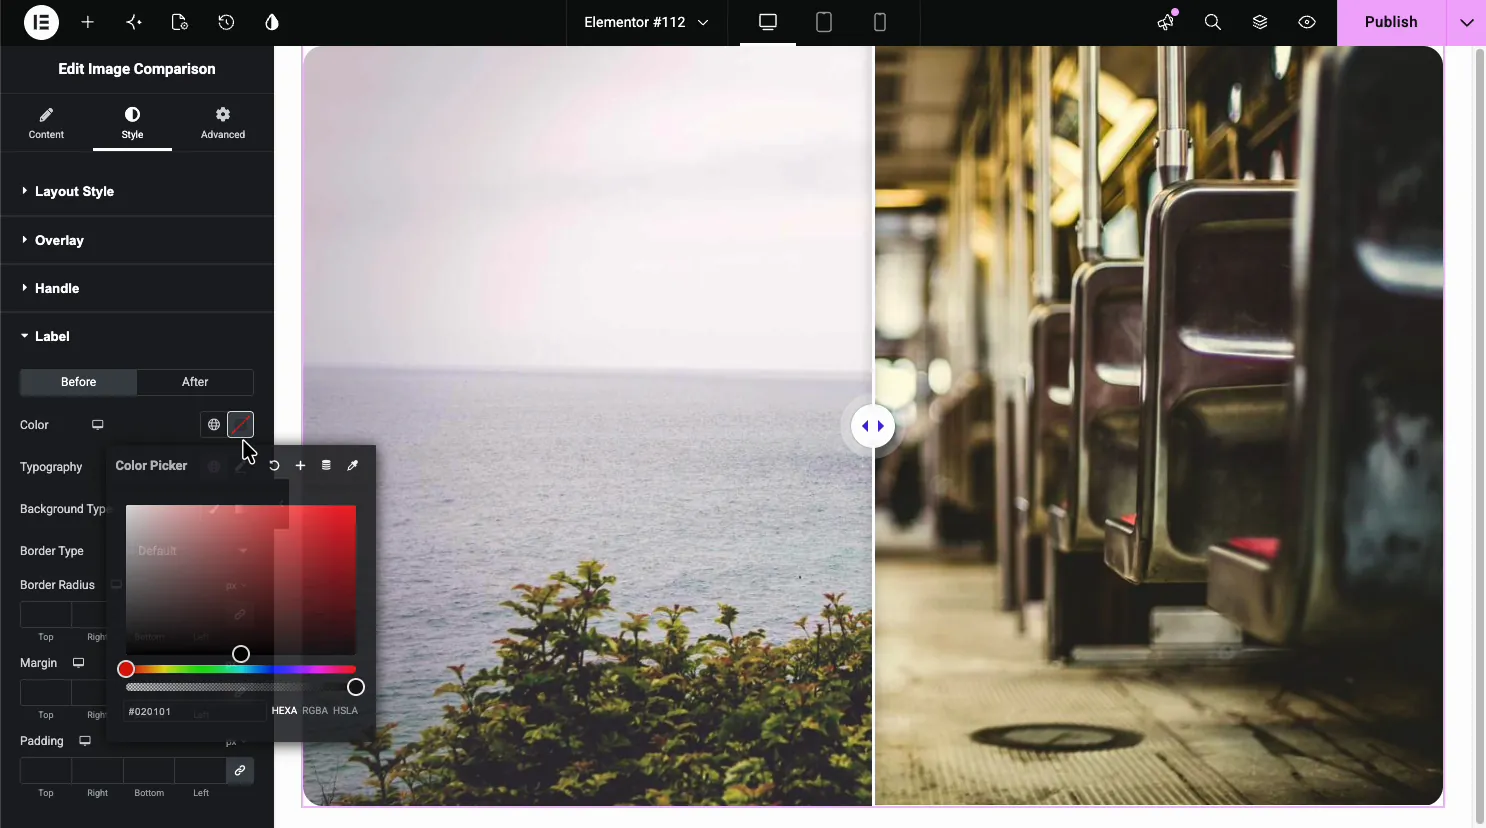
- Layout Style: border type, radius, and box shadow around the whole slider.
- Handle: the color, size, and style of the drag control.
- Label: per-side color, typography, background, border, and spacing for the captions.
Common use cases #
- Photo editing showing a raw shot next to the retouched version.
- Home and renovation before and after a remodel or clean-up.
- Design and dev old layout versus redesign.
- Health and fitness progress shots side by side.
- Products a plain item next to the finished or styled result.
Tips for working with the Image Comparison widget #
- Match the two images. Same size, angle, and crop so the slide reads as one scene, not two photos jammed together.
- Set the starting ratio. Open partway with Visible Ratio so visitors can tell there is something to drag.
- Keep labels short. Before and After, or two words, sit cleaner over the image than a full sentence.
- Pick the right trigger. Drag suits desktop. Hover feels quick but can catch touch users off guard, so test it on a phone before you ship.
- Use horizontal for tall shots. A top-bottom split works better for portrait images than a narrow left-right wipe.
Watch the video tutorial #
Prefer to follow along on screen? The video tutorial below walks through the Image Comparison element from start to finish, showing how the images, labels, slider settings, and styling work in the Elementor editor.
Frequently Asked Questions #
What is the Image Comparison widget in Master Addons?
It is an Elementor widget that stacks a before and an after image with a draggable handle between them. Visitors slide the handle to wipe from one image to the other, with optional labels on each side, all set from the Elementor panel with no code.
How do I add before and after labels?
Open the Images section and type a Label on the Before tab and the After tab. Each label prints as an overlay on its side of the image. You can show or hide them with the Overlay toggle in Settings and style them in the Label section of the Style tab.
Can I make the slider vertical or horizontal?
Yes. The Settings section has an Orientation toggle. The default is a vertical left-right split; switch it and the images stack top and bottom with an up-down handle. Horizontal works well for portrait images or tall screenshots.
How do visitors move the comparison slider?
The Move Handle dropdown in Settings sets the trigger. The handle can follow a mouse drag or swipe, move on click, or track hover. Drag is the most common on desktop, while click is the safest choice for touch screens.
Do I need images of the same size?
For the best result, yes. The two images sit in the same frame, so matching size, angle, and crop makes the slide read as one scene. If the images differ, set a fixed Image Resolution so both are served at the same dimensions.
Wrapping up #
The Image Comparison widget turns two images into an interactive before and after: load the two pictures, add labels, set the orientation and handle, then style the slider to match. For related widgets, see the Image Hotspot widget and the Image Hover Effects widget, browse the full Master Addons widgets and extensions, and check the pricing page for what each plan includes.


