

Key Takeaways
- An Elementor post timeline places published blog posts along a vertical line in date order, and it updates by itself each time a new post is published.
- Elementor and Elementor Pro have no timeline widget, so a post timeline needs an addon or a custom Loop template styled with CSS.
- The Post Timeline type in the Master Addons Timeline widget is part of Master Addons Pro, and it is selected with the Timeline Type control in the Content tab.
- The Post Timeline query has Posts Per Page, Post Order, Order By with nine choices, Category, Filter By Tag, Author, Posts to Exclude and Offset Post Count.
- Each Post Timeline card can show the post title, the featured image, an excerpt with a set length and a Read More button, and Enable Links makes the whole card clickable.
- Post Timelines in the Master Addons widget are vertical only, while the horizontal carousel layout is reserved for hand-written Custom Timeline items.
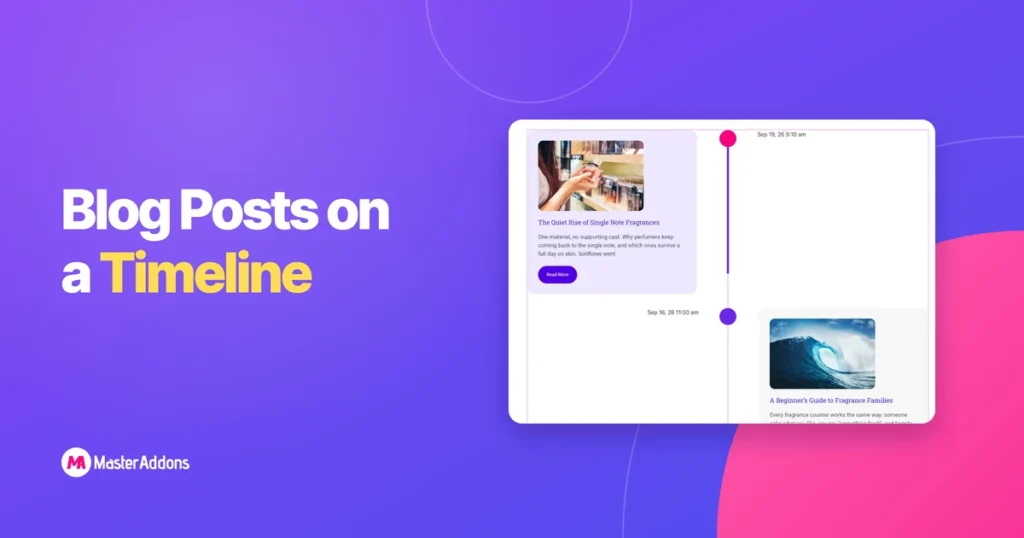
An Elementor post timeline turns your blog archive into a dated line: newest post at the top, each one a card with its title, image and excerpt. Elementor has no widget for this, so the steps below use the Post Timeline type of the Master Addons Timeline widget, which is a Pro feature.
This guide covers the query settings, the filters, what each card shows and how to style it. It also covers when a grid from the Blog widget would serve you better than a timeline.
Table of Contents
What a post timeline is, and when to use one
A post timeline is a dynamic timeline whose entries come from your WordPress posts instead of items you type by hand. Publish a post and it appears on the line. Nobody has to edit the page.
That makes it a good fit for content where the date is the point:
- Company news and press releases
- Release notes, where each post is a version
- A project diary or build log
- Event recaps through a season
It is a weaker fit for an ordinary blog index. Readers there scan for topics, and a grid shows more posts per screen.
How to build a post timeline in Elementor
You need Elementor, Master Addons Pro and at least a few published posts with featured images. Then it takes five steps.
Step 1: Set Timeline Type to Post Timeline
Edit the page with Elementor, search the widget panel for Timeline and drag it in. In the Content tab, open the Timeline section and change Timeline Type from Custom Timeline to Post Timeline. The sample items disappear and your latest posts take their place.
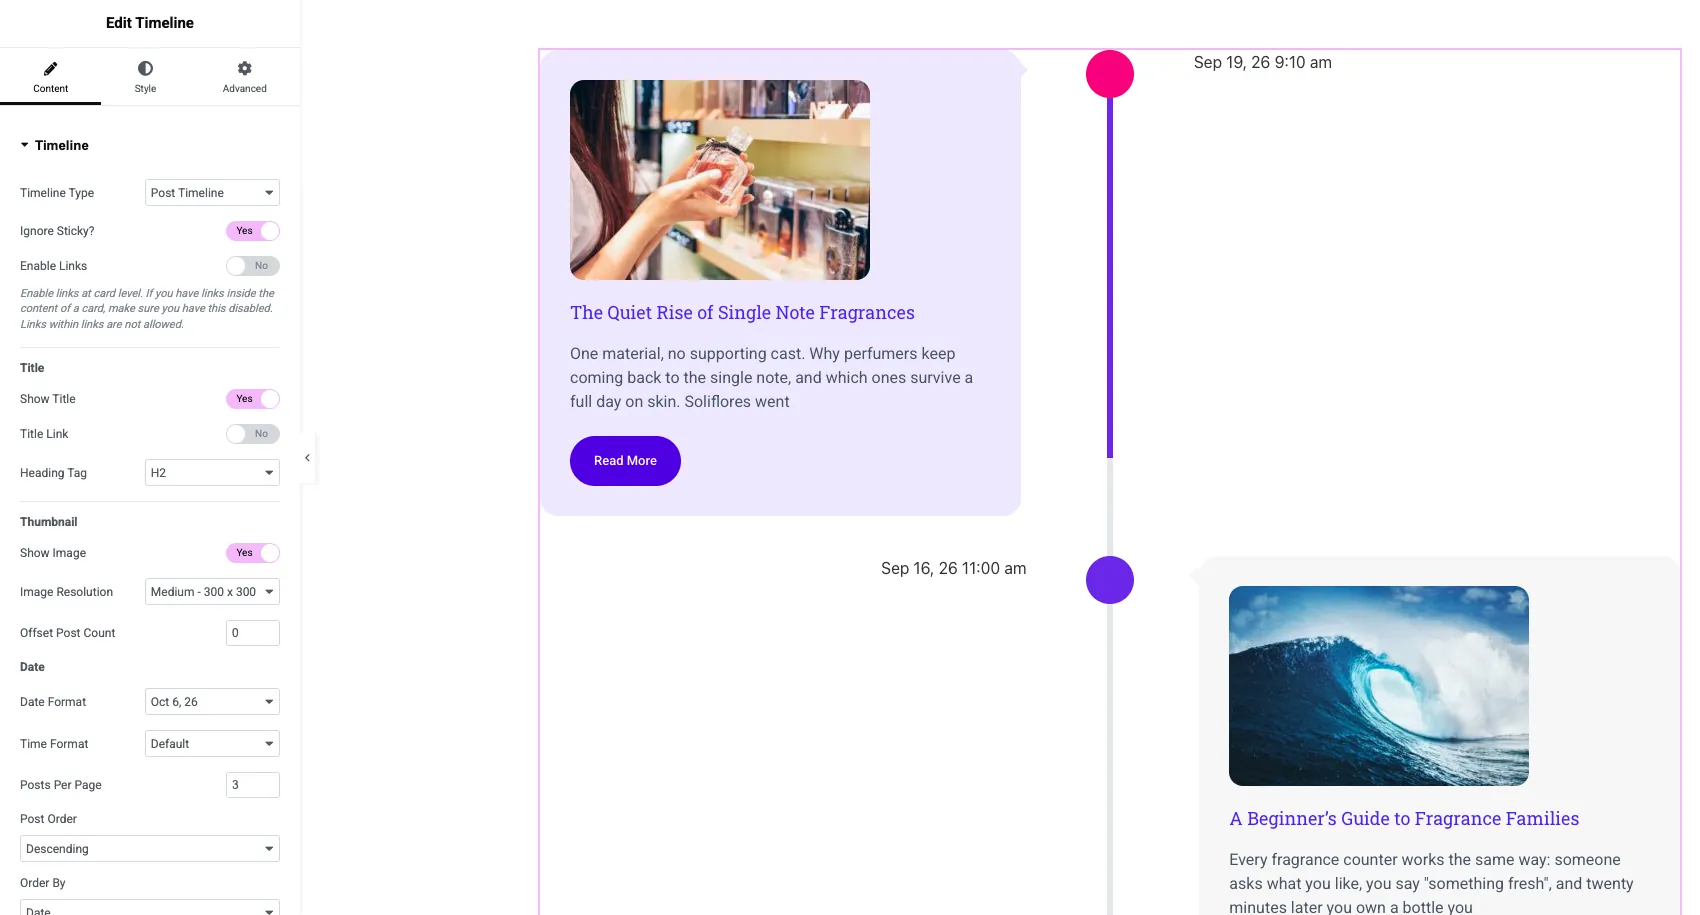
The Timeline Style dropdown is gone at this point. A Post Timeline is always vertical.
Step 2: Set the query
Scroll down the same section to the query controls. These decide which posts load and in what order.
| Control | What it does |
|---|---|
| Posts Per Page | How many posts the timeline shows |
| Post Order | Descending (newest first) or Ascending |
| Order By | None, ID, Author, Title, Name, Date, Last Modified, Random or Number of Comments |
| Offset Post Count | Skips that many posts from the start of the list |
| Ignore Sticky? | Stops sticky posts from jumping to the top |
For a timeline, leave Order By on Date. Random or Title ordering breaks the one thing a timeline promises, which is order in time. Use Ascending when the story should read from the beginning, like a project diary.
Offset Post Count is handy when a featured post already sits above the timeline. Set it to 1 and the timeline starts from the second post.
Step 3: Filter by category, tag or author
Below the order settings are four filters: Category, Filter By Tag, Author and Posts to Exclude.
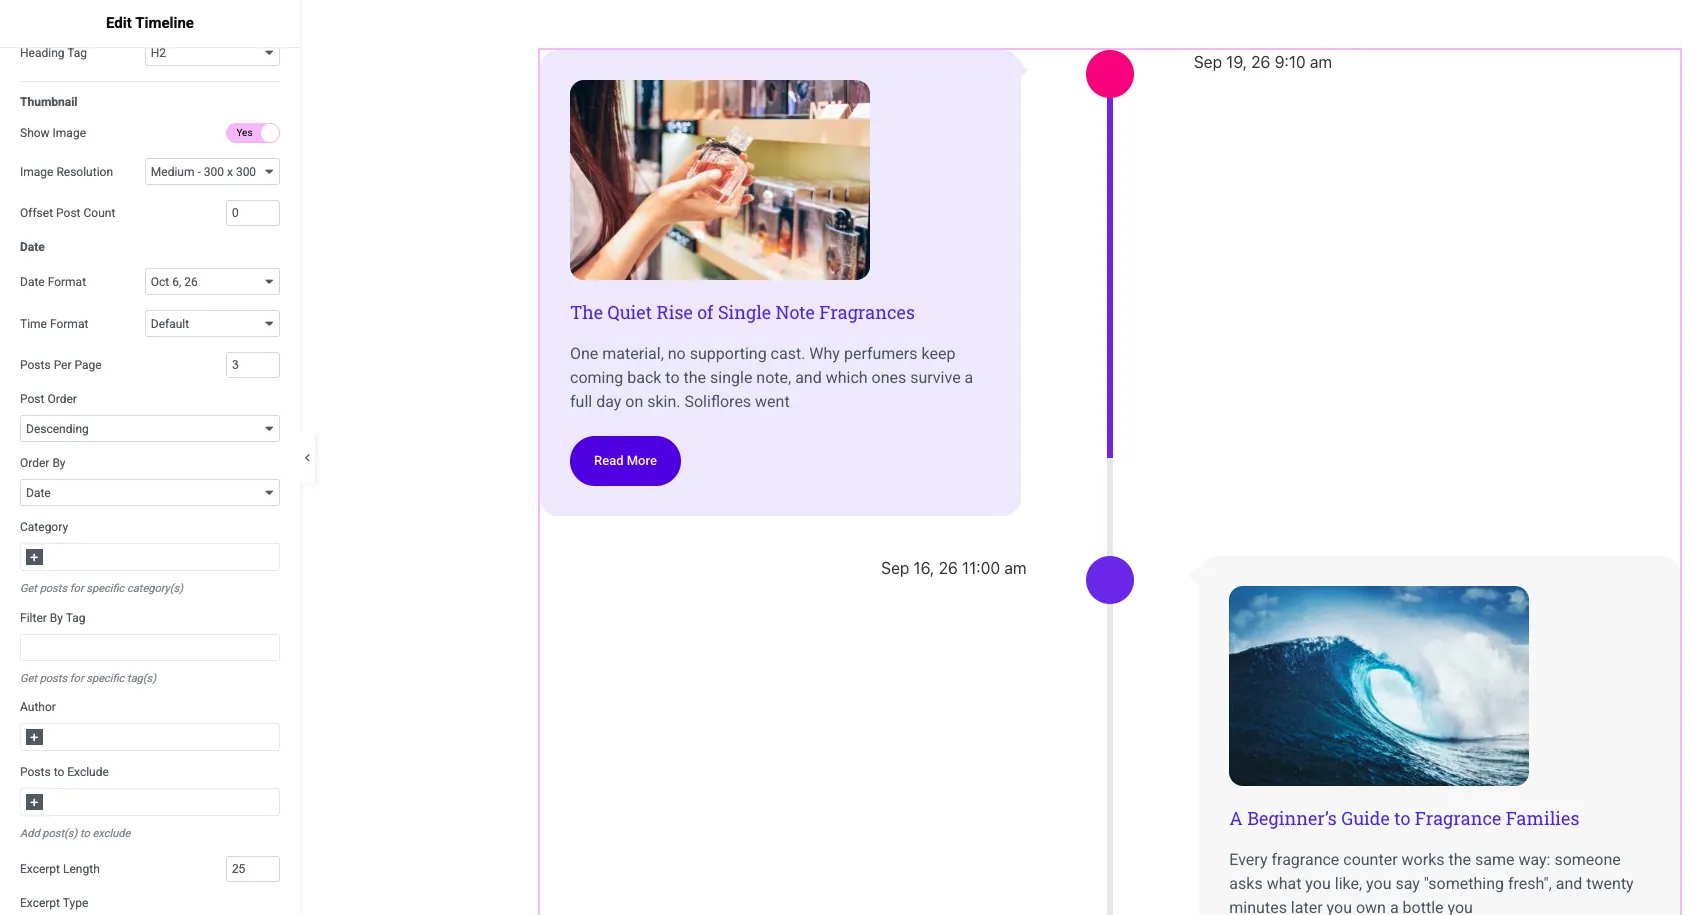
A category filter is the usual way to build a focused timeline. Put release posts in a “Releases” category, select it here, and the widget becomes a changelog that writes itself. Posts to Exclude removes single posts that do not belong, such as an announcement you do not want on the line.
Step 4: Choose what each card shows
The top of the section controls the card content.
- Show Title, with Title Link and a Heading Tag. H2 is the default. Pick a lower level if the timeline sits under an H2 of its own.
- Show Image and Image Resolution for the featured image.
- Date Format and Time Format for the date beside each point.
- Excerpt Length, Excerpt Type and Read More Text for the summary and button.
- Enable Links makes the whole card link to the post.
Turn on either Enable Links or Title Link, not both. A link inside a linked card is invalid HTML, and the panel warns about it under the switch.
Step 5: Style the posts and cards
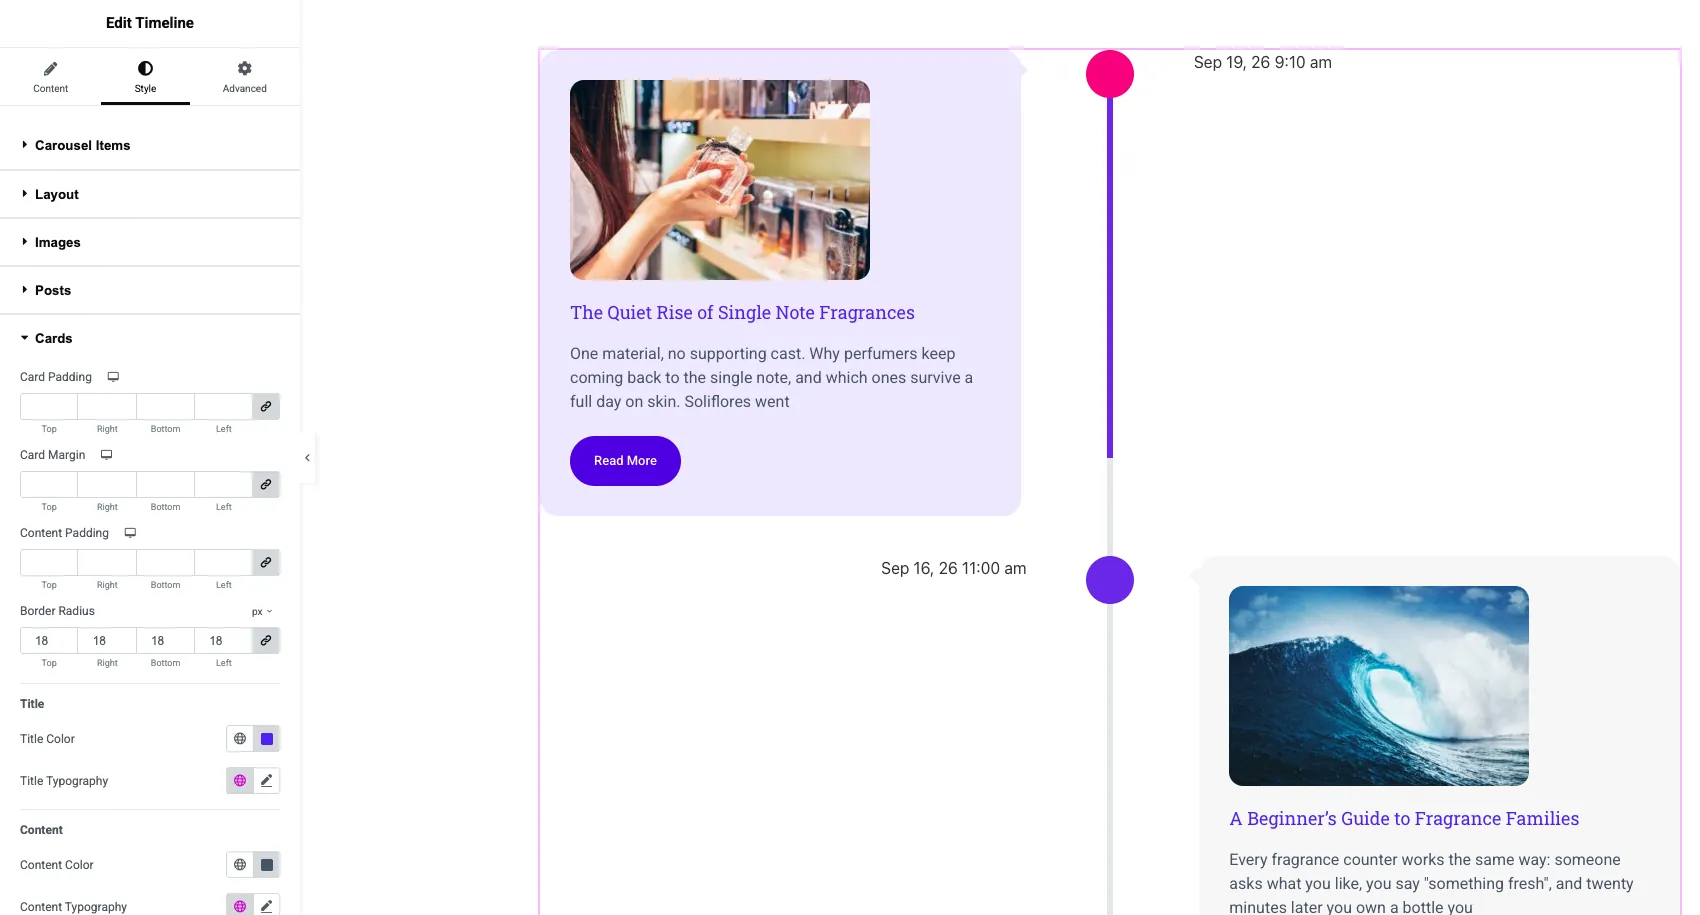
Go to the Style tab. The Posts section styles what is specific to a Post Timeline: Title Color, title typography and spacing, Excerpt Color, and the Read More Button with typography, padding, border radius and Normal and Hover colors.
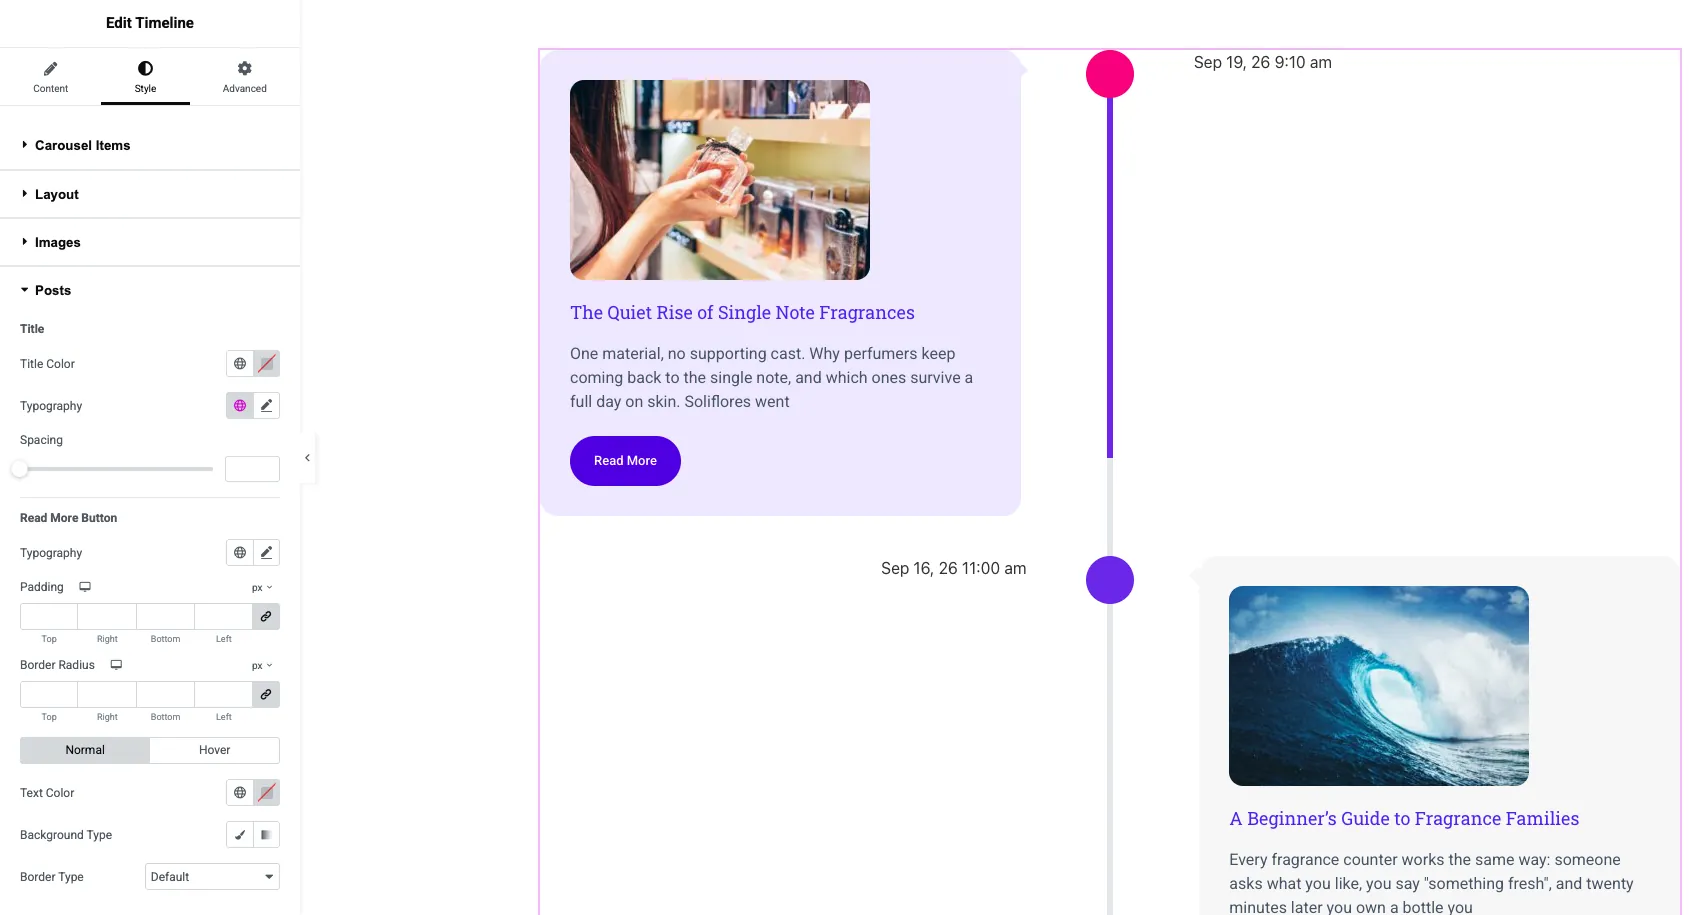
The rest is shared with every timeline. Cards sets padding, border radius and background, with separate Default, Hover and Focused looks. Line sets the track and the progress color that fills as the visitor scrolls. Points and Dates style the markers and the date text.
The main timeline tutorial goes through the Line, Points and Dates sections one by one.
Need both timeline types? The Timeline widget page compares Custom Timeline and Post Timeline side by side, with live demos.
Post Timeline vs Custom Timeline
Pick Post Timeline when the entries already exist as posts, and Custom Timeline when you want to write every entry yourself.
| Factor | Post Timeline | Custom Timeline |
|---|---|---|
| Content comes from | Published posts | Items added in the panel |
| Updates | Each time you publish | When you edit the widget |
| Layouts | Vertical | Vertical or horizontal carousel |
| Each entry shows | Title, featured image, date, excerpt, Read More | Date or custom label, content, image, link |
| Plan | Master Addons Pro | Master Addons |
| Best for | News, release notes, diaries | Company history, roadmaps, process steps |
If you want the carousel layout, see how to create a horizontal timeline in Elementor.
Timeline or blog grid: which one?
Use a timeline when order matters more than choice, and a grid when readers are browsing.
| If you are building | Start with |
|---|---|
| A news or press page | Post Timeline |
| Release notes from a category | Post Timeline with a category filter |
| The main blog index | Blog widget in grid or list layout |
| Related posts under an article | Blog widget in carousel mode |
| A category or tag archive template | Blog widget with Current Query |
The grid route is covered step by step in how to create a blog page with Elementor. You can also use both: a three-post timeline of recent news on the home page, and the full grid on the blog page.
Frequently asked questions
Does Elementor have a post timeline widget?
No. Neither Elementor nor Elementor Pro ships a timeline widget. Elementor Pro can list posts with the Posts or Loop Grid widgets, but turning that into a timeline with a line and points takes custom CSS. An addon timeline widget does it from settings.
Is the Post Timeline in Master Addons a Pro feature?
Yes. The Post Timeline type needs Master Addons Pro. The Custom Timeline type, where you add each item by hand, does not use the post query at all.
Can a post timeline show posts from one category only?
Yes. Select the category in the Category control of the Timeline section. You can combine it with Filter By Tag and Author, and remove single posts with Posts to Exclude.
Can I make a horizontal post timeline?
Not in the Master Addons widget. Post Timelines are vertical. For posts in a horizontal row, use a post carousel, or add the entries by hand as Custom Timeline items and switch Timeline Style to Horizontal Timeline.
Does the timeline update when I publish a new post?
Yes. The widget queries your posts each time the page loads, so a new post that matches the filters appears without editing the page. If a cache plugin is active, the page updates once its cache is cleared.
Final thoughts
An Elementor post timeline needs three decisions: which posts (Category, Tag, Author, Posts to Exclude), in what order (Post Order and Order By, usually Date), and what each card shows (title, image, excerpt, Read More). The Post Timeline type handles all three from the Content tab and stays vertical.
See the layouts and demos on the Elementor Timeline widget page, or check Master Addons Pro pricing if you only need the post source.
Related reading
