
Every free Elementor user hits the same wall eventually. You can design pages all day, but the moment you try to change your header or footer, Elementor points you to a Pro subscription. The parts of your site that show up on every single page, the logo, the navigation, the footer columns, stay stuck with whatever your theme decided they should look like.
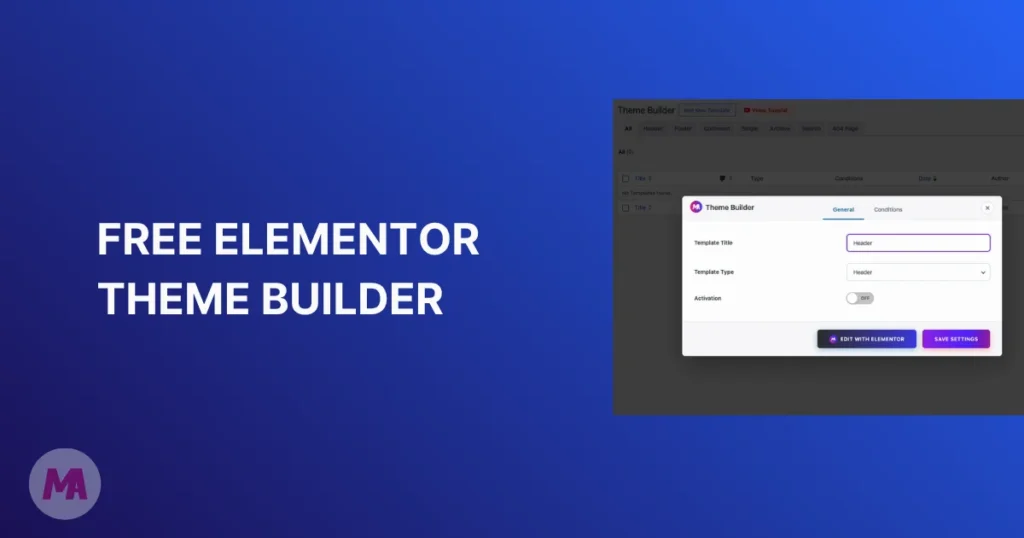
There’s a way around it that doesn’t involve paying for Elementor Pro or writing a line of PHP. The Master Addons Theme Builder gives you a free Elementor theme builder for headers, footers, single post layouts, archives, search results, 404 pages, and even comment forms. You design them with the same Elementor editor you already use, set a display condition, and they take over from your theme.
To test it properly, I built a complete custom header and footer for a plumbing business site. Every screenshot below comes from that build, and at the end I’ll give you an honest read on how it stacks up against Elementor Pro’s own theme builder.
A theme builder lets you design the template parts of your WordPress site, the pieces your theme normally controls, using a visual editor instead of theme files. Your theme decides what your header, footer, blog post layout, and 404 page look like. A theme builder replaces those theme-coded parts with templates you design yourself in Elementor, then applies them across your site automatically.
That distinction matters more than it sounds. Page builders edit content inside a page. Theme builders edit the frame around every page. Without one, your carefully designed Elementor pages sit between a header and footer you don’t control.
In Elementor itself, that capability costs money. The free version of Elementor has no theme builder at all; you need Elementor Pro, which starts at $59 per year for one site. Master Addons includes its Theme Builder in the free plugin you can grab from the WordPress.org plugin directory.
The Theme Builder covers seven template types, each replacing a part of your site that themes usually keep to themselves:
| Template Type | What It Replaces |
|---|---|
| Header | Your theme’s header: logo, navigation menu, top bar, CTA buttons |
| Footer | Your theme’s footer: link columns, contact info, copyright bar |
| Single | The layout of individual posts and pages: title, featured image, content, author box |
| Archive | Category, tag, and author listing pages |
| Search | The search results page |
| 404 Page | The default “page not found” screen |
| Comment Form | The comment section under your posts |
For most sites the first two are where the real payoff is, so that’s what we’ll build. The process is identical for the other five types; only the template type you pick changes.
You’ll need Elementor (free) and Master Addons (free) installed and active. If the plugin is new to you, the installation guide covers setup in about two minutes.
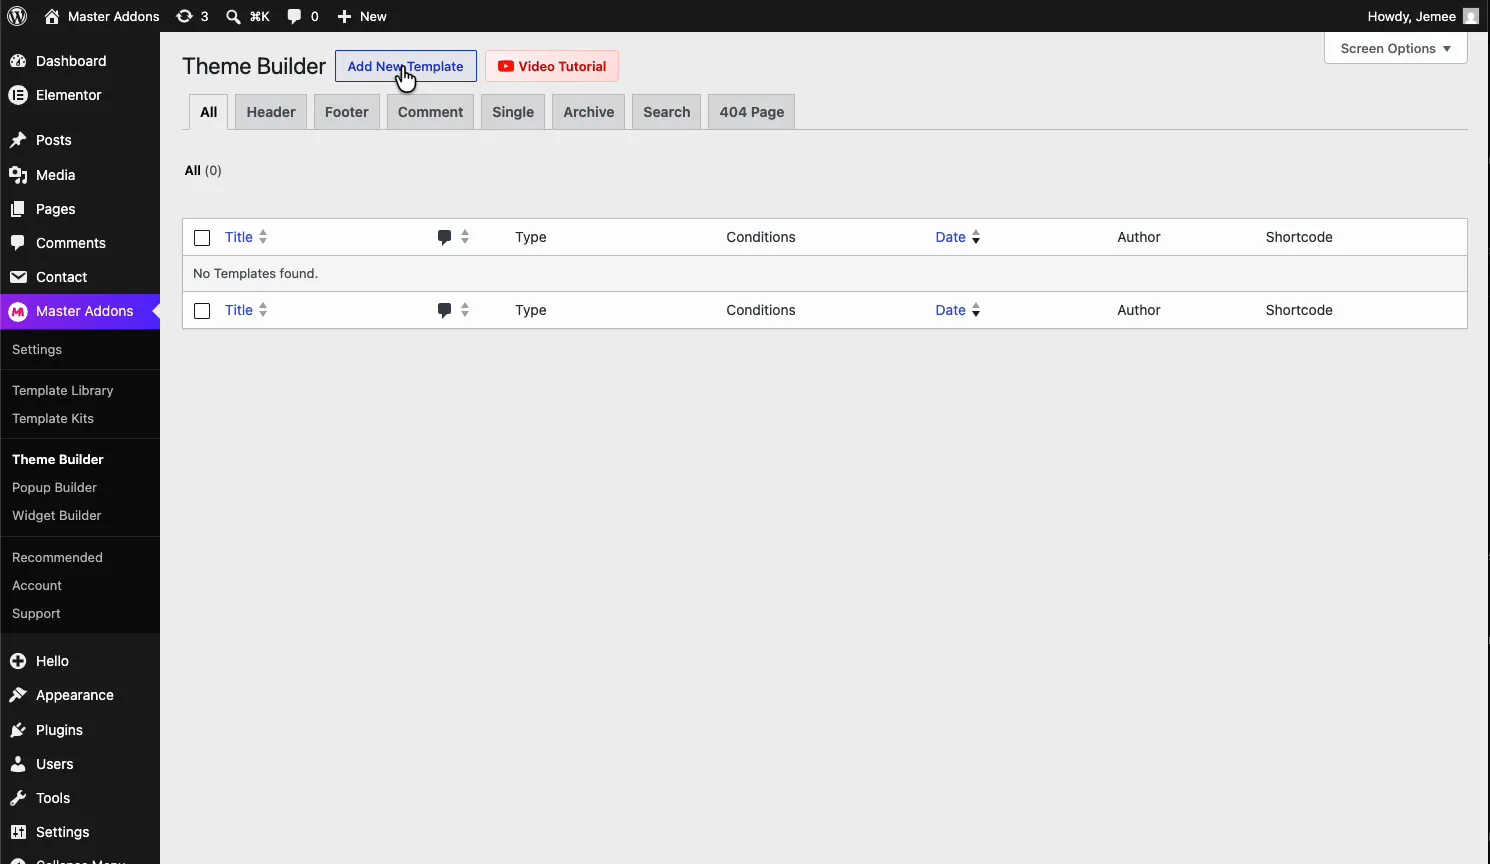
In your WordPress dashboard, go to Master Addons → Theme Builder. The screen lists every template you’ve created, with tabs to filter by type: Header, Footer, Comment, Single, Archive, Search, and 404 Page. On a fresh install it’s empty.
Click Add New Template.
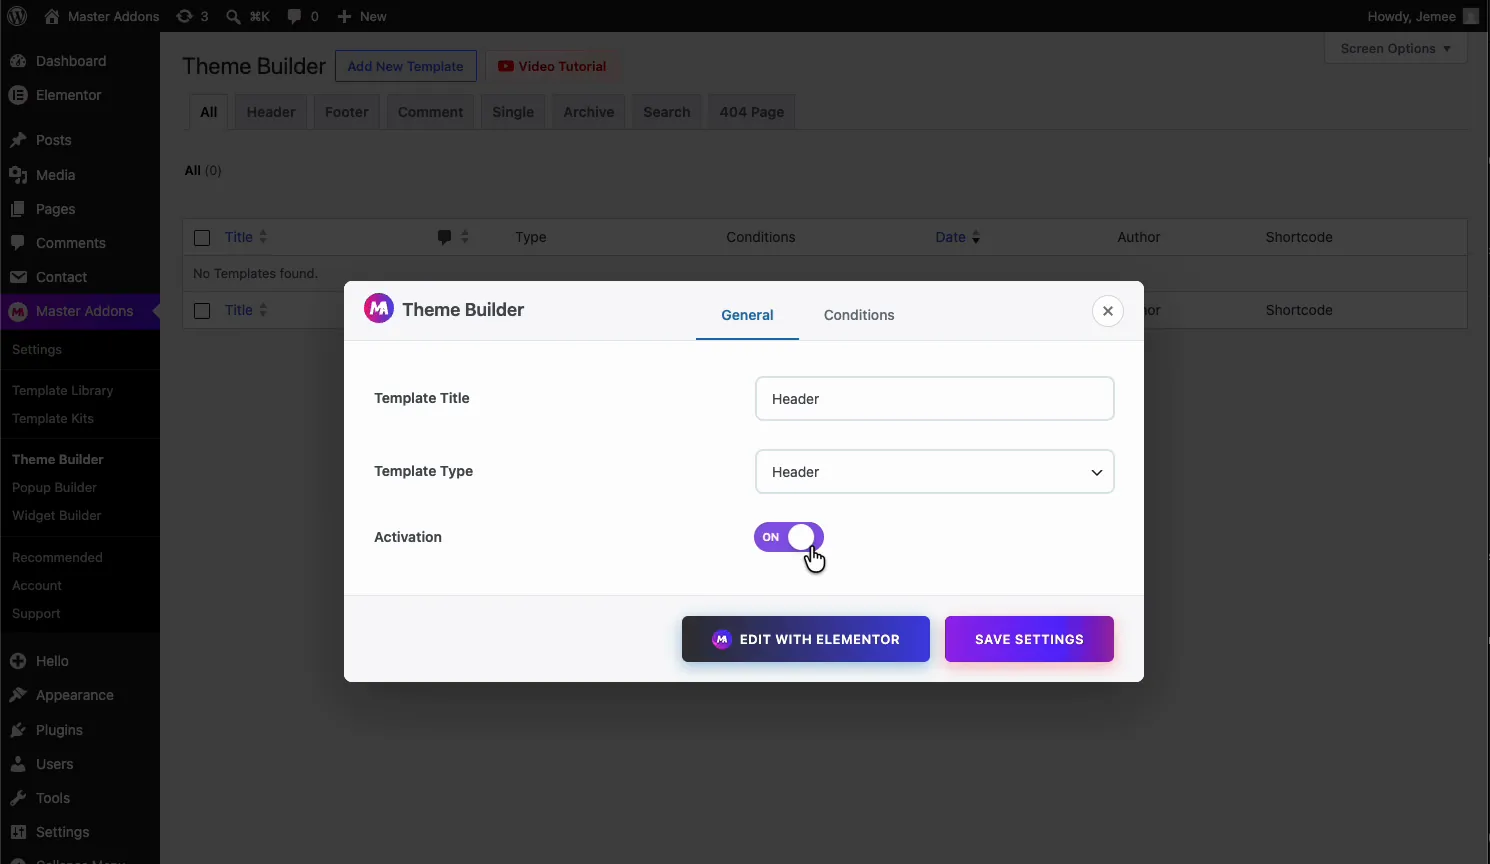
A settings window opens with two tabs, General and Conditions. On the General tab, give the template a title (something obvious like “Header”), set Template Type to Header, and flip Activation to ON so the template goes live the moment you publish it.
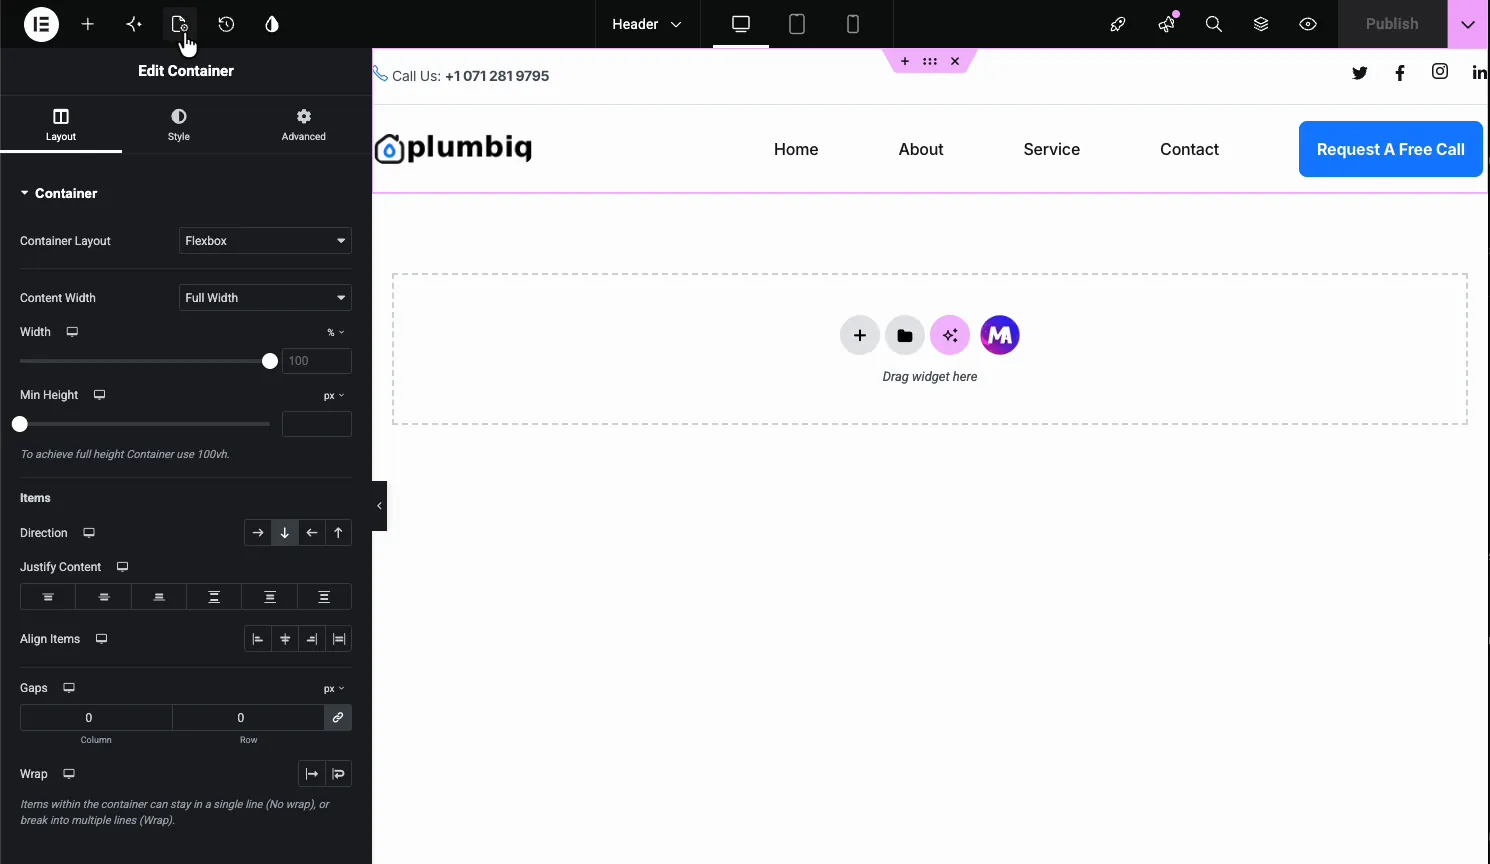
Click Edit with Elementor and the template opens as a blank canvas in the editor you already know.
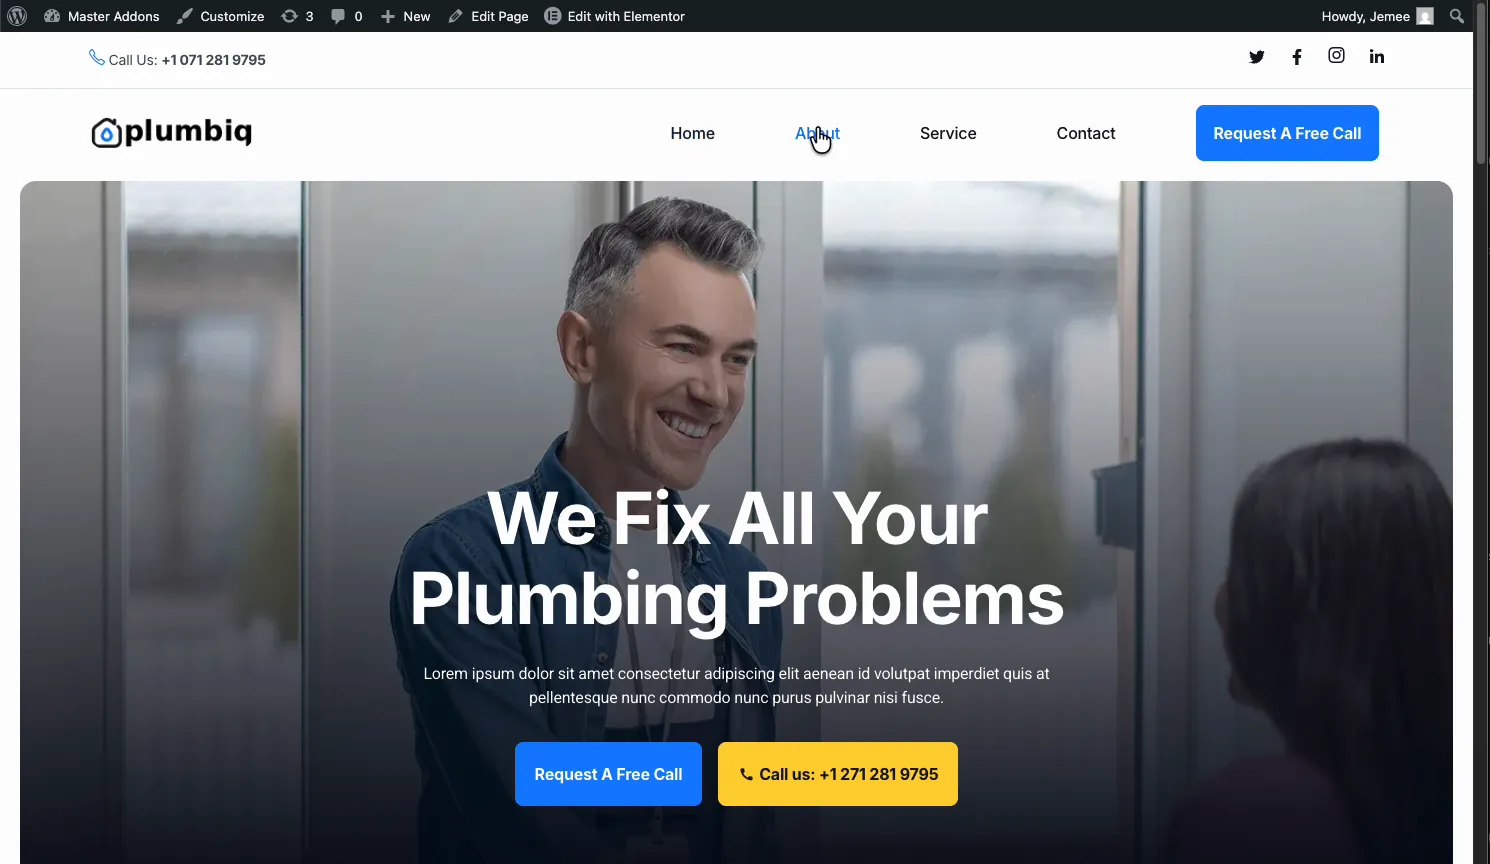
From here it’s regular Elementor. Drag in containers, a site logo, a navigation menu, a button, and style them like any other page. Nothing new to learn.
If you’d rather not start from zero, open the Elementor library and pull in a ready-made design. Saved site templates show up here, and the Master Addons Template Library adds pre-built headers, footers, and full sections you can insert with one click. The template kits go further and include matching header and footer designs for an entire site, which is what I used for the plumbing build.

A few seconds after clicking Insert, the header sits in the editor: top bar with a phone number and social icons, logo on the left, menu in the middle, and a “Request A Free Call” button on the right. Every piece stays editable. Swapping in your own logo, menu items, and brand colors is the quick part.
Hit Publish, then open your site. The theme’s old header is gone and your design now sits on top of every page, the homepage, inner pages, blog posts, all of it. One template, applied site-wide, and any edit you make later updates everywhere at once.
Want the header to stay visible while visitors scroll? That’s a separate trick, and the sticky header in Elementor guide shows how to layer it on top of what you just built.
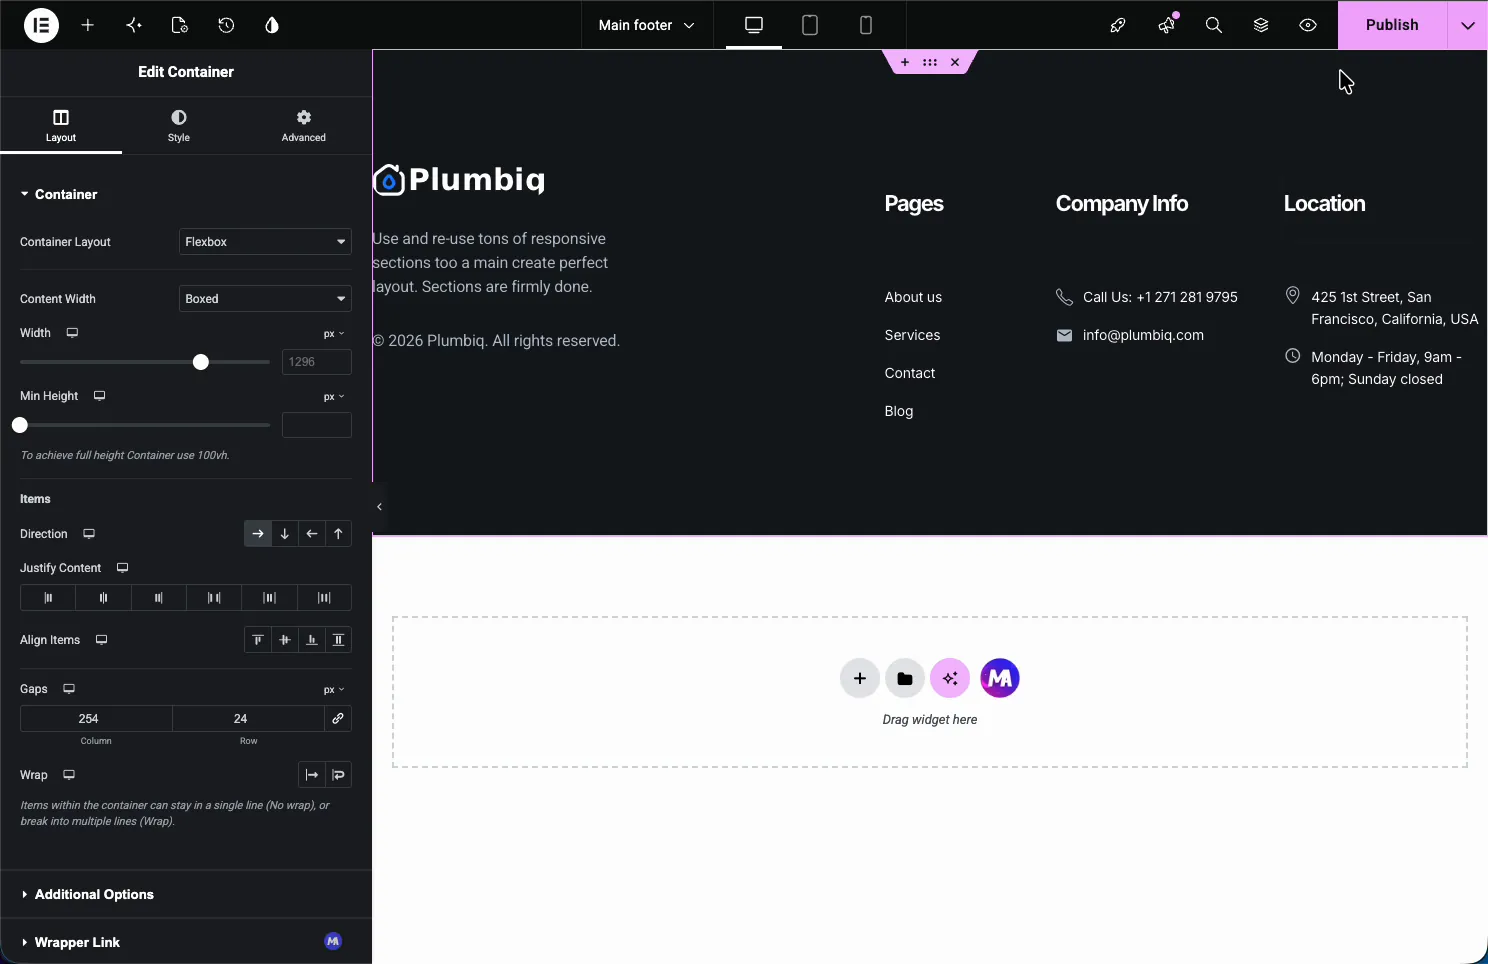
The footer follows the exact same path: Add New Template, name it “Main footer”, set the type to Footer, switch Activation on, and open it in Elementor.
For the plumbing site I went with a classic four-column layout: brand blurb and copyright on the left, then Pages, Company Info, and Location columns with contact details and opening hours. Again, built with stock Elementor widgets inside the Theme Builder template, no theme files touched.
Publish, and the footer appears at the bottom of every page on the site:
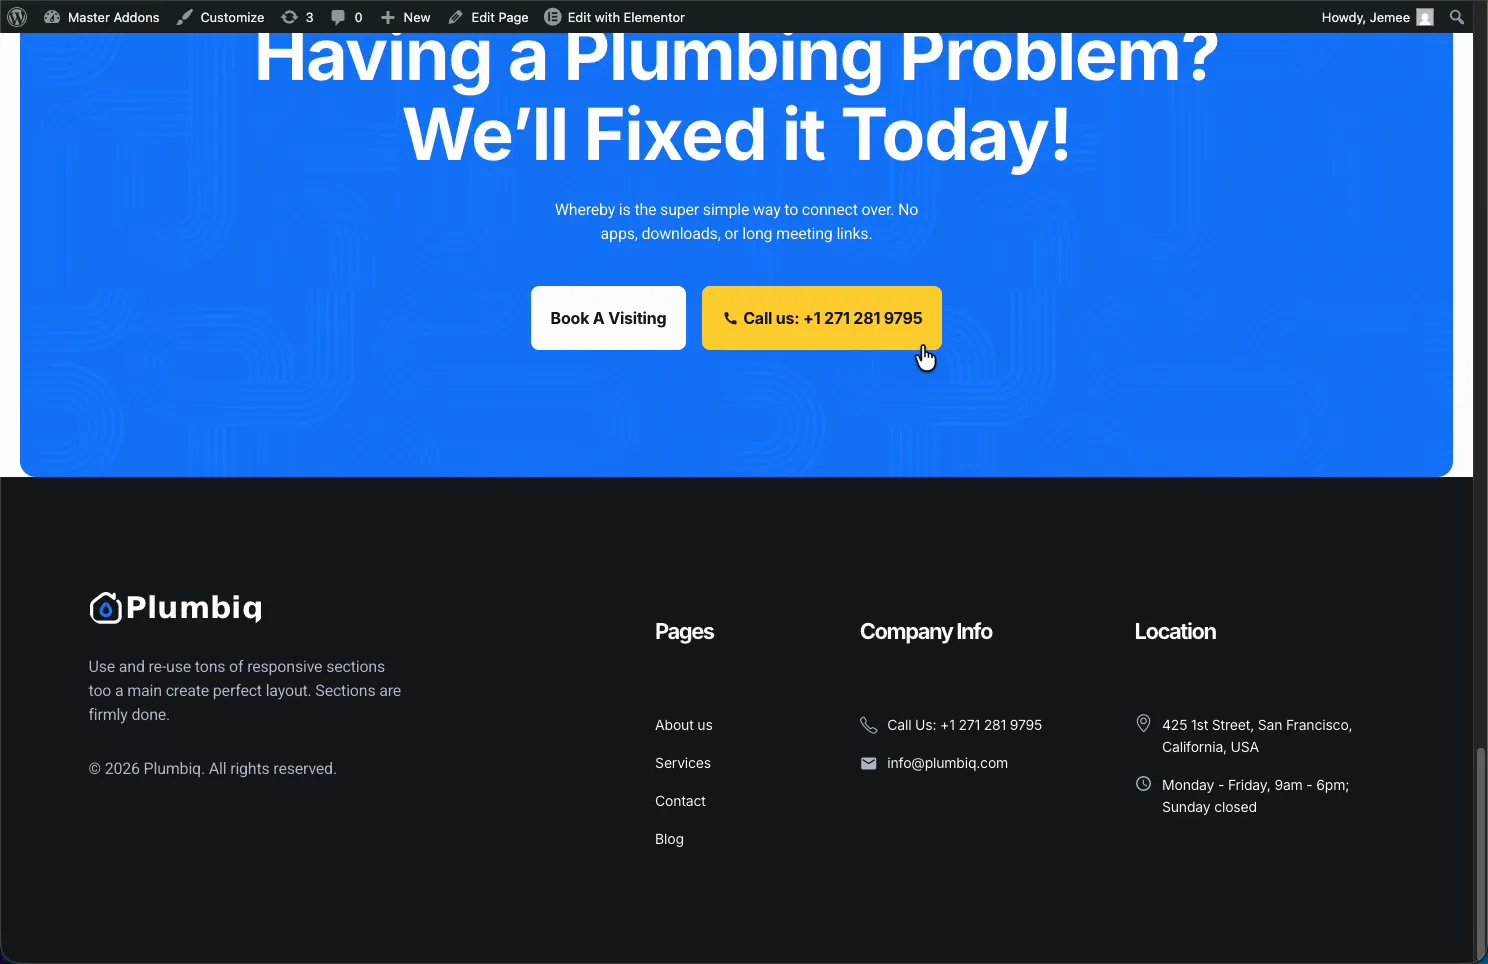
If you’re coming from a theme where the footer was a rigid widget area, the difference is night and day. For a deeper walkthrough of footer-specific options, see how to edit a footer in WordPress using Elementor.
By default a template applies to the entire site. That’s a starting point, not a limitation. Back in the Theme Builder list, every template shows its status and conditions, and an Edit Conditions link opens the rules panel.
The Conditions tab asks one question: where do you want to display your template? Each rule pairs an Include or Exclude with a target, Entire Site, Posts, Pages, specific singulars, your saved templates, even Master Addons popups. Stack as many rules as you need with Add Condition.
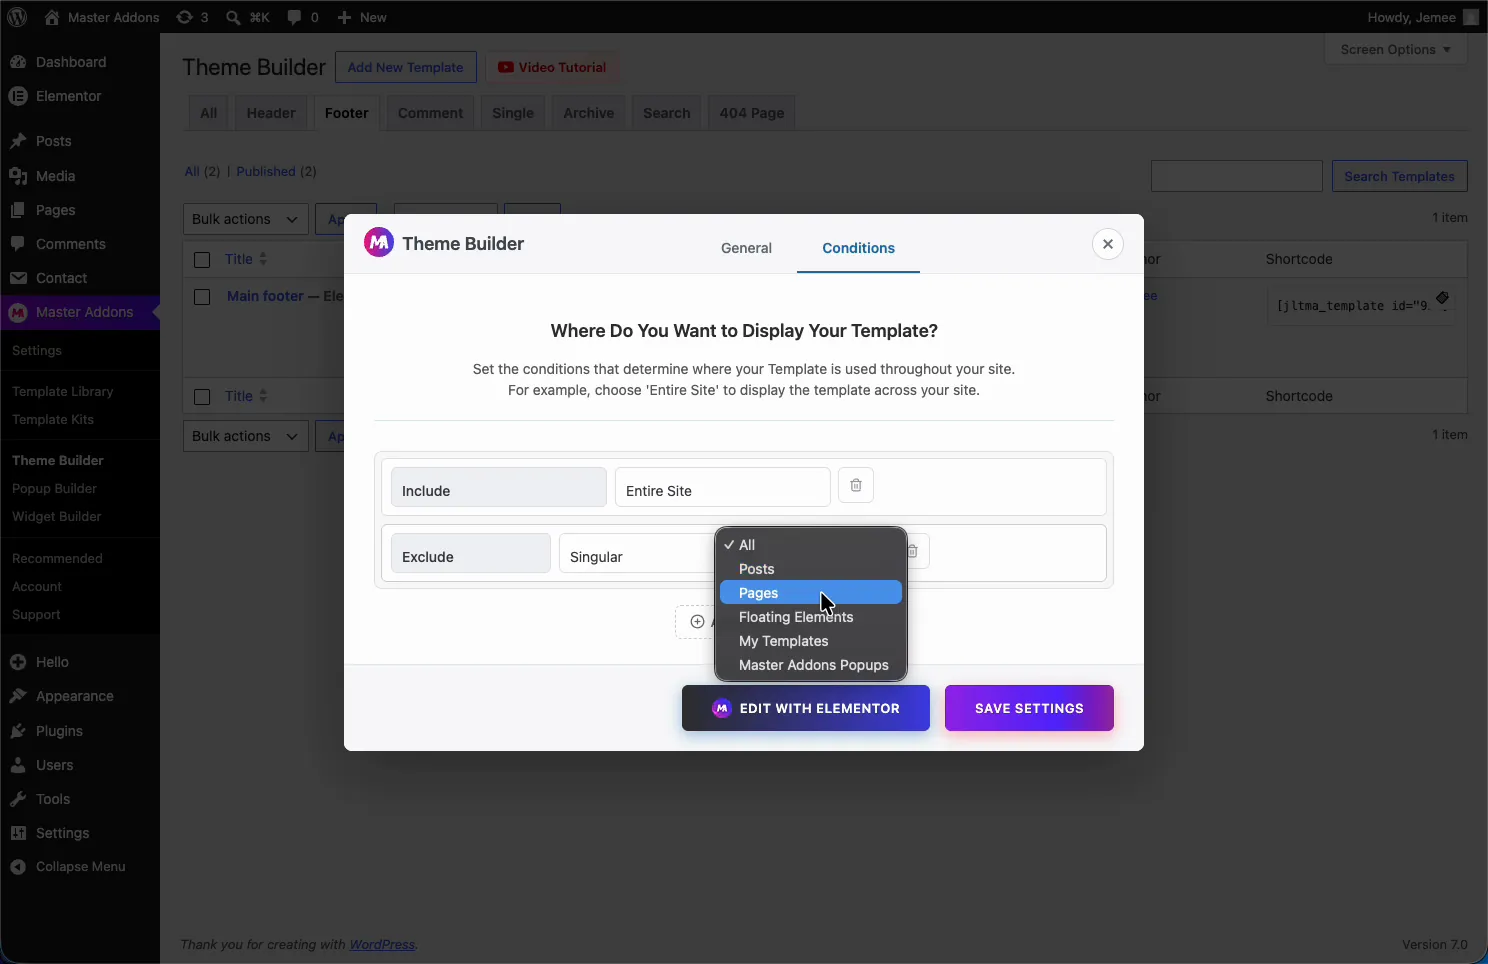
A few combinations that come up constantly in client work:
This is the part that turns “I changed my header” into “I control my site’s layout.” It’s also the same conditions logic that powers the Master Addons Popup Builder, so once you’ve learned it, you’ve learned it everywhere.
Elementor Pro’s theme builder is excellent, and pretending otherwise would be silly. Here’s how the two actually stack up:
| Capability | Elementor Free | Elementor Pro | Master Addons (Freemium) |
|---|---|---|---|
| Custom header builder | No | Yes | Yes |
| Custom footer builder | No | Yes | Yes |
| Single post templates | No | Yes | Yes |
| Archive and search templates | No | Yes | Yes |
| 404 page templates | No | Yes | Yes |
| Comment form styling | No | No | Yes |
| Display conditions | No | Yes | Yes (include/exclude rules) |
| WooCommerce product templates | No | Yes | No |
| Dynamic content tags | No | Extensive | Via Dynamic Tags extension |
| Price | $0 | From $59/year | $0 – $39 |
The honest read: if you need deep WooCommerce theme building, Elementor Pro earns its price. For the templates the vast majority of sites actually customize, headers, footers, post layouts, archives, and 404 pages, the free Master Addons Theme Builder covers the job, and it’s the only one of the two with a comment form builder. The Master Addons Pro tiers exist for the wider widget and extension library, not to unlock the Theme Builder, which stays free.
Yes. The free version of Elementor has no theme builder, but the free Master Addons plugin adds one. It lets you build custom headers, footers, single post layouts, archives, search pages, 404 pages, and comment forms with the standard Elementor editor.
Install Elementor and Master Addons, go to Master Addons, then Theme Builder, and click Add New Template. Set the type to Header, switch Activation on, design the header in Elementor, and publish. It replaces your theme’s header site-wide.
They work with standard WordPress themes and replace the theme’s own header and footer automatically. They also survive theme switches, since the templates are stored by the plugin rather than inside the theme’s files.
Yes. Each template has display conditions with include and exclude rules. You can apply one header to the entire site, exclude landing pages, or create a second header that only appears on blog posts or specific pages.
Yes. The Theme Builder, including all seven template types and display conditions, ships in the free plugin available on WordPress.org. Master Addons Pro adds more widgets and extensions but is not required for theme building.


