Elementor Pricing Table Widget: Free, with 5 Ready Layouts
Pricing Table is a free Master Addons widget for building plan cards in Elementor. Pick one of 5 layouts, then fill in the header, price, feature list, button and ribbon. Each feature can have its own icon and tooltip, the price can show the original price for a sale, and the button can link anywhere or act as an Easy Digital Downloads purchase button. Put one widget in each column and you have a pricing page.
Header, price, features, button and ribbon
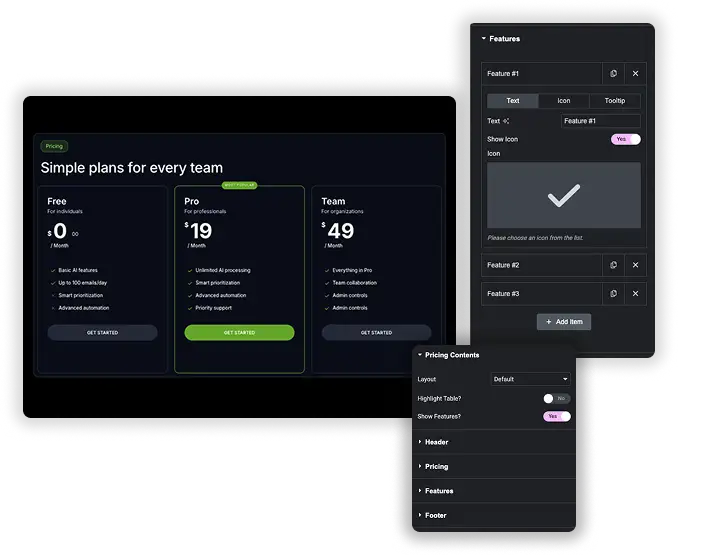
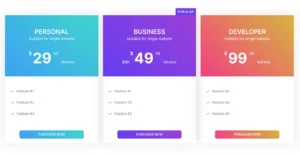
Each part of the card has its own settings. The header takes an icon, a title, a subtitle and one of three gradient backgrounds, or your own colors. The price has a currency symbol from a list or a custom one, a Sale switch with an original price, and a billing period. The footer holds the button, its link or Easy Digital Downloads item, and a short line of extra text, such as a money-back note.
- Header icon, title, HTML tag, subtitle and gradient presets.
- Currency symbol, sale price with the original price, and billing period.
- Button with a link or Easy Digital Downloads item, plus extra footer text.
Interactive Feature Lists with Icons & Tooltips
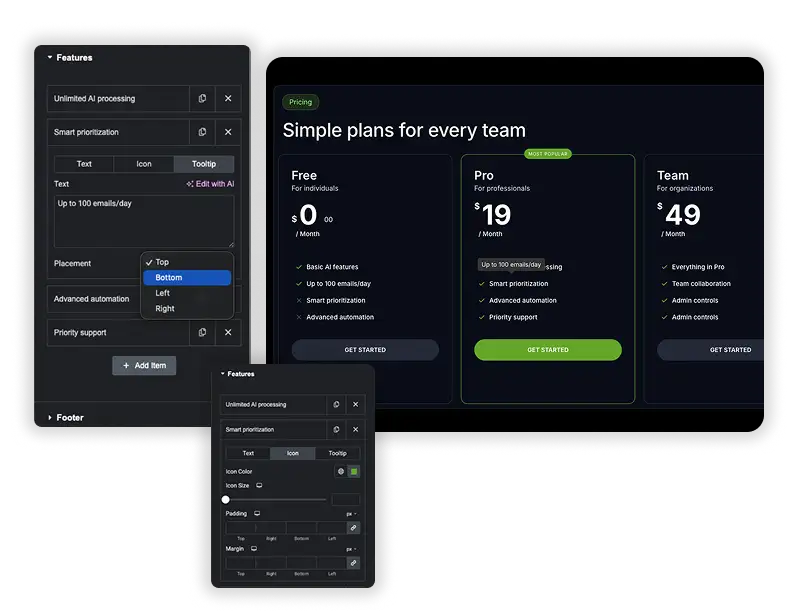
Each feature row takes text, an optional icon and an optional tooltip that opens above, below, left or right of the feature. Use the tooltip for details that would crowd the list, like “Extra seats cost $5 a month”.
- Icons make feature lists quicker to scan.
- Tooltips explain limits or technical terms without adding clutter.
- Style the feature text, icons, dividers and alignment in the Style tab.
Price formatting, highlighted plans and ribbons
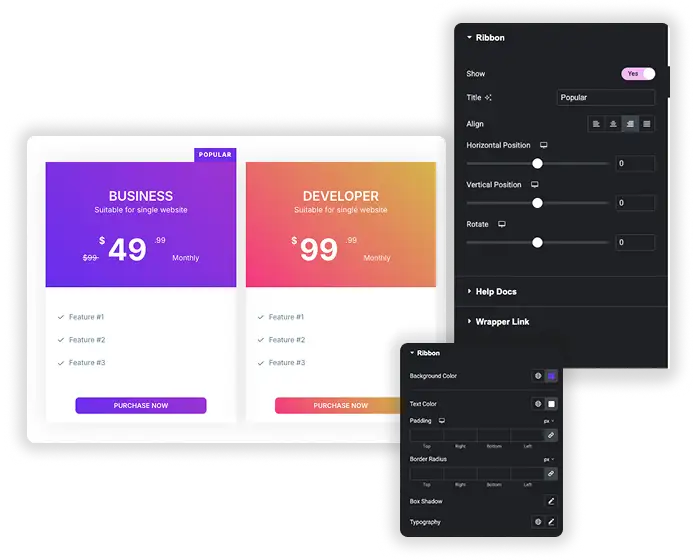
Size and vertically align the currency symbol, the fractional part of the price and the original price separately. Turn on Highlight Table for the plan you want people to pick, then add a Ribbon with text like “Popular” and set its alignment, position and rotation.
- Separate size and position for the currency, cents and original price.
- Highlight Table to make one plan stand out.
- A ribbon with your own text, alignment, position and rotation.
Elementor Pro Price Table vs Master Addons Pricing Table
Elementor’s own Price Table widget is only in Elementor Pro. Here is how the two compare.
| Elementor Pro Price Table | Master Addons Pricing Table | |
|---|---|---|
| Price | Elementor Pro license | Free |
| Layouts | One | 5 |
| Feature tooltips | No | Yes |
| Sale and original price | Yes | Yes |
| Ribbon | Yes | Yes |
| Easy Digital Downloads button | No | Yes |
| Header gradient presets | No | 3 |
Comparing many features across plans? The Comparison Table widget (Pro) handles long feature lists better than separate cards.
Pricing table design tips
A few habits make a pricing table easier to read and easier to buy from.
- Show three plans. More options slow the decision down.
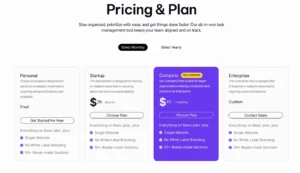
- Put the plan you want to sell in the middle and highlight it.
- Make the price the largest text on the card.
- Keep feature labels short and move the details into tooltips.
- Use one button per card, and add a money-back note in the footer text if you offer one.
Our pricing table tips go into more detail.
How to add a pricing table in Elementor
Build one plan first, then copy it for the others so the feature rows line up.
- Add a container or section with one column per plan. Three plans is the most common setup.
- Search the widget panel for “Pricing Table” and drag the Master Addons widget into the first column.
- Pick a layout, then fill in the header, price, features and footer button.
- Style the card in the Style tab, duplicate the widget into the other columns and change the plan details.
- Turn on Highlight Table and a ribbon for the plan you want visitors to choose.
Keep the feature rows in the same order in every column. People read pricing tables row by row, so a mixed order makes plans hard to compare.
5 pricing table layouts
The Layout dropdown in Pricing Contents changes how the card is built. All five are free, and your text and prices stay the same when you switch between them.
- Default
- Left Align Content
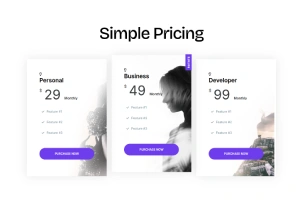
- Rounded Table
- Table with BG Image
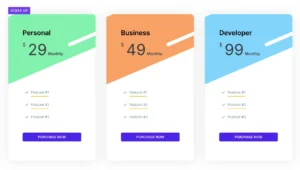
- Skew BG Pattern
Switch between them while you edit to see which one fits your page.
Frequently Asked Questions For Pricing Table
Can I highlight my most recommended pricing plan?
Yes. Turn on Highlight Table in Pricing Contents for that plan, then open the Ribbon section, switch on Show and add text like “Popular”. You can align, move and rotate the ribbon and style its colors.
Does the footer button work with e-commerce plugins?
Yes. Turn on Easy Digital Downloads Integration in the Footer section and pick your EDD item to make the button a purchase button. For WooCommerce or any other checkout, point the button link at the product or checkout page.
How customizable is the look of the feature list?
Very. Features get their own text color, typography, alignment, width and divider lines, and each row can have its own icon and tooltip.
Can I add a background pattern or image to the pricing table header?
Yes. Pick one of three gradient presets in the Header section, or choose Custom and set your own header background in the Style tab. The Table with BG Image and Skew BG Pattern layouts add an image or pattern behind the table.
Is the pricing table responsive on mobile devices?
Yes. Each plan is one widget, so place them in columns and Elementor stacks the columns on phones. Use responsive mode to reduce the price size or padding on small screens.
Can I show a sale price or cross out an original price?
Yes. Turn on Sale in the Pricing section and enter the Original Price. The widget shows it next to your current price so visitors see the discount.
Trending Elementor Widgets & Extensions
Build sophisticated websites in less time.
Glassmorphism
Container Extras
Patterns
![Master Addons Post/Page Duplicator extension for Elementor: MA Duplicator row link in the WordPress Pages list creating a Landing Page - [Duplicated #128] draft](https://d1asvmc6qcowgk.cloudfront.net/wp-content/uploads/2026/09/15102930/post-page-duplicator-768x403.webp)
Post/Page Duplicator