


Key Takeaways
- Elementor has no roadmap widget, so an Elementor roadmap is usually built with a timeline widget, where each item is one feature or phase.
- The Master Addons Timeline widget lets each item show a Custom Label instead of a date, which suits roadmap statuses such as Shipped, In progress, Next up and Exploring.
- A public product roadmap works best with status labels or quarters, because exact dates on a roadmap turn into promises that customers remember.
- The Timeline widget can display a roadmap vertically with Left, Center, Overlay or Right alignment, or as a horizontal carousel with arrows.
- The focused state in the Timeline widget’s Style tab gives the item a visitor has scrolled to its own card background and point color.
An Elementor roadmap page shows customers what you have shipped, what you are building and what comes next. Elementor does not include a roadmap widget, but a roadmap is a timeline with statuses in place of dates, so a timeline widget does the job. This guide uses the Master Addons Timeline widget.
The example is a four-item software roadmap: Shipped, In progress, Next up and Exploring. The same build works for a course plan, a construction schedule or an onboarding process. You will set up the items, swap dates for labels, choose a layout and style the phases.
Table of Contents
What goes on a product roadmap page
A product roadmap page lists planned work in order of how close it is to release. Each entry needs three things: a status, a short name and one sentence on what the customer gets.
Most public roadmaps use one of two systems for the status:
| System | Example labels | Use it when |
|---|---|---|
| Status labels | Shipped, In progress, Next up, Exploring | You do not want to commit to dates |
| Time buckets | Q1 2027, Q2 2027, Later | You plan in quarters and can stand behind them |
| Exact dates | 14 March 2027 | The date is fixed, such as an event or a launch |
Status labels are the safest choice for software. A slipped date on a public page gets screenshotted, and a label like “Next up” cannot slip.
How to build the roadmap in Elementor
You need Elementor and Master Addons. The roadmap itself is one Timeline widget set to Custom Timeline.
Step 1: Plan the phases
Write the list before opening the editor. Four to eight items is plenty. For this example:
| Label | Feature | One-line description |
|---|---|---|
| Shipped | Checkout redesign | One page checkout with saved carts. |
| In progress | Team workspaces | Shared projects, roles and comments. |
| Next up | Mobile app | iOS and Android apps with offline mode. |
| Exploring | Public API | Webhooks and a REST API for integrations. |
Step 2: Add the Timeline widget
Edit your roadmap page with Elementor, search the widget panel for Timeline and drag it onto the page. Keep Timeline Type on Custom Timeline. The widget starts with three sample items. Use Add Item for a fourth, or the duplicate icon on a row to copy one.
New to the widget? How to create a timeline in Elementor walks through every control.
Step 3: Replace dates with custom labels
Open the first item. Change Show from Date to Custom Label, then type the status in the Label field. In the content editor, make the first line a heading with the feature name and write the description under it.
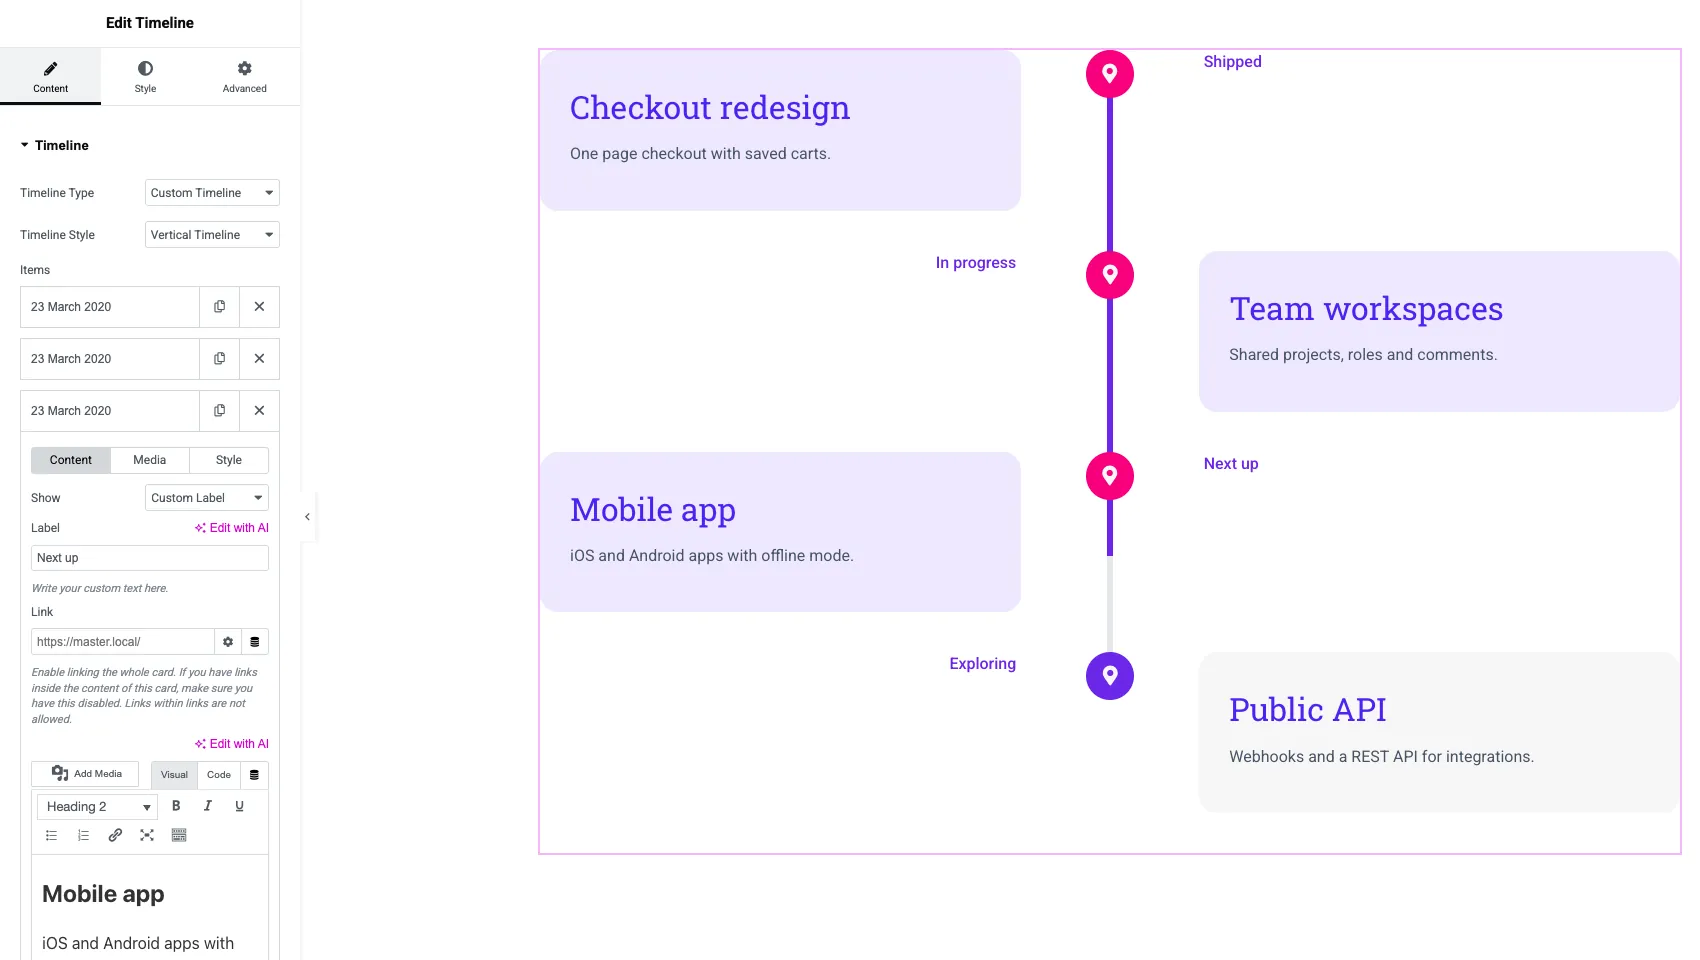
Repeat for each item. The optional Link field makes a whole card clickable, which is useful for sending a shipped feature to its release post or its docs.
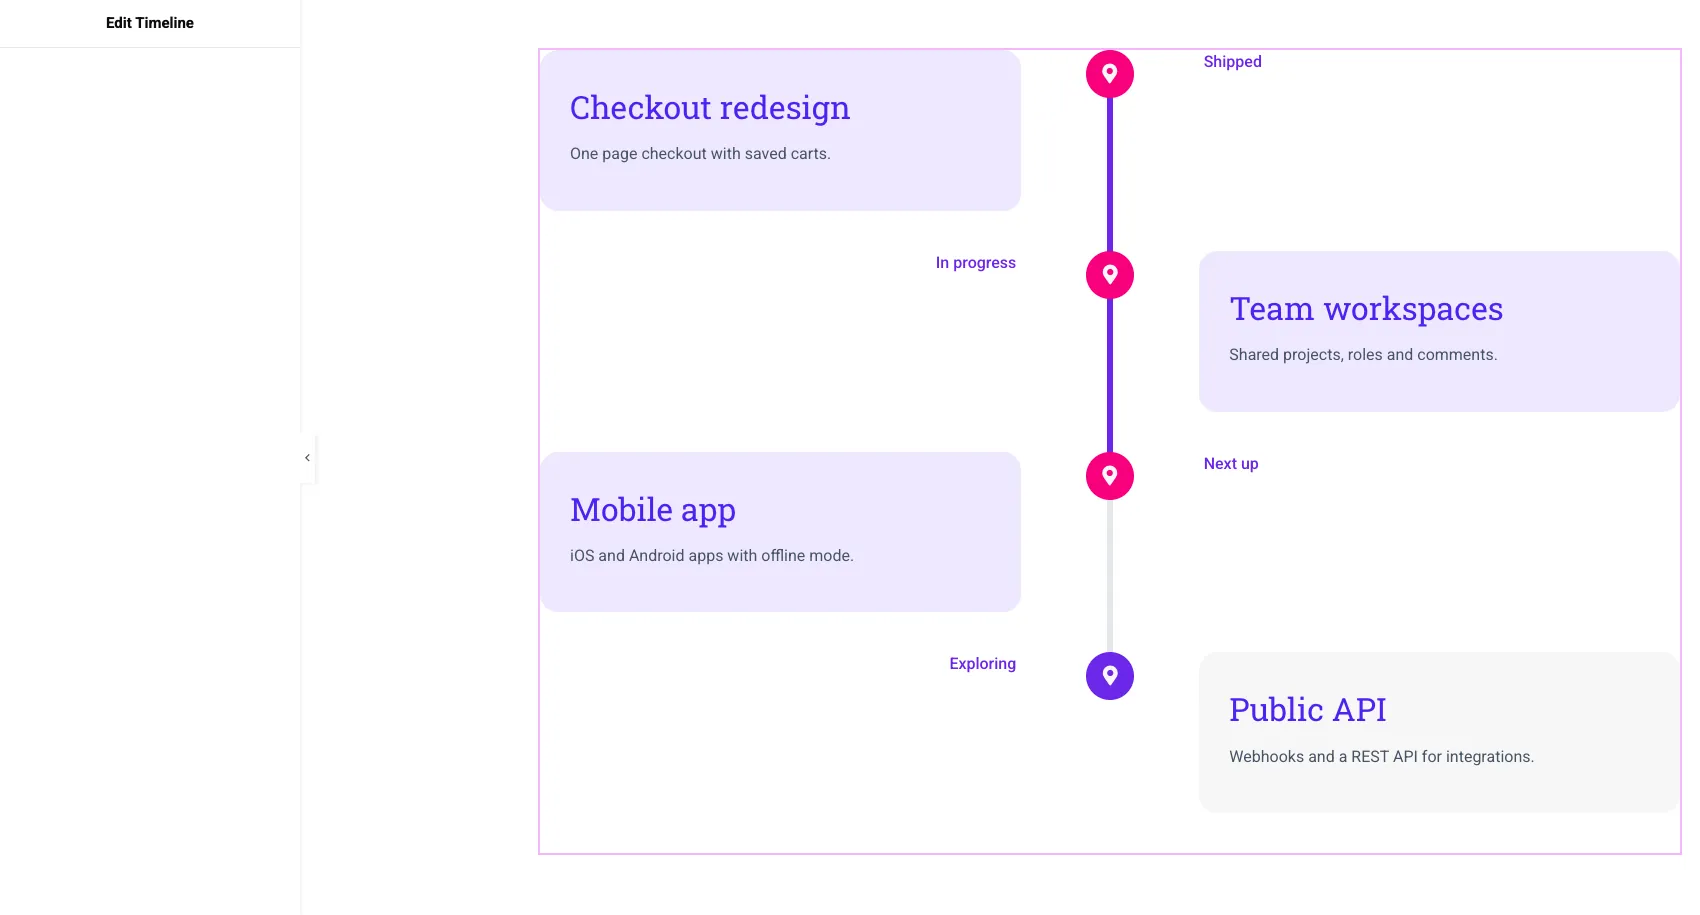
Step 4: Pick a layout
The center layout above alternates cards left and right. Two other layouts suit a roadmap well.
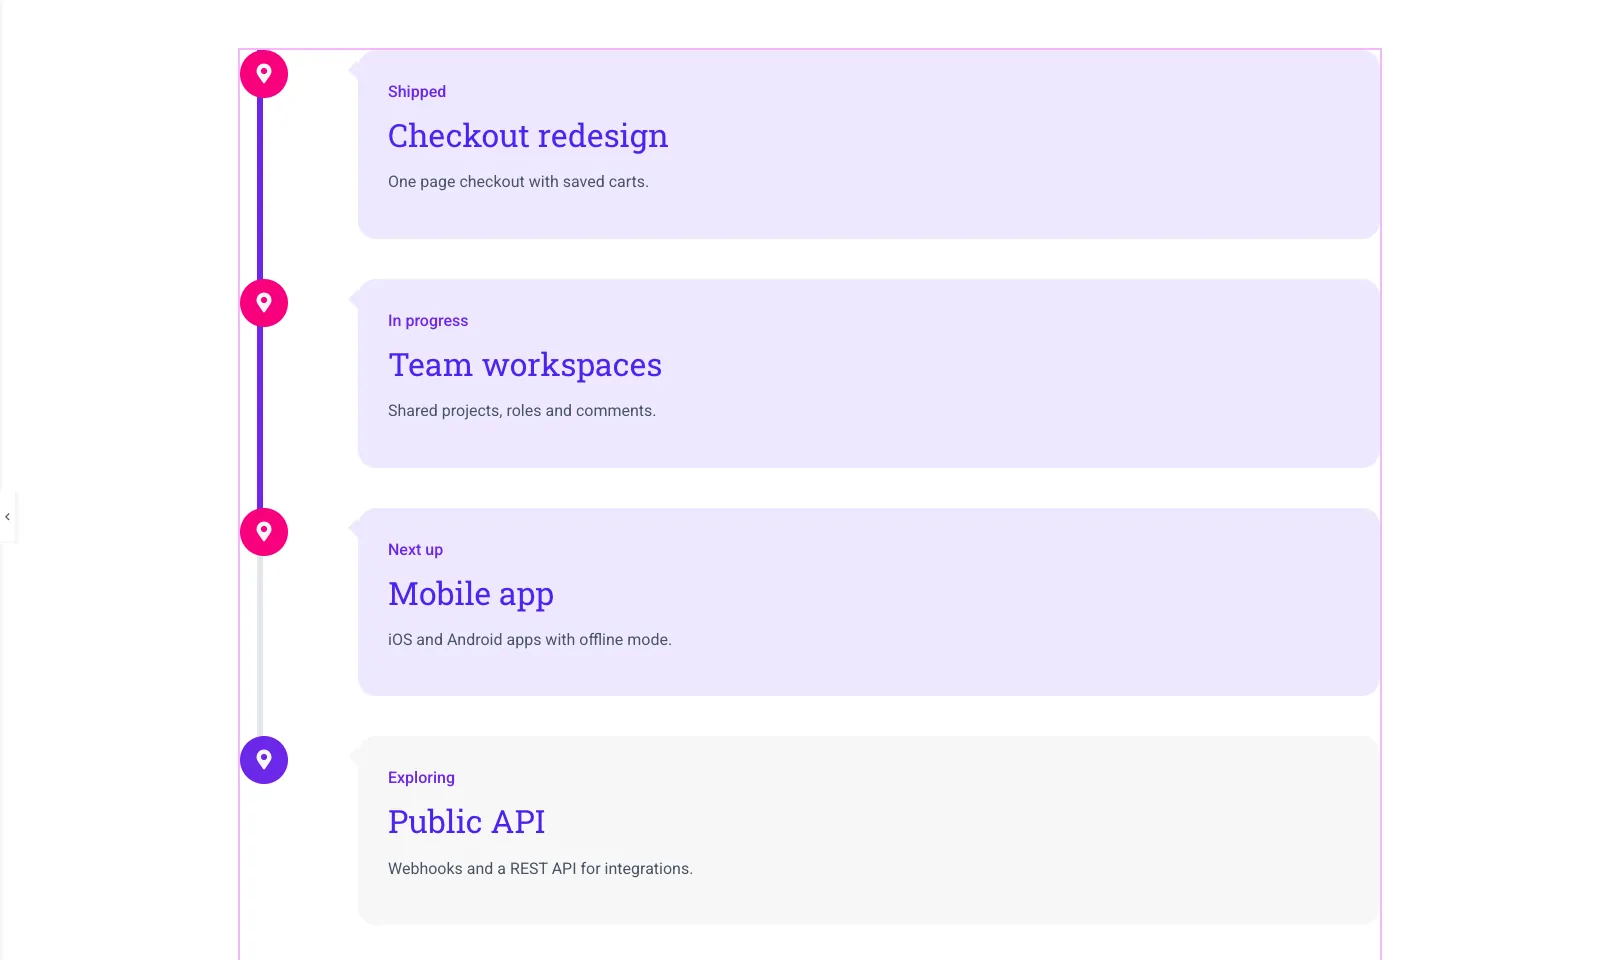
Left aligned. In the Style tab, open Layout and set Horizontal Align to Left. Every card sits on one side with its label inside it. This reads like a list, which is easier to scan when descriptions run longer.
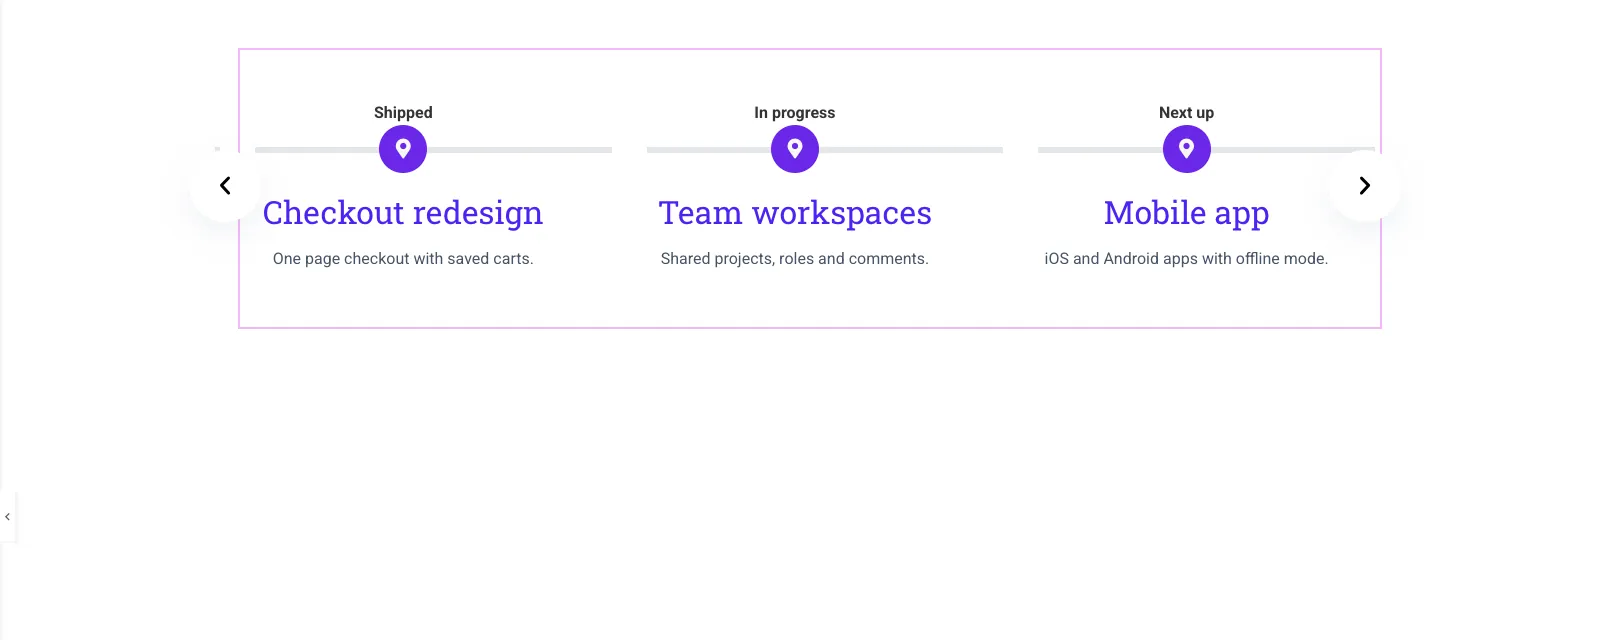
Horizontal. In the Content tab, set Timeline Style to Horizontal Timeline. The phases become a carousel with the labels above the line. This takes one row, so it fits on a home page or under a pricing table.
The carousel settings are covered in how to create a horizontal timeline in Elementor.
Step 5: Style the phases
Open the Style tab and work through four sections.
- Cards: padding, border radius, and title and content colors. The Focused tab styles the card the visitor has scrolled to.
- Dates: typography and color for the status labels. Bold with a brand color makes them read as tags.
- Line: the Background is the full track and the Progress Color fills in as the visitor scrolls.
- Points: a dot, an icon or an image, with separate Default, Hover and Focused colors.
Each item also has its own Style tab in the Content panel, for point and color settings on that item alone. Use it to give the Shipped item a different point color from the rest, so finished work is visible at a glance.
Want to see more layouts first? The Elementor Timeline widget page has live demos, including a horizontal roadmap.
What to put around the roadmap
A roadmap page reads better with a little context above and below the timeline.
- A short intro that says how often the page is updated.
- A feedback link under the timeline, to a form or a feature request board.
- A changelog for what already shipped. The Changelogs widget lists version entries in the same page.
- Numbers, if you have them. A row of Counter Up widgets can show features shipped this year.
- A progress indicator for one big project, using the Progress Bar widget.
If the roadmap is for customers only, the display conditions guide shows how to hide a section from logged-out visitors.
Frequently asked questions
Does Elementor have a roadmap widget?
No. Elementor and Elementor Pro have no roadmap or timeline widget. Most Elementor roadmaps are built with a timeline widget from an addon, with each item used as one phase or feature.
Can I show a roadmap without dates in Elementor?
Yes. In the Master Addons Timeline widget, set Show to Custom Label on each item and type a status such as Shipped or Next up. The label takes the place of the date beside the point.
Should a public roadmap be vertical or horizontal?
Use vertical when each phase has a few lines of description, and horizontal when the roadmap is a short strip of three to six phases inside another page. The Timeline widget switches between them with the Timeline Style control.
How do I mark a roadmap item as done?
Change its label to Shipped and give it a different point color in the item’s own Style tab. You can also add a Link to the release post so visitors can read what changed.
Final thoughts
An Elementor roadmap is one Timeline widget with four to eight Custom Timeline items, Show set to Custom Label, and a status in each Label field. Choose center, left or horizontal for the layout, then use the Cards, Dates, Line and Points sections to make shipped work stand apart from planned work.
Start from a demo on the Timeline widget page and replace the sample items with your own phases.
Related reading
