

Table of Contents
The Master Addons Image Comparison widget lets you drop a free before-and-after slider into any Elementor page, no Elementor Pro and no extra plugin subscription. You install Master Addons, drag the widget onto your page, upload two images, and visitors get a draggable handle that wipes between them.
This guide walks through every setting: enabling the widget, adding it to a page, the dimension rule that trips up almost everyone on their first try, orientation, the visible ratio, handle type, styling, and what to do when the slider misbehaves on mobile. For more before-and-after design ideas once the mechanics click, see the full before-after showcase guide.
What You’ll Need Before You Start
- WordPress with Elementor installed and active. The free version of Elementor is enough.
- Master Addons for Elementor installed and active. The free plan covers this widget. See the installation guide if the plugin is new to you.
- Two images cropped to the exact same pixel dimensions. More on why in a moment, it matters more than people expect.
Step 1: Enable the Image Comparison Widget
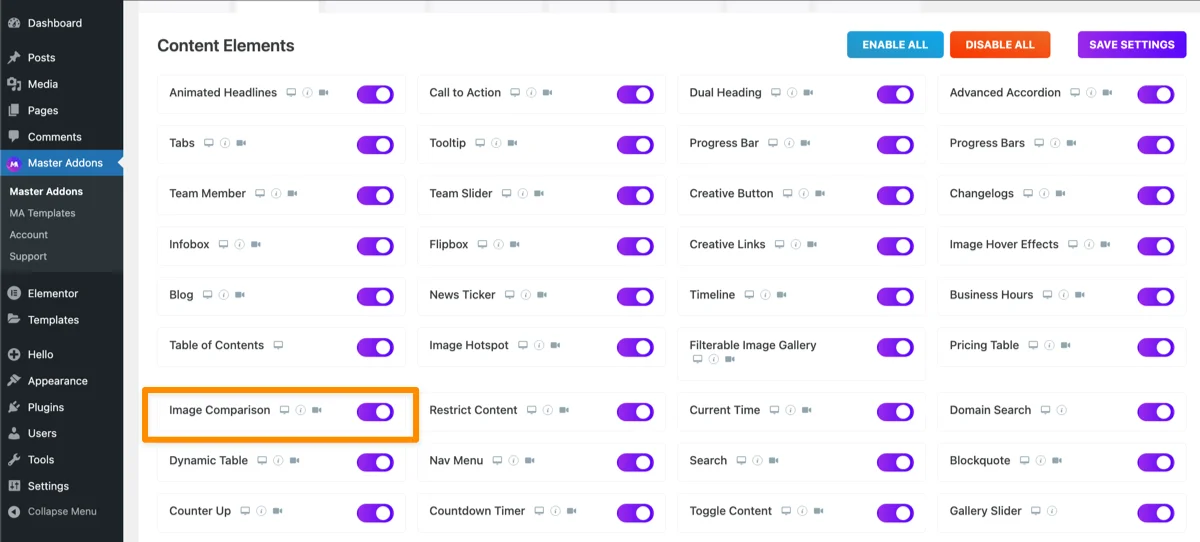
Master Addons ships with dozens of widgets, and not all of them load by default on every install. Go to Master Addons → Widgets in your WordPress dashboard and confirm Image Comparison is switched on. If it does not show up in Elementor’s Elements panel a moment later, this is almost always why.
Step 2: Add the Widget to Your Page
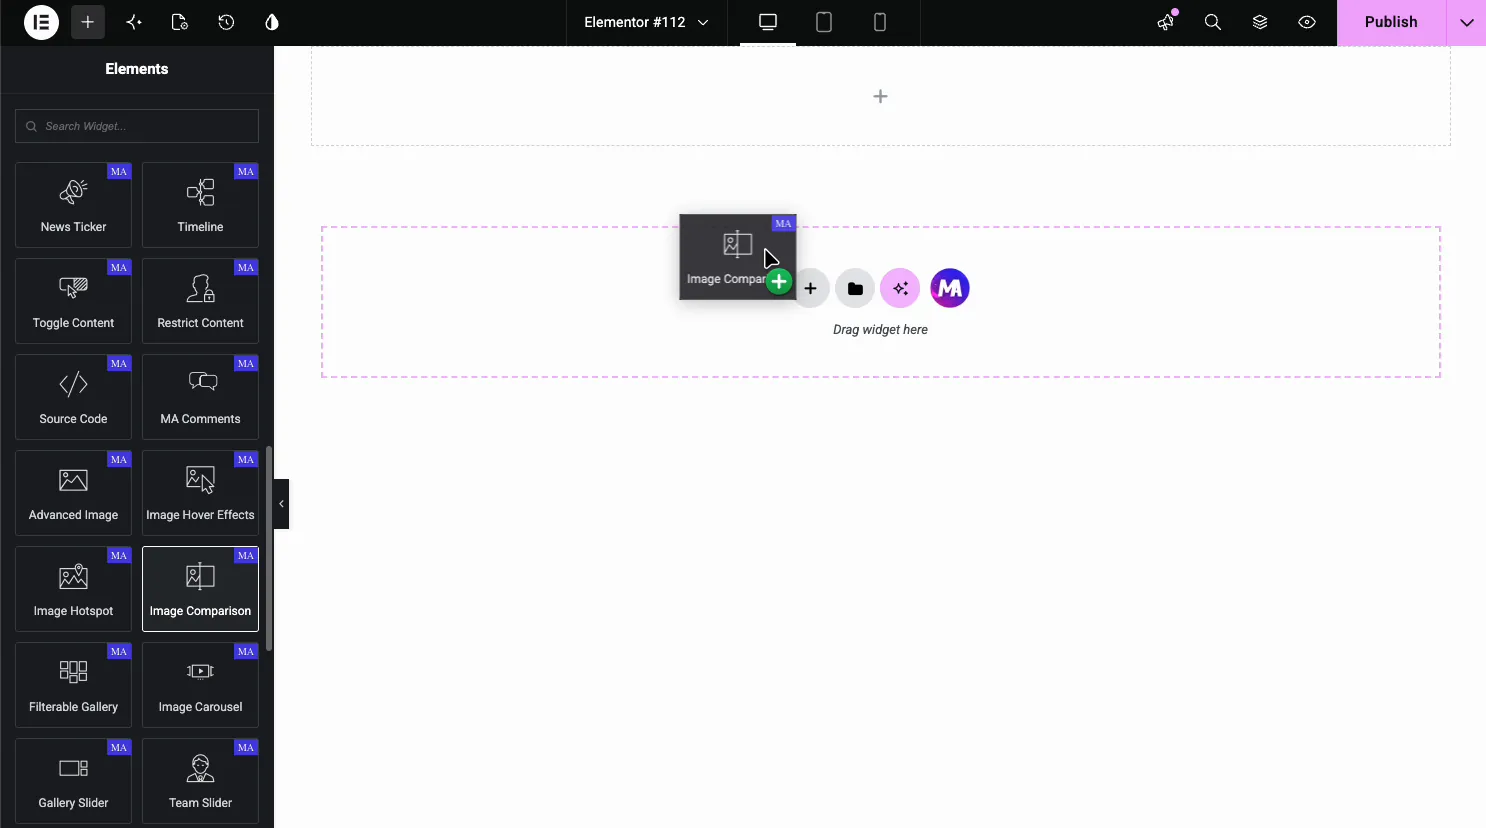
Open a page with Elementor, search Image Comparison in the Elements panel (look for the purple MA badge), and drag it onto your page. It loads with two placeholder images and a working slider, so you can see the layout before touching a single setting.
Step 3: Upload Your Before and After Images
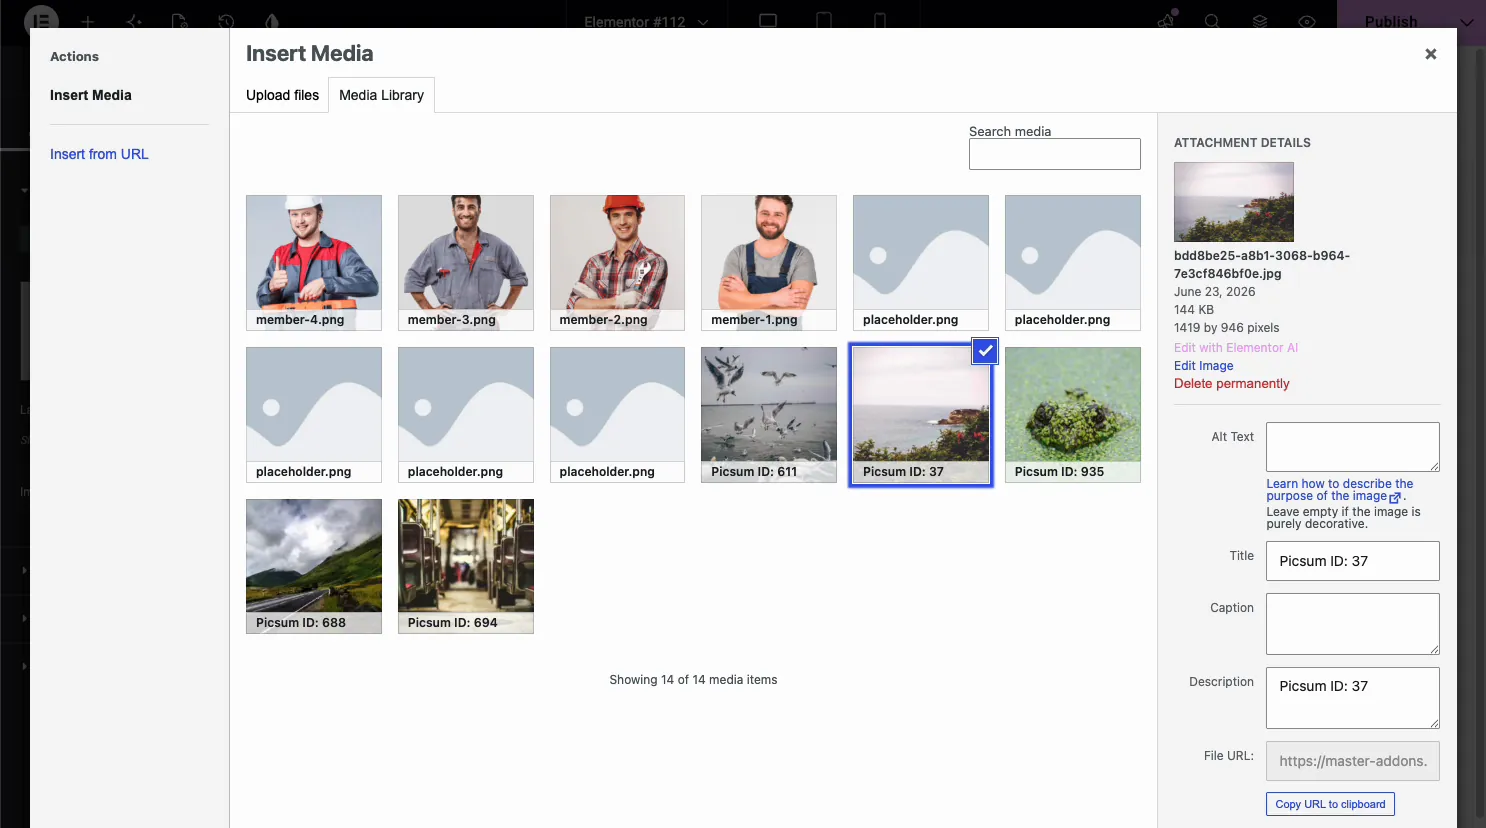
Open the Content tab, then the Images section. It has a Before tab and an After tab, and each one has its own Choose an Image field, Label field, and Image Resolution setting. Set the before photo on the Before tab, switch to After, and set the second photo. It is easy to upload both images to the same tab by mistake, so check which tab is active before you pick an image.
Type a short Label on each tab if you want an overlay caption, something like “Before” and “After,” or “Old Design” and “Redesign.”
The Rule That Trips Everyone Up: Matching Image Dimensions
Both images need to be the exact same pixel dimensions, same width and same height. If one photo is 1600×1000 and the other is 1200×800, the slider stretches or crops one of them to fit, and the comparison looks warped or misaligned the moment someone drags the handle.
Fix this by cropping both images to identical dimensions before you upload, in whatever editor you normally use, or with WordPress’s own built-in image editor after upload. Setting a fixed Image Resolution on both tabs in the widget helps, but it will not fix a wildly different aspect ratio between the two source photos.
Step 4: Set the Orientation
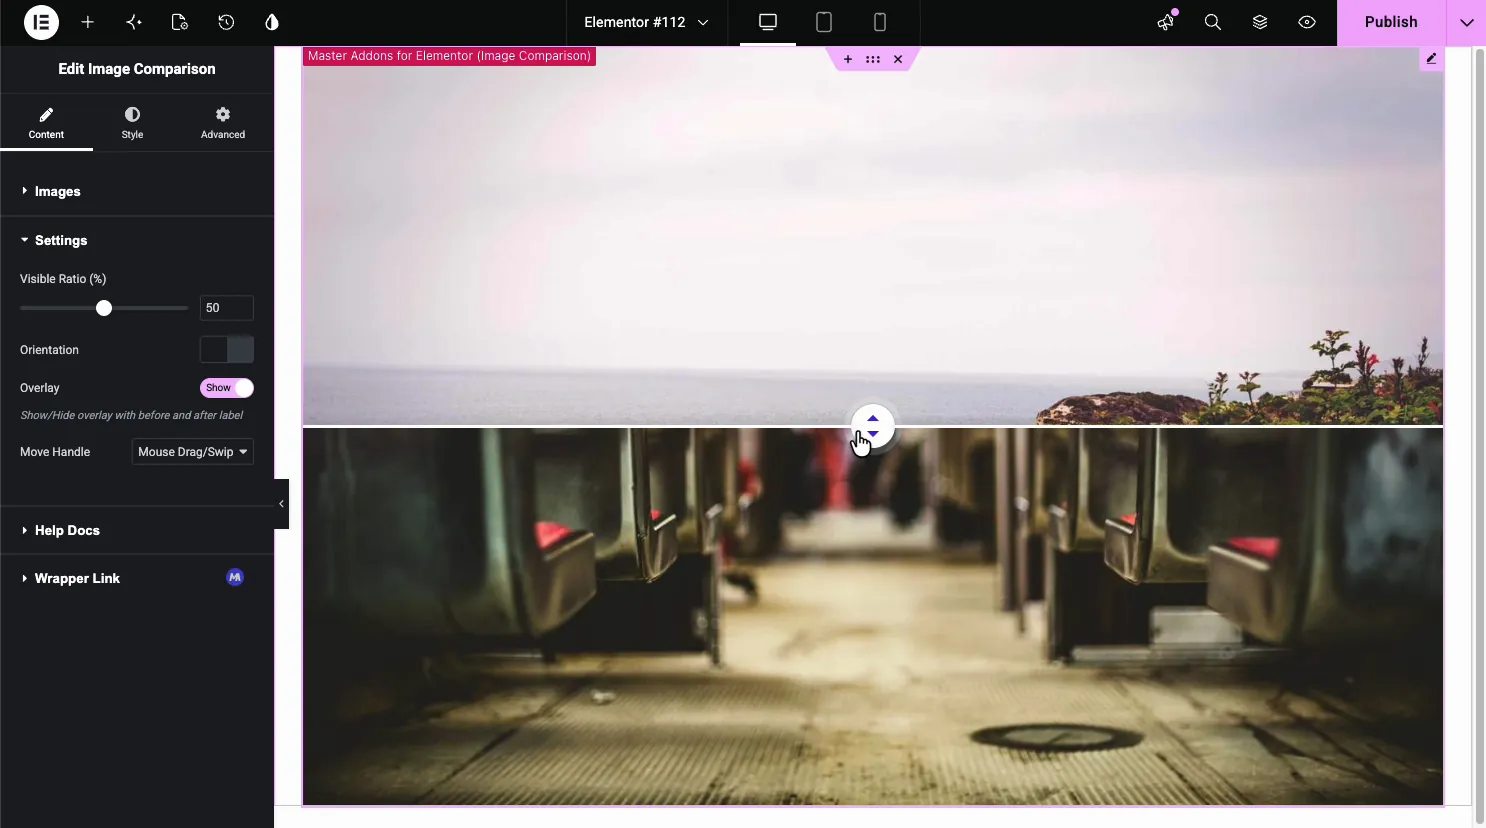
In the Settings section, the Orientation toggle switches between a vertical split (left-right wipe, the default) and a horizontal split (top-bottom wipe). Vertical suits wide landscape shots. Horizontal usually reads better for tall or portrait images, since a narrow left-right sliver does not show enough of a tall photo at once.
Step 5: Set the Visible Ratio and Handle Type
Visible Ratio sets where the handle sits when the page loads, as a percentage. Open it around 50% for a neutral first impression, or start it closer to one side if you want the before or after image to dominate on load.
Move Handle decides what triggers the slide: drag or swipe, click, or hover. Drag works well on desktop, where visitors expect to grab and pull. Hover feels slick on a mouse but can misfire for touch users who never hover at all, so drag/swipe or click is the safer default if a lot of your traffic is mobile.
Step 6: Style the Slider
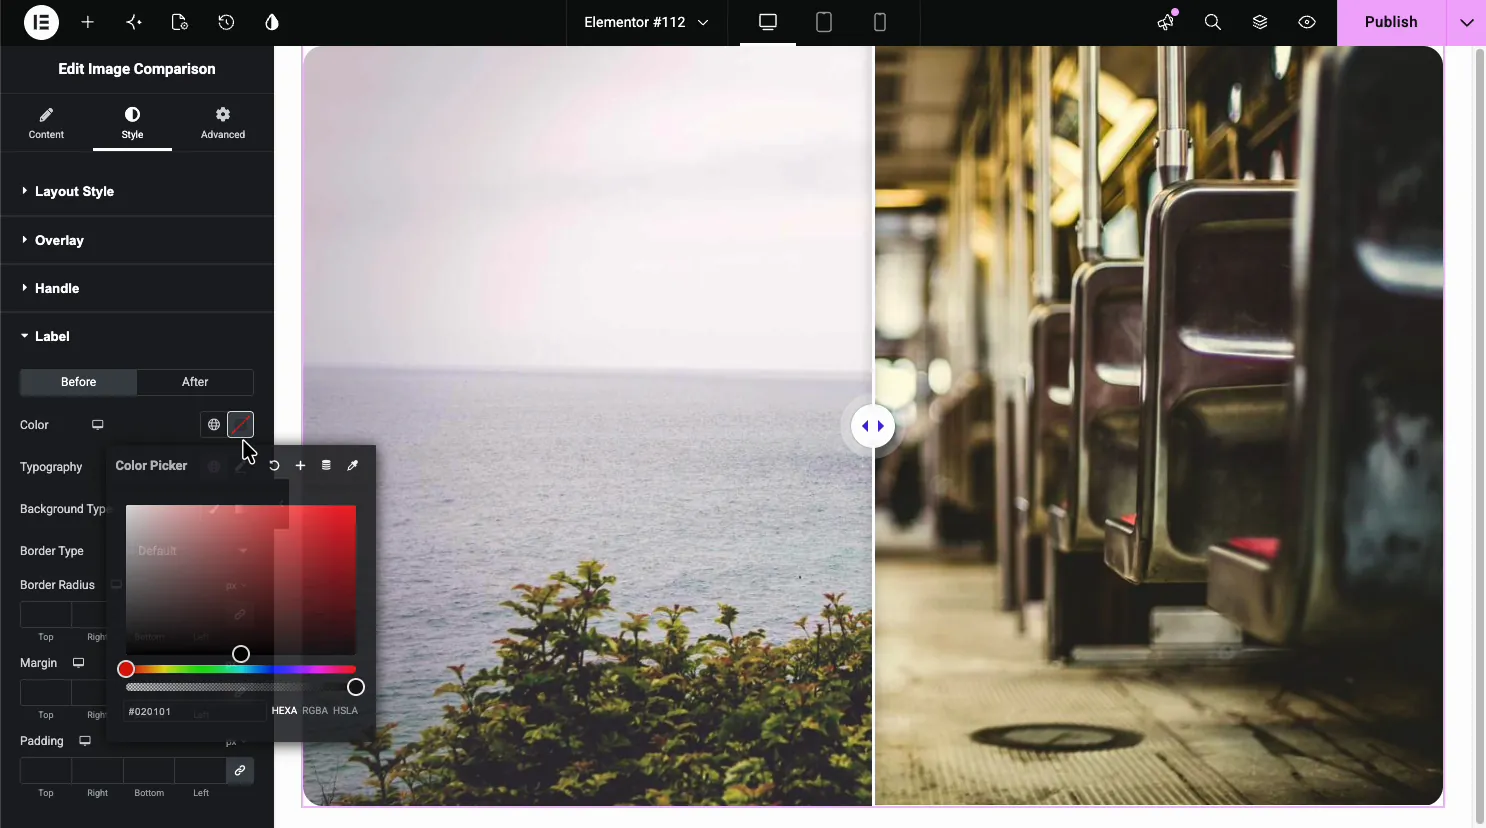
The Style tab covers Layout Style (border, radius, box shadow around the whole widget), Handle (color, size, icon), and Label (per-side color, typography, background, and spacing for the caption overlay). None of this changes how the slider works, only how it looks, so it is safe to skip on a first pass and come back once the mechanics are right.
Mobile and Touch Behavior
Elementor is responsive by default, so the widget resizes with the viewport without extra setup. What actually needs testing on a phone is the Move Handle setting. Drag and swipe work naturally with a finger, and click works too. Hover does not exist on a touchscreen, so a slider set to Hover simply sits still for mobile visitors, showing only the starting Visible Ratio with no way to move it.
Elementor’s own guide on responsive design covers the breakpoint basics if you also need to resize the widget itself for tablet or mobile, separate from the handle behavior.
Master Addons vs Other Elementor Comparison Options
| Option | Cost | Orientation Control | Handle Triggers |
|---|---|---|---|
| Master Addons Image Comparison | Free | Horizontal & vertical | Drag/swipe, click, hover |
| Essential Addons Image Comparison | Free tier available | Yes | Drag |
| Before After Image Comparison Slider (WordPress.org) | Free, standalone plugin | Limited | Drag |
| Elementor Pro (native) | No built-in widget | Not applicable | Not applicable |
Elementor core, free or Pro, has no native image comparison widget of its own. Whichever route you take, you are installing a third-party widget either way, so the honest comparison is between those widgets, not between a plugin and “built-in Elementor.”
Troubleshooting Common Problems
- Widget missing from the Elements panel: recheck Master Addons → Widgets and confirm Image Comparison is enabled.
- Slider looks stretched or skewed: the two images are not the same pixel dimensions; crop them to match.
- Handle will not move on a phone: Move Handle is set to Hover; switch it to Drag/Swipe or Click.
- Labels are not showing: confirm the Overlay toggle in Settings is on and that a Label is actually typed on both tabs.
If you like this drag-to-reveal interaction, the Image Hotspot widget and the Image Hover Effects widget use a similar hover and click pattern for annotating or animating images.
Frequently Asked Questions
How to make an image slider in Elementor?
Install a widget that supports it, since neither free nor Pro Elementor ships one natively. The free Master Addons plugin adds an Image Comparison widget you drag onto the page, then you upload two images and set the orientation, ratio, and handle from the Content and Settings sections.
How do I add a picture slider in WordPress?
Install Elementor plus a widget plugin like Master Addons, then drag the Image Comparison widget onto any page. It works inside the Elementor editor rather than through a separate WordPress settings screen, so there is no shortcode to remember.
How to make a before and after picture slider?
Upload a before image and an after image of identical pixel dimensions into the widget’s Before and After tabs, then choose vertical or horizontal orientation. The widget generates the draggable divider automatically, you do not design that part yourself.
How to show before and after in a slide?
A before-and-after slider stacks the two images in the same frame with a divider between them, so one slide replaces two static images. Visitors drag or tap the handle to move the divider and reveal more of one image or the other.
How do I edit a slider in Elementor?
Select the Image Comparison widget on the canvas and its settings open in the left panel. The Content tab holds the images and labels, and the Settings and Style sections underneath control the ratio, handle behavior, and visual styling. Changes preview live on the canvas.
How to compare if two images are the same?
The Image Comparison widget is built for a visual, side-by-side reveal rather than a pixel-level diff. If you need the two images to line up cleanly, which the widget requires for a clean result, crop them to the same width and height before uploading rather than relying on the widget to detect a mismatch.
How to make a before and after picture?
Shoot or export both the before and after version at the same resolution and framing, crop them to match if they do not line up, then upload both into a comparison widget like Master Addons Image Comparison. Matching framing matters more than matching camera settings for a convincing result.
Related Reading
