


Largar o Widget Carrossel de Imagem na página, escolha suas imagens na biblioteca de mídia, defina slides por visualização para cada dispositivo e ative a reprodução automática. Quatro etapas, cerca de dois minutos e nenhuma licença necessária.
Essa é a versão curta O resto disso cobre as configurações que separam um carrossel que funciona de um que parece um pouco errado nos telefones, além do layout de fluxo de cobertura, a caixa de luz e os dois erros de imagem que tornam um carrossel fino lento Não tenho certeza se um carrossel de imagens é até mesmo a forma certa? o linha completa de widgets carrossel compara cada tipo em um só lugar, e o colapso do carrossel versus controle deslizante resolve a nomenclatura.
O que você precisa
Elementor grátis e complementos mestres grátis. O carrossel de imagens do Elementor cobre o básico (legendas, uma caixa de luz e slides por dispositivo), mas não possui layout do Coverflow ou navegação no estilo de progresso, portanto, este passo a passo usa o Carrossel de imagens Master Addons, que também é gratuito e adiciona legendas, uma lightbox e um layout de fluxo de cobertura.
Passo 1: Adicione o widget
Abra a página no Elementor e procure no painel de widgets o carrossel “image.” Arraste-o para um contêiner.
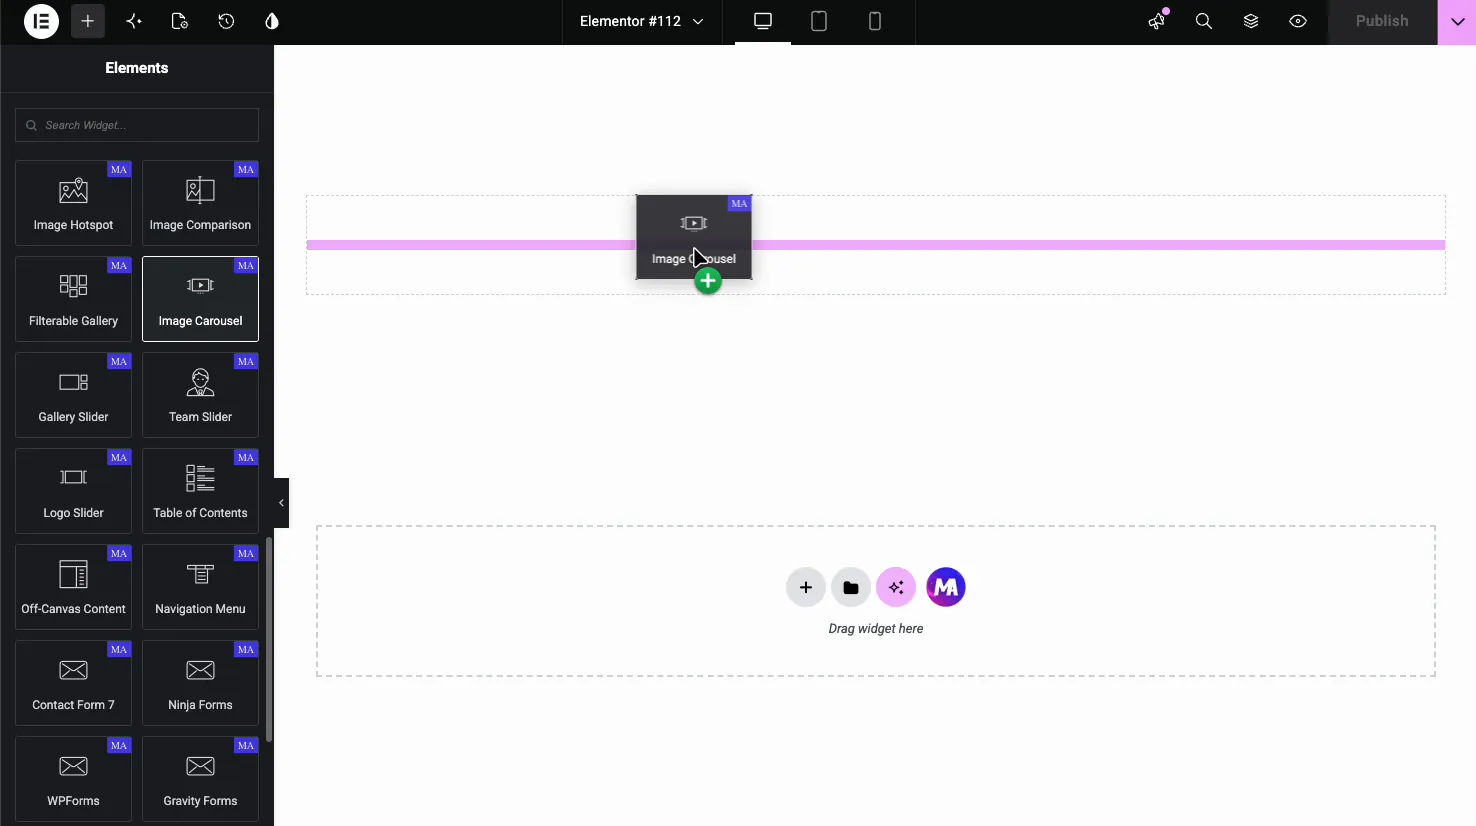
Ele renderiza com imagens de espaço reservado para que você possa ver a forma antes de cometer qualquer conteúdo Deixe-os por enquanto É mais fácil configurar o layout em relação a espaços reservados consistentes do que em relação às suas fotos reais, que são todos de tamanhos diferentes.
Passo 2: Adicione suas imagens
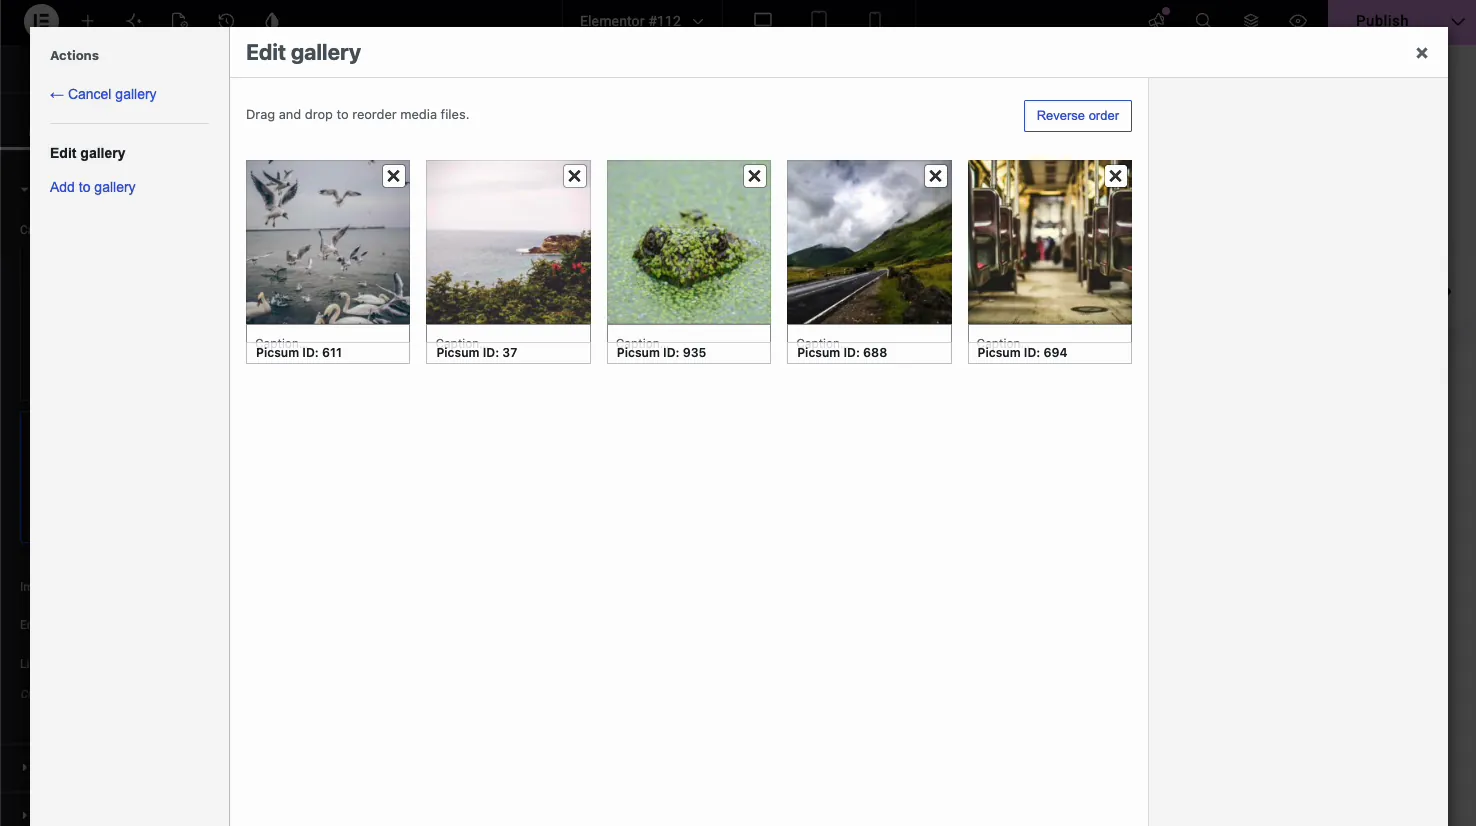
Clique no campo da galeria e escolha na biblioteca de mídia ou faça upload. Encomende assuntos e arraste para reordenar trabalhos, então coloque sua imagem mais forte em primeiro lugar, porque no celular ela pode ser a única que alguém vê.
Nas configurações de conteúdo você encontrará o tamanho da imagem, a fonte da legenda e o comportamento do link.
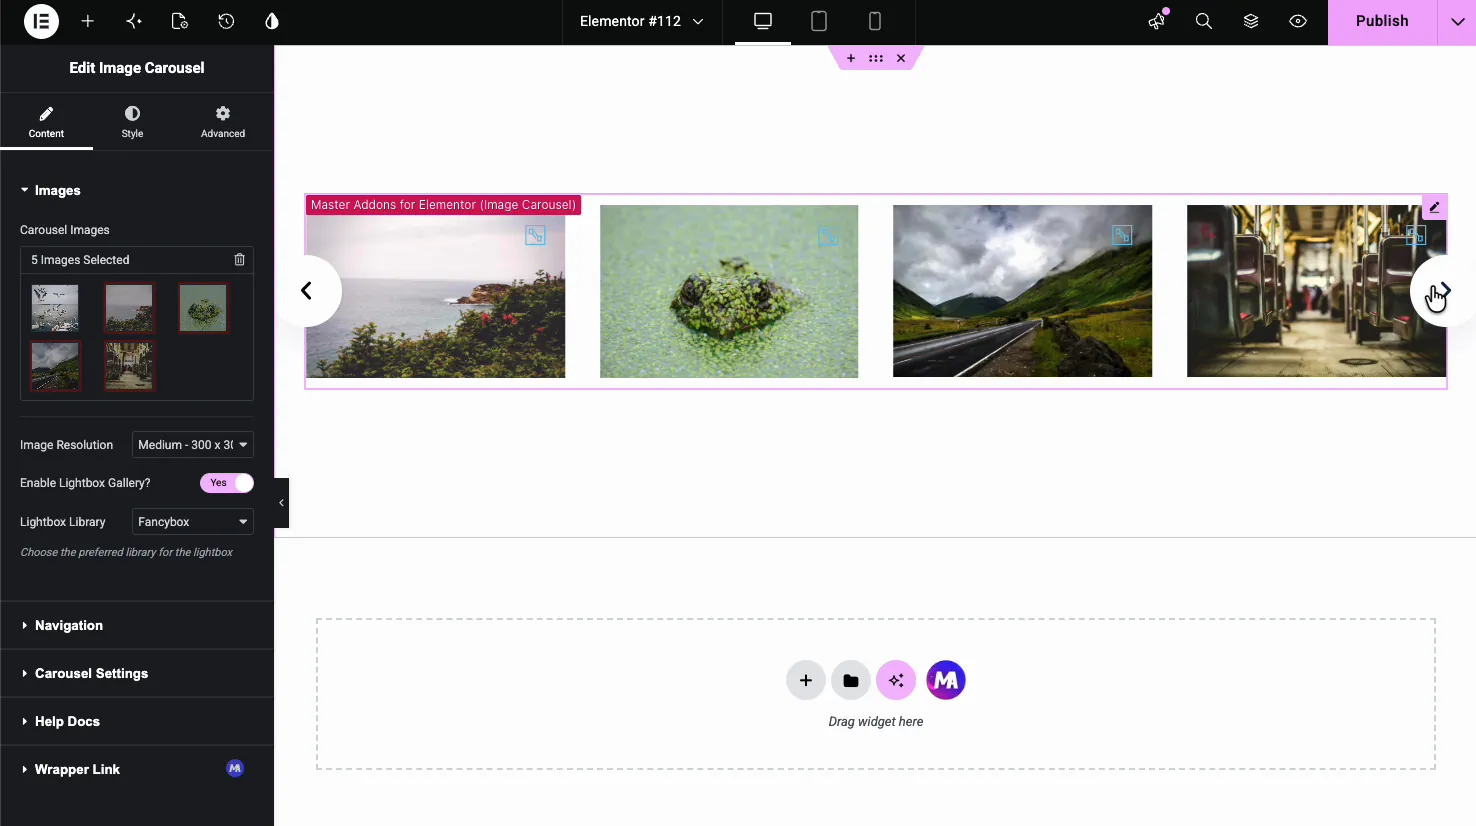
Tamanho da imagem é o cenário que as pessoas deixam em Full e se arrependem. Completo significa o upload original: uma exportação de câmera de 4000 px serviu em um slide de 400 px WordPress já gerou versões menores; escolha medium_large ou large e você vai cortar o peso do carrossel pela maior parte sem nenhuma diferença visível.
Legendas retire do campo Legenda ou Descrição da biblioteca de mídia, portanto, se os slides precisarem de texto, escreva-o lá em vez de procurar uma caixa de texto por slide no widget.
Passo 3: Navegação
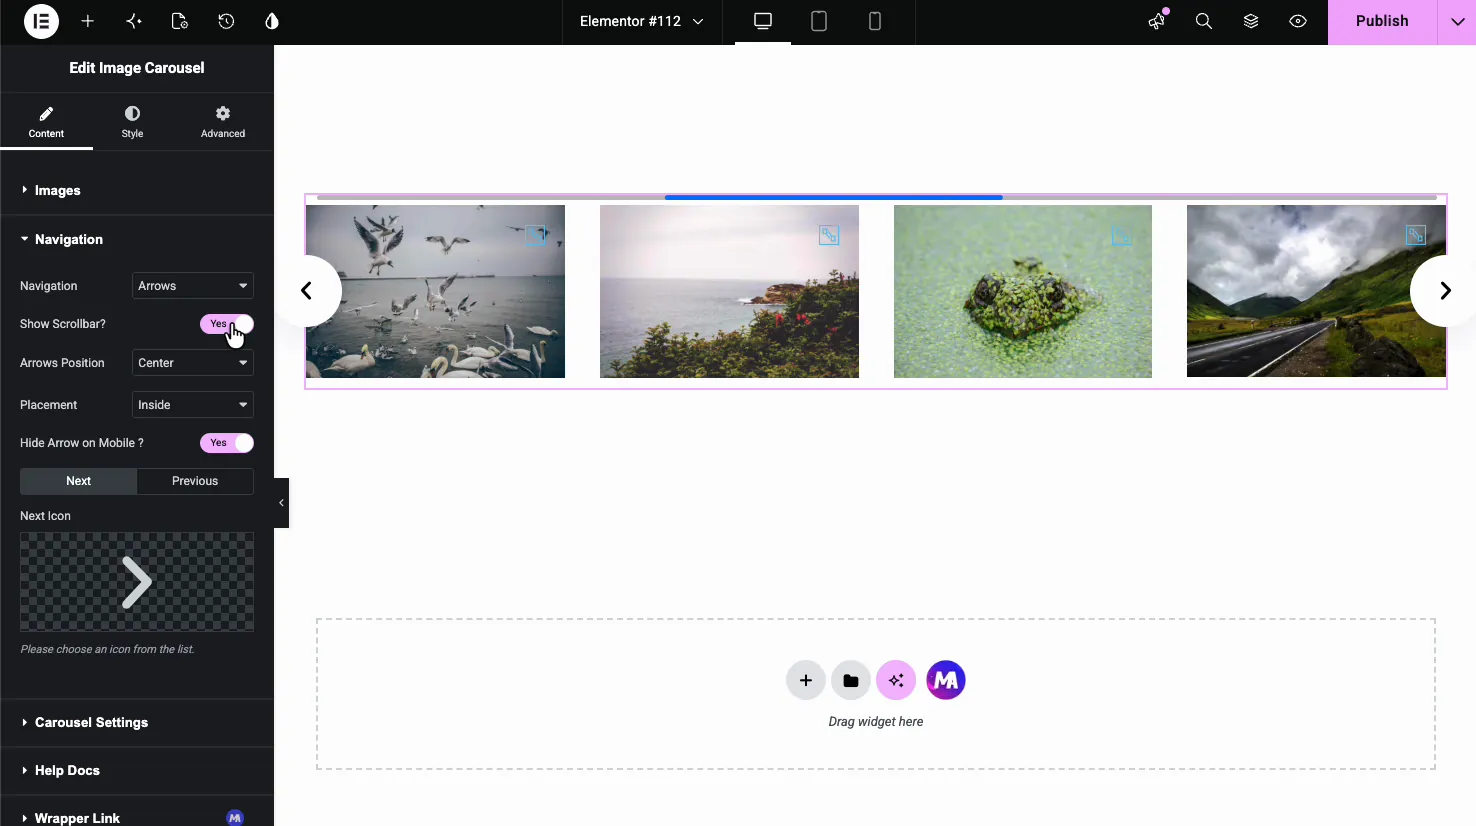
Setas, pontos, fração ou uma barra de rolagem. Escolha com base em quantos slides você tem:
- Sob 8 slides: pontos. As pessoas podem ver todo o conjunto de relance e pular.
- 8 a 20: apenas setas Vinte pontos é uma mancha, não um controle.
- Mais de 20: setas mais fração (“04 /32”).O número é a única coisa que diz a alguém onde está.
No celular, verifique o tamanho da seta O padrão da área de trabalho geralmente é um alvo de 30 px, e o mínimo acessível para um toque é de 44 px. bata-o no ponto de interrupção móvel ou solte as setas inteiramente e confie em deslizar.
Etapa 4: Comportamento do carrossel
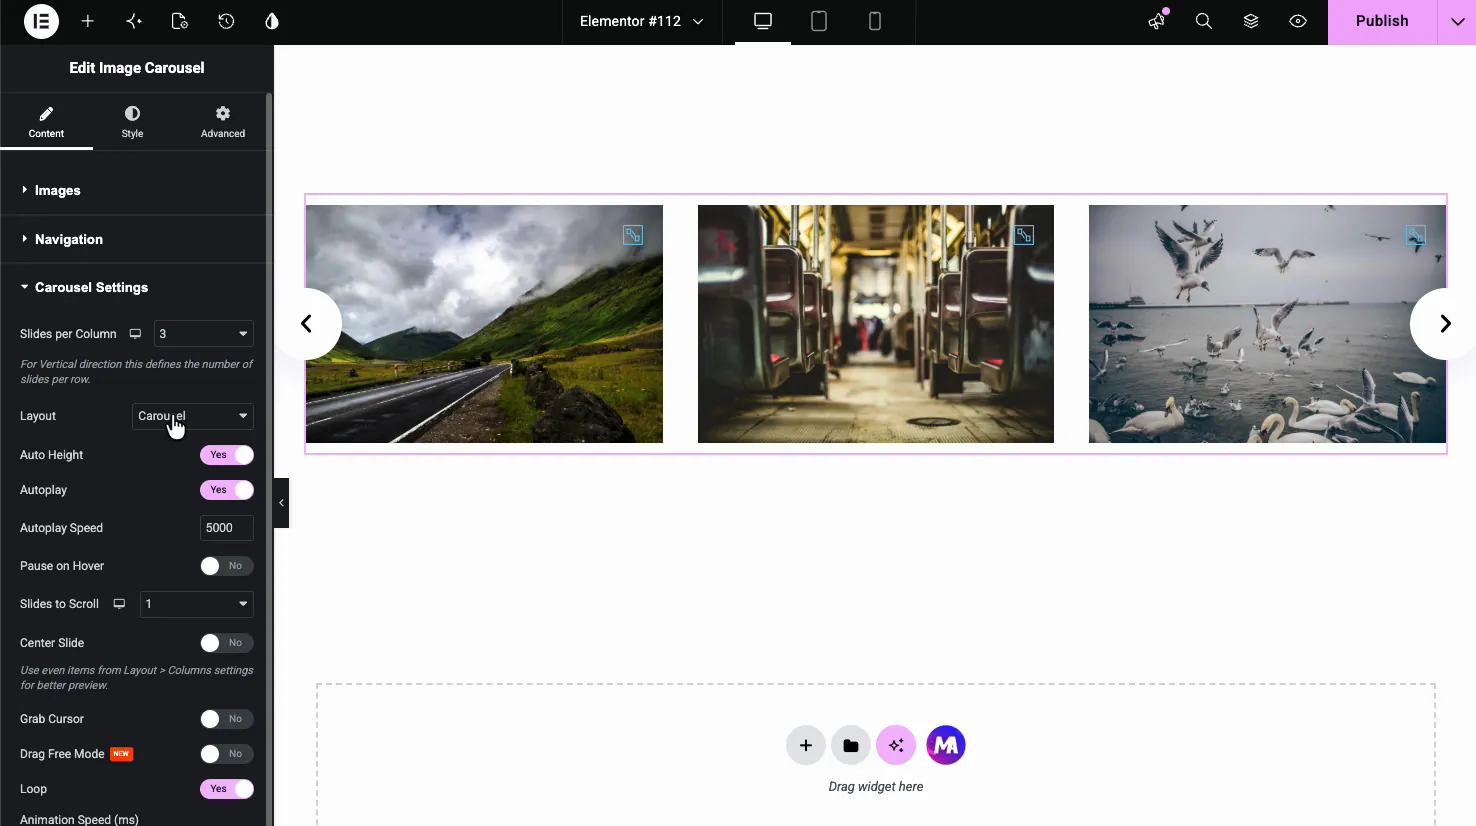
Este é o painel que decide se o carrossel parece certo.
Slides por visualização: defina três vezes. Clique nos ícones do dispositivo na parte superior da configuração e dê a desktop, tablet e celular seu próprio valor Quatro, dois, um é o padrão seguro Este único passo é a diferença entre um carrossel que funciona em telefones e um que mostra quatro miniaturas esmagadas.
Slides para rolar. Defina como 1 para uma sensação de navegação contínua ou combine slides por visualização para paginação no estilo de página. A correspondência é melhor quando os slides formam grupos; 1 é melhor para um conjunto longo e indiferenciado.
Reprodução automática. Ligue para galerias decorativas Desligue se os slides forem clicáveis, porque alguém vai pegar uma imagem e clicar na que a substituiu Pause-on-hover cobre a área de trabalho, mas não há hover no toque.
O loop infinito precisa de slides suficientes. Clones de swiper desliza para falsificar o envoltório, e ele precisa de pelo menos o dobro de seus slides-per-view Quatro imagens em três-per-view irá saltar visivelmente Adicione imagens ou desligue o loop.
Velocidade. 300 a 500 ms. abaixo de 200 parece um corte em vez de uma transição; acima de 800 pessoas começam a clicar duas vezes.
O layout do fluxo de cobertura
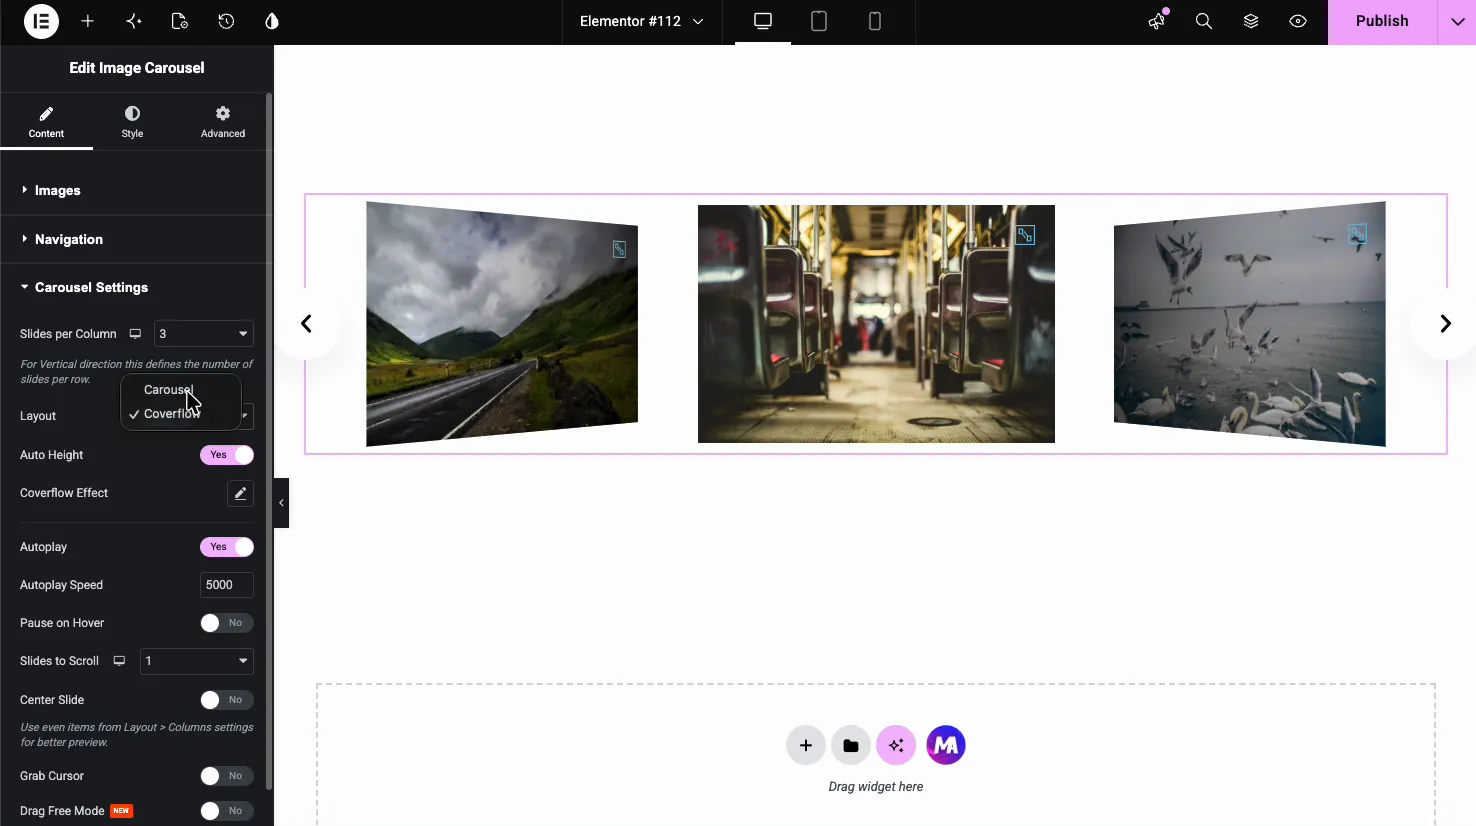
Alterne o layout de padrão para fluxo de cobertura e os slides laterais giram em 3D, diminuem e recuam, deixando o slide central como o único legível.
Ele se adequa a portfólios e estudos de caso, qualquer coisa onde uma imagem de cada vez é o ponto É errado para qualquer coisa que as pessoas precisam comparar, porque todo o design existe para impedir que você olhe para os vizinhos.
Duas configurações para acertar: gire entre 30 e 40 graus (passado 50 e os slides laterais se tornam lascas ilegíveis) e deslize centralizado ou a imagem ativa fique nivelada à esquerda e a composição desmorone.
O Coverflow é um dos quatro estilos baseados em profundidade Flip, arco e órbita são os outros três, e o Guia carrossel Elementor 3D cobre para que cada um é bom.
Estilizando os slides
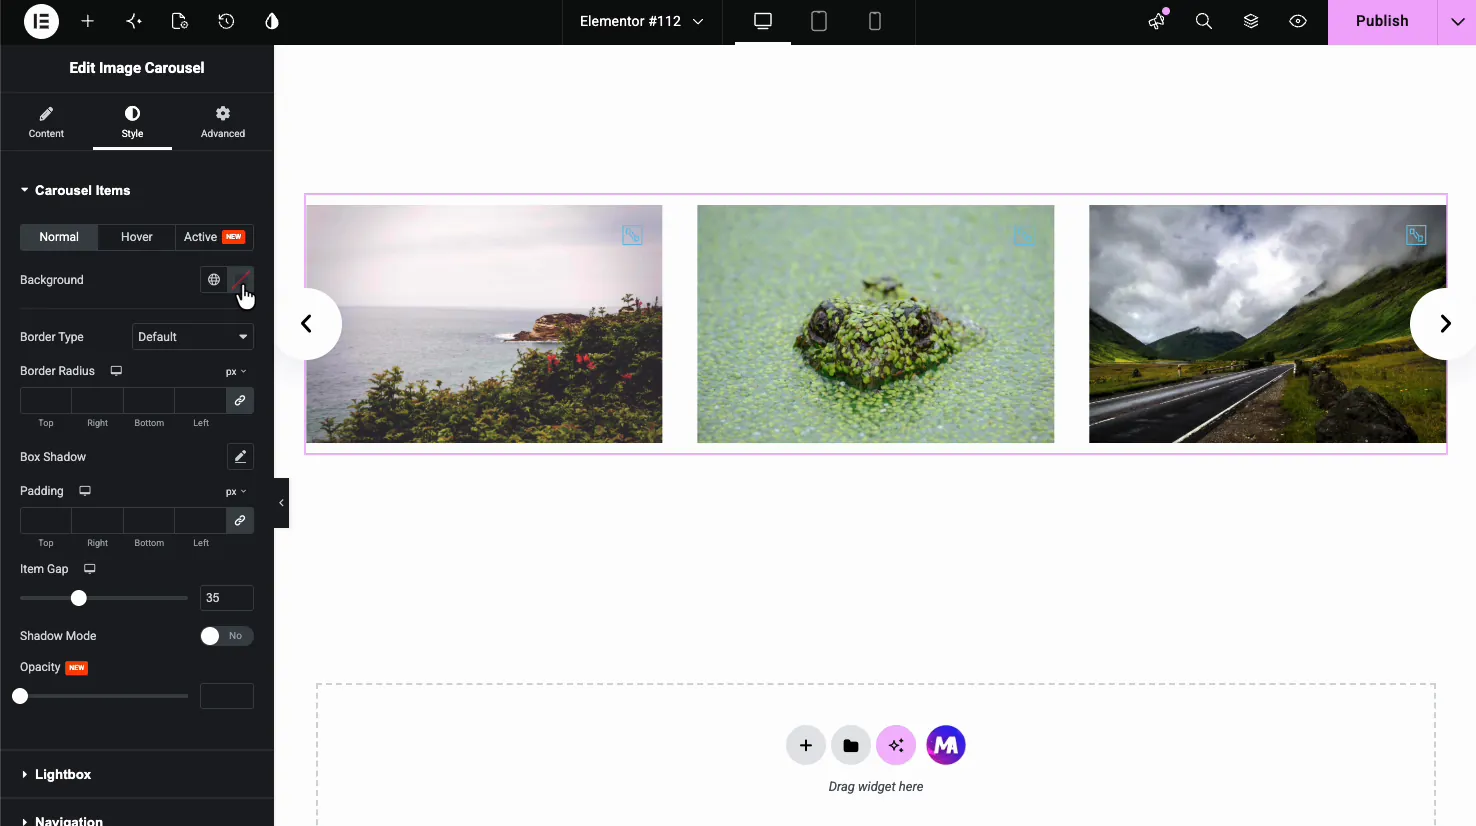
A guia de estilo lida com o espaçamento entre slides, raio da borda, sombras e estados de pairar.
O cenário que vale a pena pensar duas vezes é lacuna. Zero gap faz com que o carrossel seja lido como uma tira de imagem contínua, o que é certo para um panorama e errado para itens distintos. 16 a 24px é o intervalo onde os slides são lidos como cartões separados, sem que a linha pareça esparsa.
Os efeitos de foco (escala, sobreposição, revelação de legendas) se aplicam a todo o conjunto, não por slide. Mantenha a escala abaixo de 1,05. Um slide que cresce 15% no hover empurra seus vizinhos e parece um bug de layout. Para uma animação de foco diferente em cada imagem, coloque Efeitos de Hover de Imagem Widgets em uma grade.
Lightbox e legendas
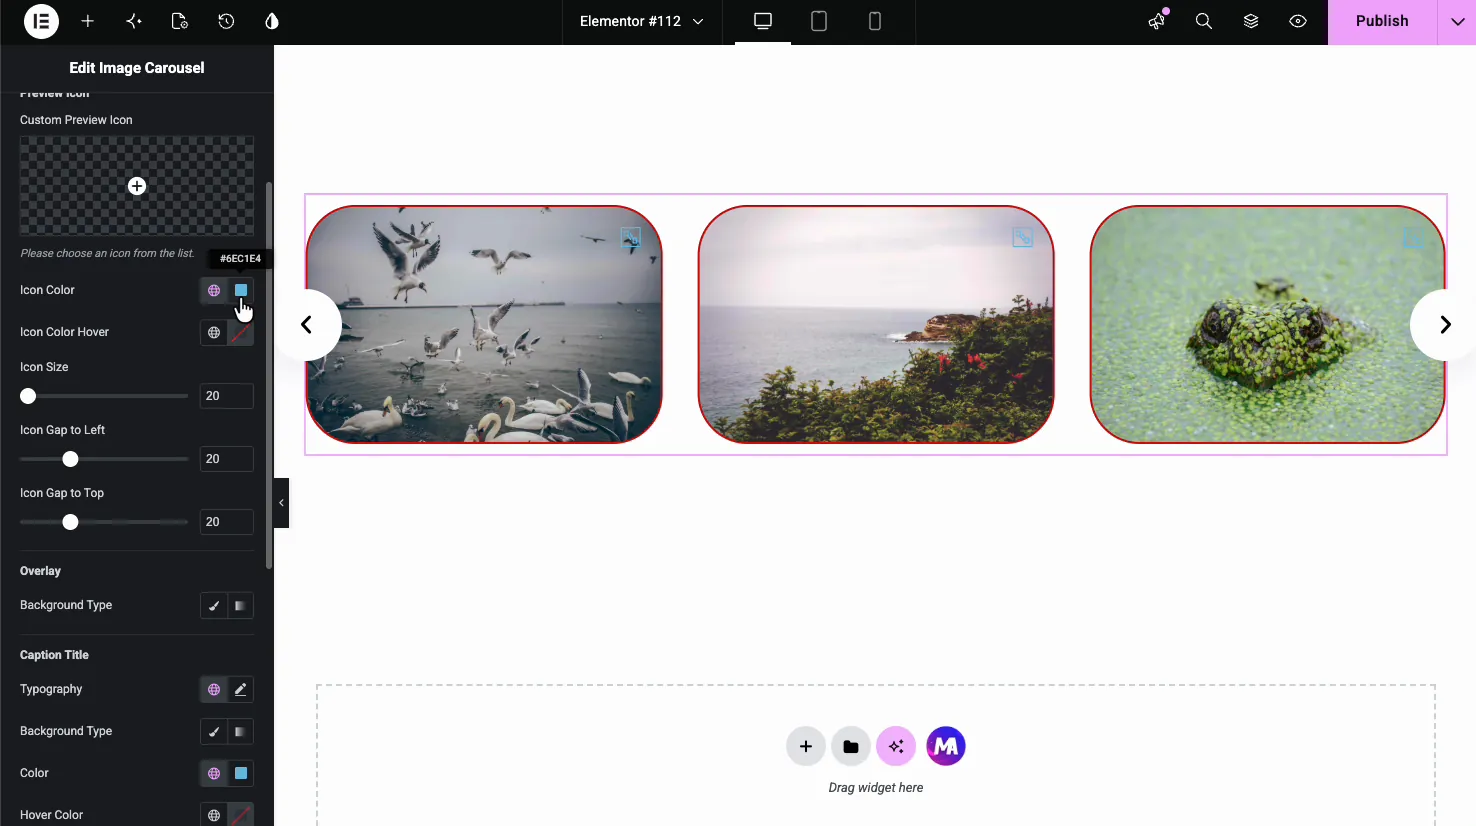
Ligue a lightbox e clicar em um slide abre a imagem em tamanho real sobre a página, com seus próprios controles seguintes e anteriores passando por todo o carrossel.
Este é o motivo de usar um carrossel em vez de uma grade para fotografia. O carrossel é o índice; o lightbox é o espectador. O título da imagem e a legenda da biblioteca de mídia mostram com a foto na lightbox, então preencha-as antes de publicar. Se você deseja que o índice seja visível na página como uma tira de miniatura em vez de ocultar um clique, esse é o Galeria Slider widget em vez disso, que precisa Pro.
Um cuidado: a caixa de luz serve a imagem em tamanho real, não a miniatura Se você definir o tamanho da imagem para medium_large para o carrossel e seus originais são arquivos de câmera de 8 MB, a lightbox ainda buscará a versão de 8 MB Comprima os originais no upload, não apenas o tamanho da exibição.
Se você quiser navegação em miniatura
O Carrossel de Imagens é uma única linha Não há faixa de miniaturas dirigindo uma grande visualização Se esse layout de duas partes é o que você procura, importe o Galeria Placa Vitrina em vez disso, um dos designs gratuitos do coleção de modelos slider: uma única placa sob uma faixa de miniaturas, com um painel de legendas que inclui uma tabela de dados de quadros editável para lugar, hora, lente, abertura, obturador e ISO. Foi construído para fotografia A mesma forma de visualização mais miniaturas é o que a maioria das pessoas quer dizer quando pede um carrossel de vídeo, e o vídeo carrossel e guia deslizante galeria cobre essa versão.
Quer guias de categoria em vez de uma linha deslizante? esse é um widget diferente. O Galeria de imagens filtráveis coloca as imagens em uma grade e as filtra quando alguém clica em uma guia.
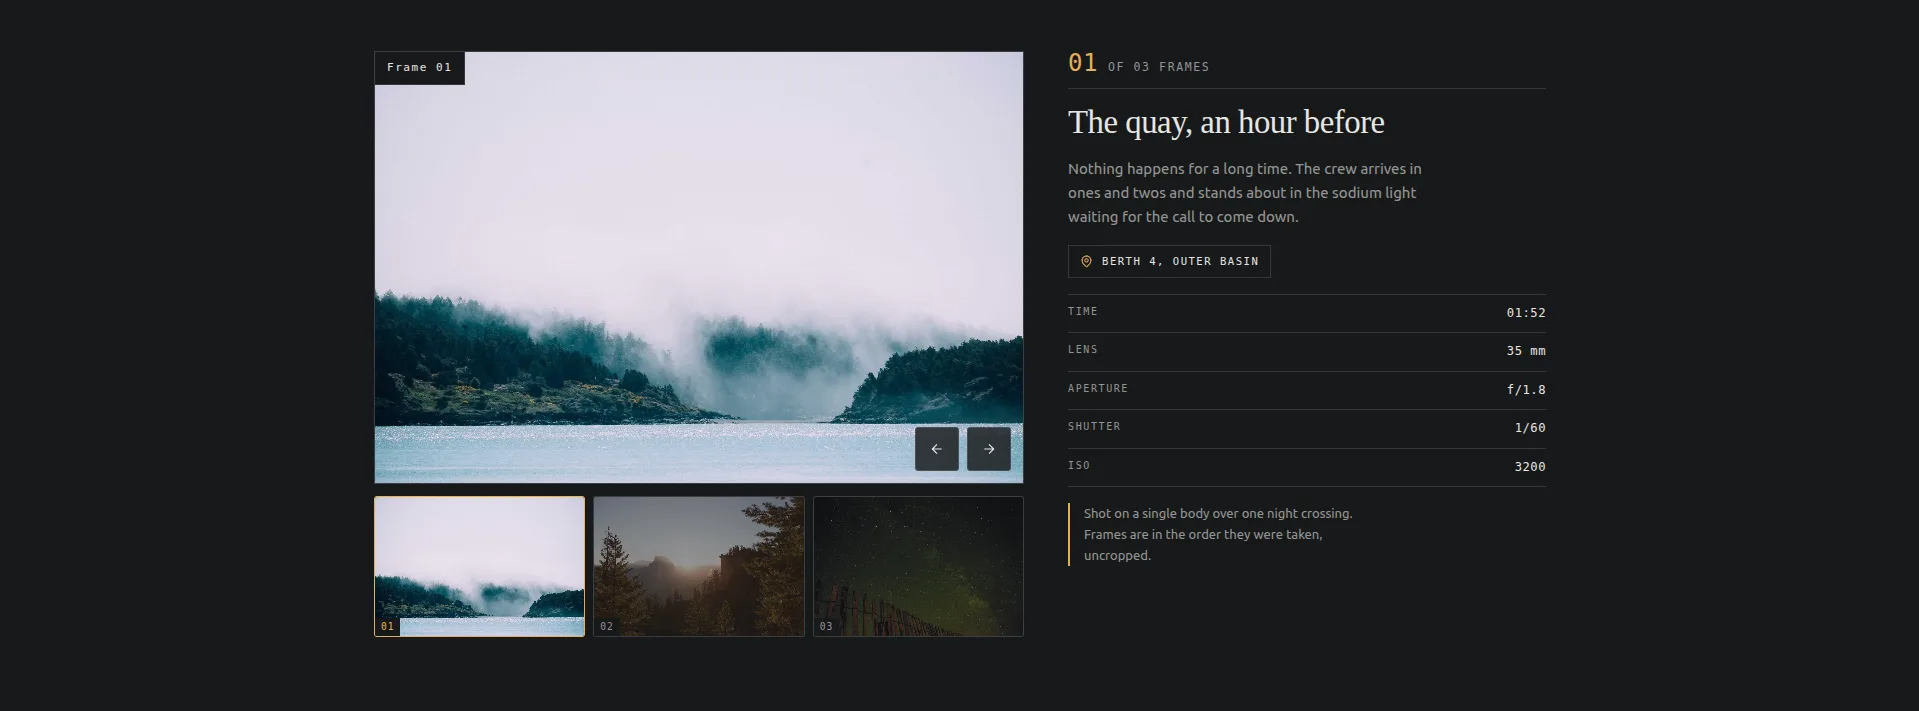
Para importá-lo: Master Addons → Widget Builder → Import Widget, arraste o JSON para dentro, e ele aparece no Elementor sob Favoritos Ele é executado no plugin gratuito, sem licença Pro necessária A mesma coleção tem o Slider Herói Plinto, um controle deslizante herói de sangramento total com links por slide, que também é livre para importar. Vinte designs nomeados no total, oito deles grátis.
Estilo de seta
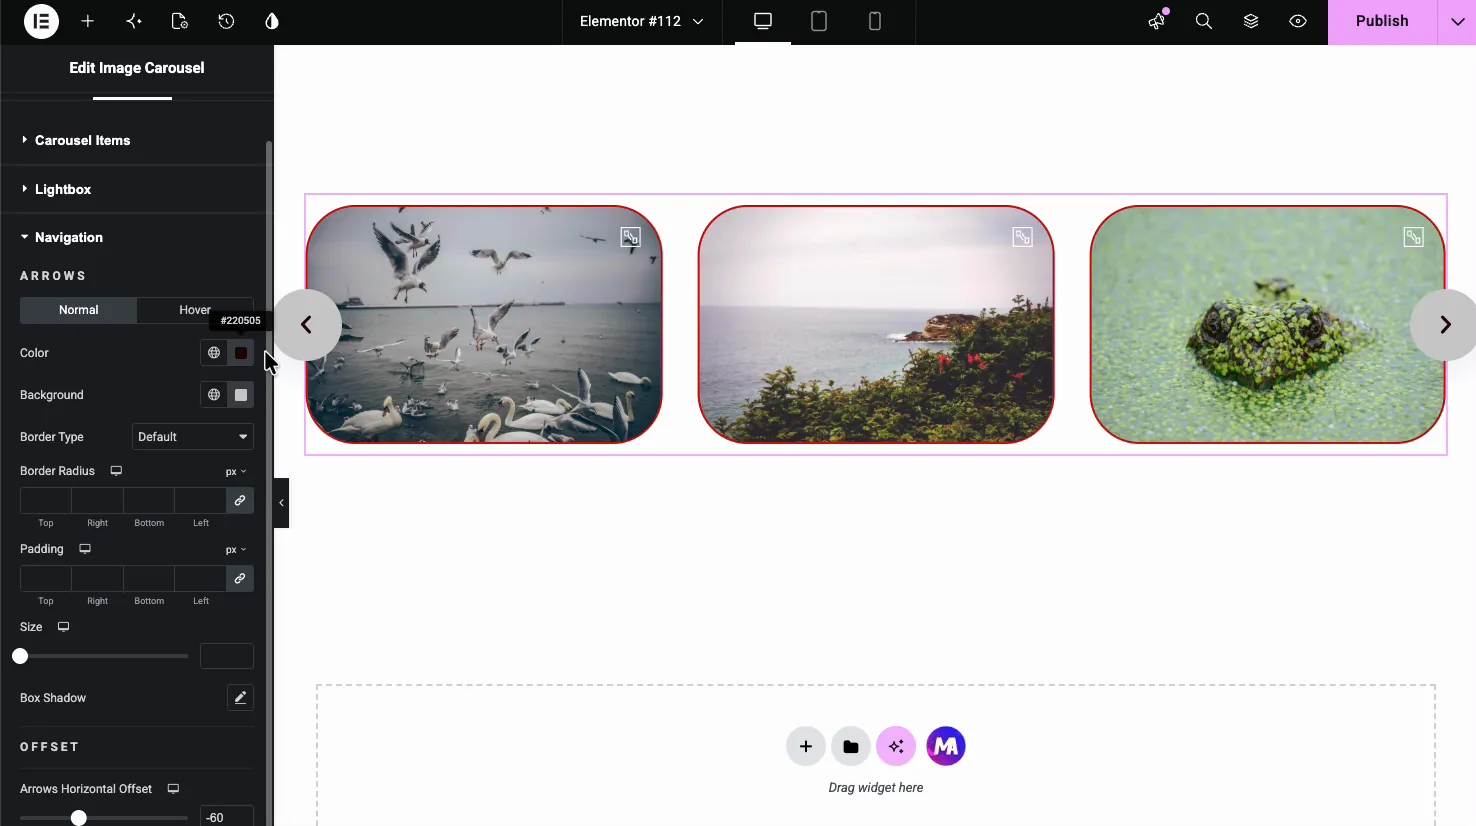
Tamanho, cor, fundo, raio da borda e posição: dentro do carrossel, fora dele ou sobrepondo as bordas.
As setas posicionadas fora do carrossel precisam de espaço horizontal, e em um recipiente de largura total não há nenhum Eles vão clip. Ou manter o recipiente mais estreito do que a janela de visualização ou posicionar as setas dentro.
O resultado
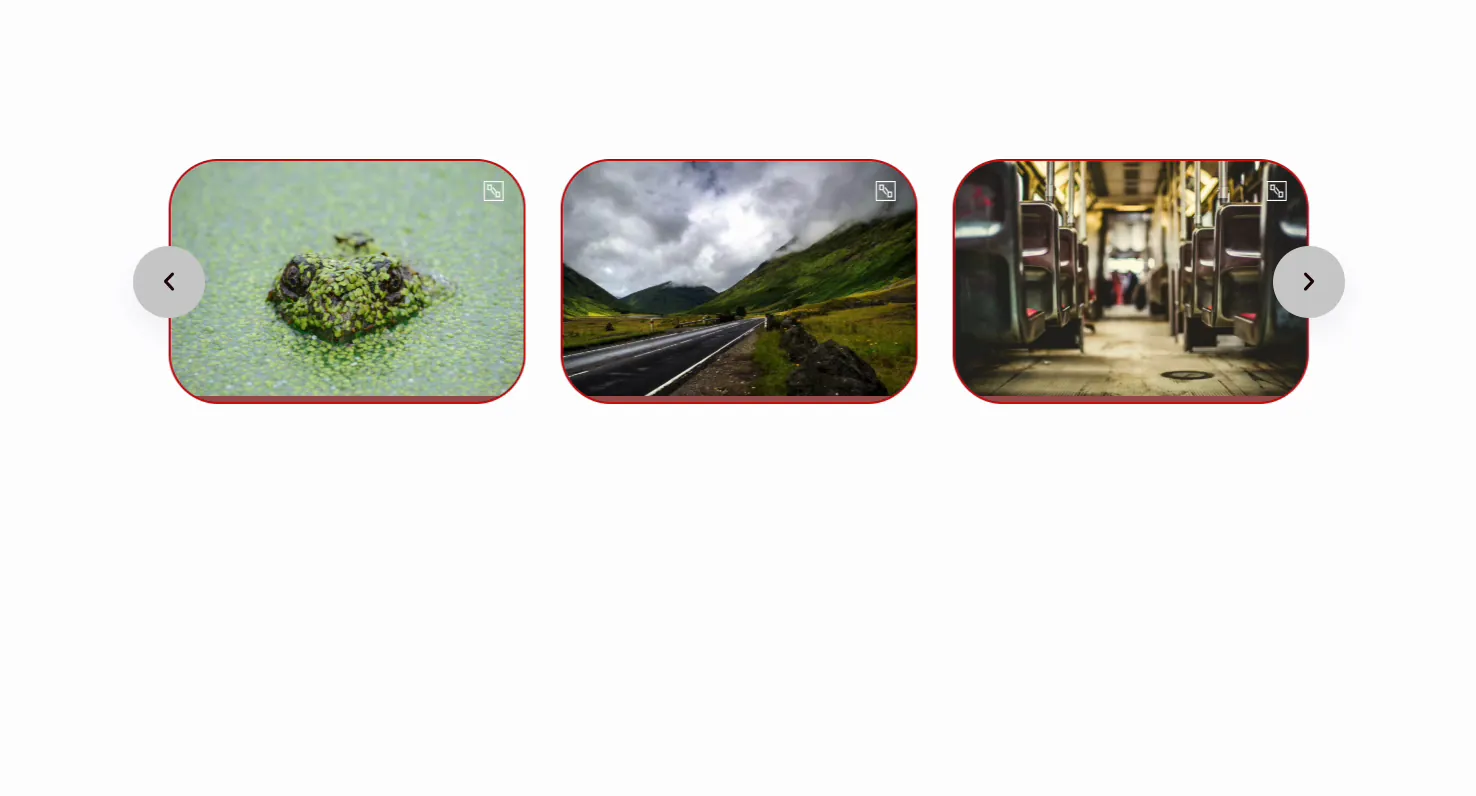
Antes de ligar para terminar, carregue a página em um telefone real pelo celular Não é o emulador de dispositivo do navegador, que redimensiona a janela de visualização, mas mantém a conexão e a GPU da sua área de trabalho A maioria dos problemas de carrossel só aparecem em hardware real em uma rede real.
Mantendo todas as imagens da mesma altura
O carrossel mostra cada imagem em sua própria proporção, então uma foto de retrato ao lado de uma paisagem deixa uma lacuna sob o escorregador mais curto. A solução limpa é cortar as imagens para uma proporção antes de enviá-las. Se não for possível, adicione uma classe CSS ao widget, por exemplo same-height, e cole isso em seu CSS personalizado:
.same-height .swiper-slide img {
  width: 100%;
  height: 260px;
  object-fit: cover;
}
Cada slide tem 260 x de altura e o navegador corta o que não cabe.
Se você deseja um pergaminho contínuo
Um carrossel de imagens se move um passo de cada vez, mesmo com o AutoPlay ativado. Uma faixa que desliza sem parar é uma marquise, e O guia do marquise Elementor Mostra três maneiras de construir um.
Dando a cada imagem seu próprio link
O Widget Carrossel de Imagem Abre todas as imagens na Lightbox e não possui um campo de link. O carrossel do Elementor possui uma configuração de URL personalizada, mas envia todos os slides para o mesmo endereço. Quando cada item precisa de seu próprio destino, como logotipos de clientes ou selos de parceiro, crie a linha com o controle deslizante de logotipo.
Dois erros que fazem um carrossel lento
Servindo imagens em tamanho real. Coberto acima, e é o grande Um carrossel de dez slides em Tamanho real em um site de fotografia pode ser 20 MB O mesmo carrossel em large tem menos de 2 MB e ninguém sabe.
Colocando-o acima da dobra com reprodução automática. O carrossel se torna sua maior pintura contente, e reprodução automática significa que o navegador está animando durante o segundo mais sensível ao desempenho da carga da página Se um carrossel tiver que estar no topo, desligue a reprodução automática e deixe-a ficar parada até que a página tenha se estabelecido.
Os logotipos são um trabalho diferente das fotografias. Eles aparecem em formas e cores incompatíveis e precisam ser nivelados antes de se sentarem em fila, o que o passo a passo do carrossel do logotipo passa.
Perguntas frequentes
Elementor tem um carrossel de imagens grátis?
Sim. O plugin gratuito do Elementor inclui um widget de carrossel de imagens com setas, pontos, legendas, uma lightbox e reprodução automática. O carrossel de imagens de complementos mestres, também gratuito, adiciona um layout de fluxo de cobertura, progresso, navegação e barra de rolagem e estilo para slides normais, ao longo docilo e ativos. A lista de controle total está na Página de widget carrossel de imagens.
Como faço um carrossel de imagens Elementor responsivo?
Defina slides-per-view separadamente em cada ponto de interrupção usando os ícones do dispositivo na parte superior da configuração, em vez de deixar um valor para todas as telas Quatro na área de trabalho, dois no tablet, um no celular funciona para a maioria das galerias Verifique o tamanho da seta no celular também, porque o padrão geralmente está abaixo do alvo de toque acessível de 44 px.
Como adiciono legendas a um carrossel de imagens Elementor?
O carrossel de imagens da Elementor possui uma configuração de legenda. Escolha o título, a legenda ou a descrição e o texto é lido de cada imagem na biblioteca de mídia. O carrossel de imagens de addons mestres não mostra legendas no slide. Ele mostra o título da imagem e a legenda dentro da lightbox.
Posso vincular cada imagem do carrossel a uma URL diferente?
não O carrossel de imagens do Elementor tem uma opção de URL personalizada, mas essa URL se aplica a todos os slides. O carrossel de imagens de complementos mestres abre cada imagem em uma lightbox e não possui um campo de link. Quando cada item precisar de seu próprio destino, use o controle deslizante de logotipo, que possui um link por item.
Por que meu carrossel de imagens salta quando faz loop?
Não há slides suficientes para o loop Os clones do swiper deslizam para criar o wrap-around e precisam de pelo menos o dobro da contagem de slides por visualização Quatro imagens mostradas três de cada vez saltarão a cada ciclo Adicione mais imagens ou desligue o loop infinito.
Por que meu carrossel de imagens não é exibido depois que habilitei o cache?
A combinação ou adiamento de JavaScript interrompeu o carregamento do Swiper antes da execução do código init. Excluir swiper, elementor-frontend e jquery-core da otimização JS em seu plugin de cache e no LiteSpeed, adicione-os também ao campo de exclusão do Modo Convidado. Passo a passo completo: Solução de problemas do controle deslizante do elementor Swiper.
